Home Assistant Zigbee2MQTT

How to setup Zigbee2MQTT in Home Assistant
The first requirement is a Zigbee dongle or coordinator to connect to the network. Next, decide whether to use ZHA or Zigbee2MQTT and select the adapter accordingly, as both solutions have benefits and drawbacks.
ZHA is a built-in, user-friendly option with straightforward setup, designed for general use. Zigbee2MQTT is more independent and feature-rich, offering broader device compatibility and deeper troubleshooting capabilities for advanced users.
This guide focuses on Zigbee2MQTT, so let’s get started with that.
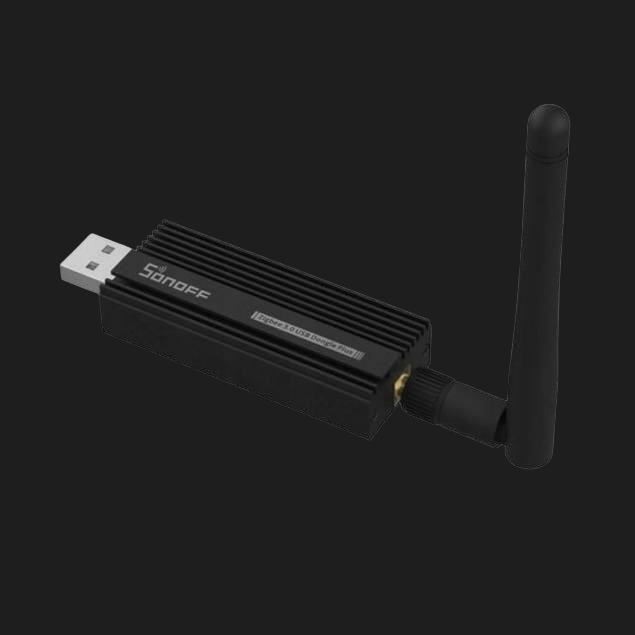 Sonoff Dongle
I have a Dongle-E, but there is also a Dongle-P and several other dongles available. Make sure your dongle is updated before starting this guide. You can find the dongle flasher in the link below.
In order to flash the usb dongle, we have to use edge or chrome plugin the dongle to the computer you use to flash it. Hit Connect In the popup select the dongle and hit connect then do it again.
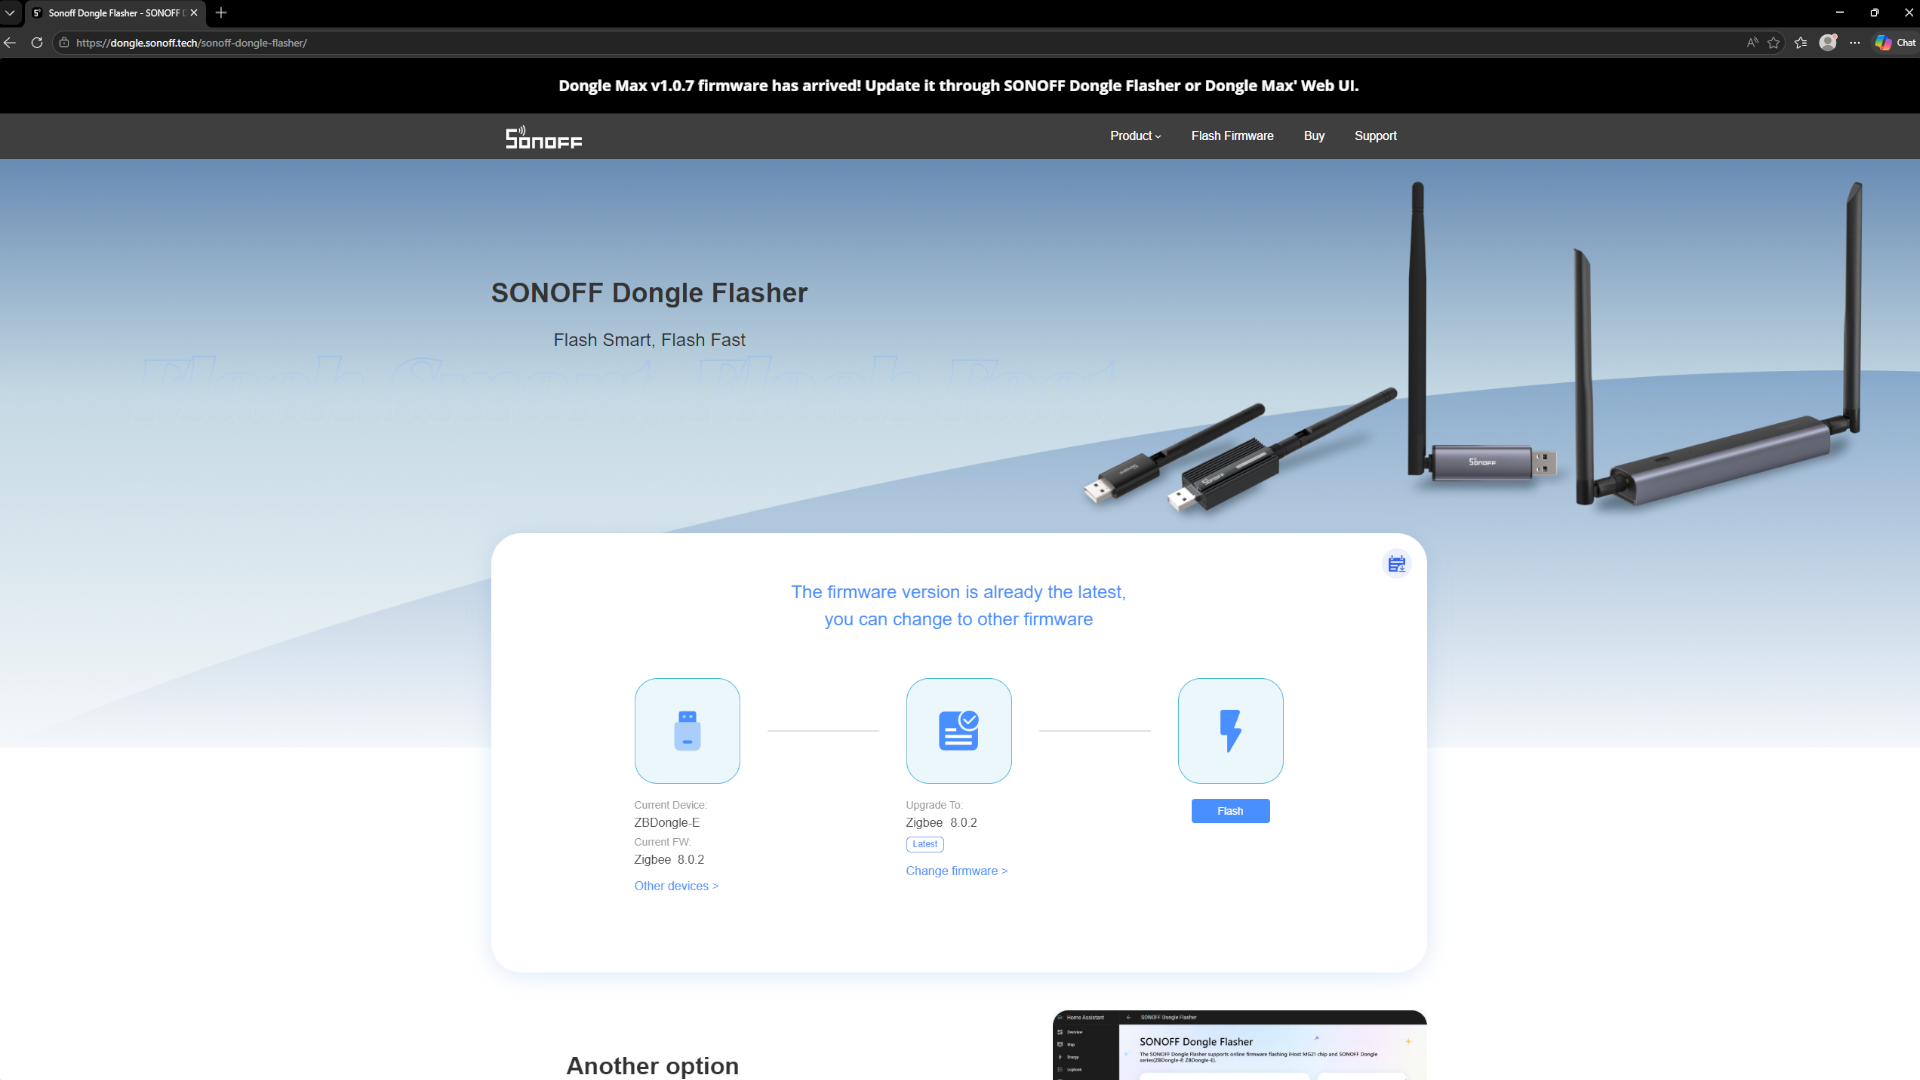 Sonoff Dongle Flasher
Connect the USB device to your computer, then pass it through to the VM.
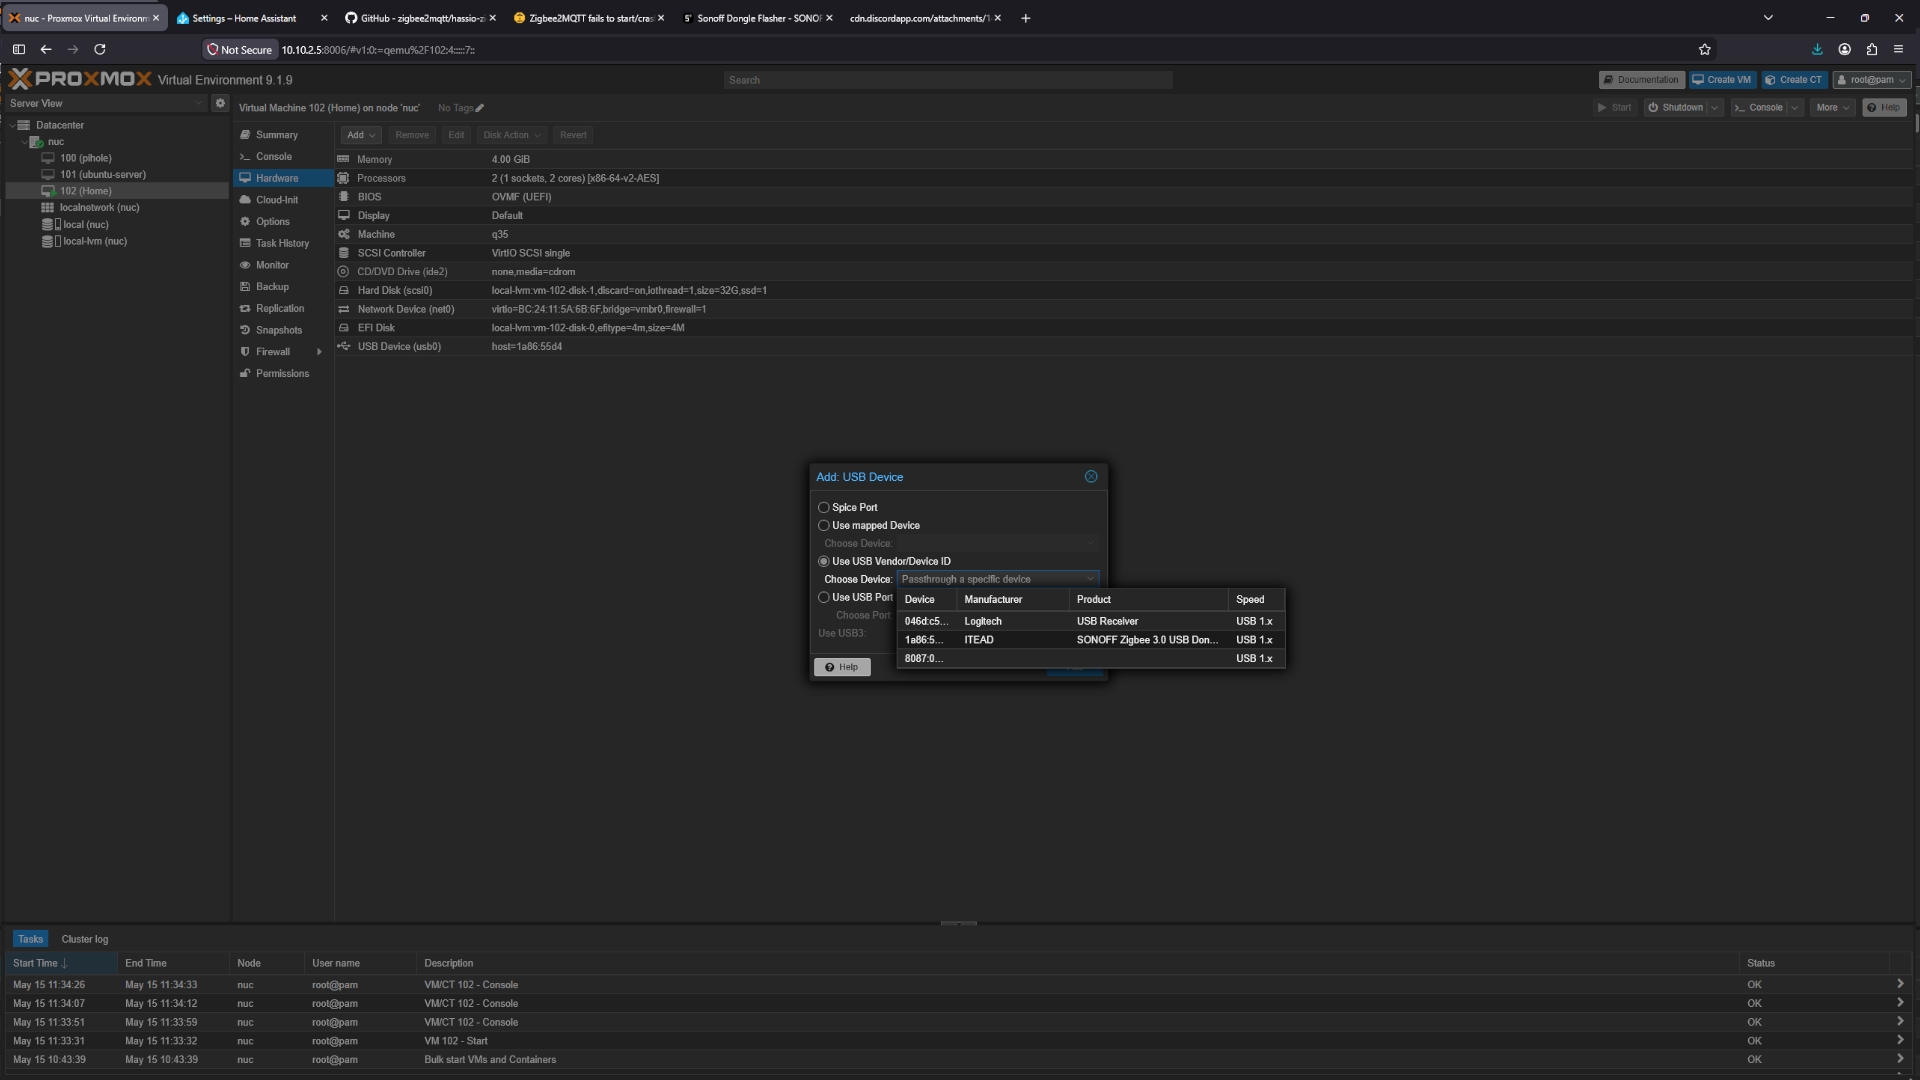 Add usb
First, we need to create a user for the Mosquitto MQTT add-on. To do this, enable Advanced Mode by clicking your username in the bottom-left corner.
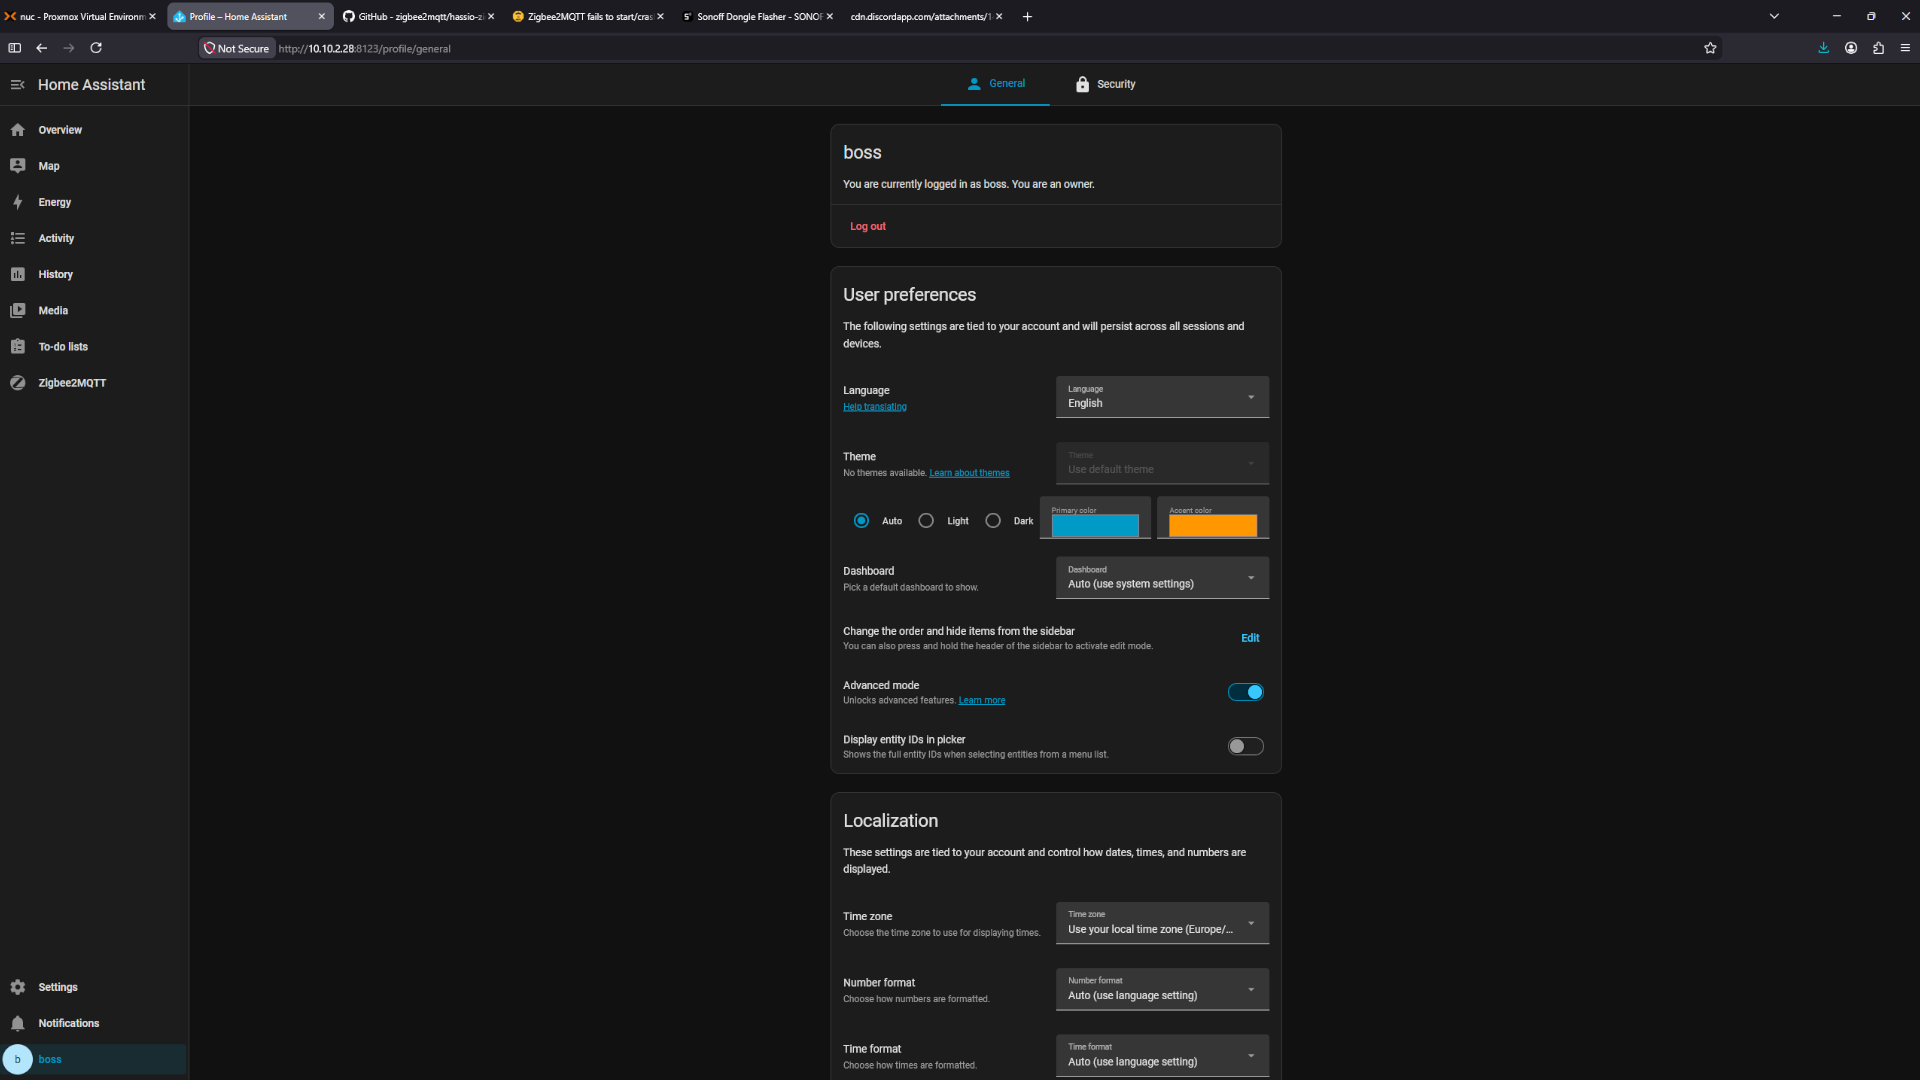 Advance mode
Open Settings, then go to People → Users. Create the user account, assign a password, and enable the option “Can only log in from the local network.”
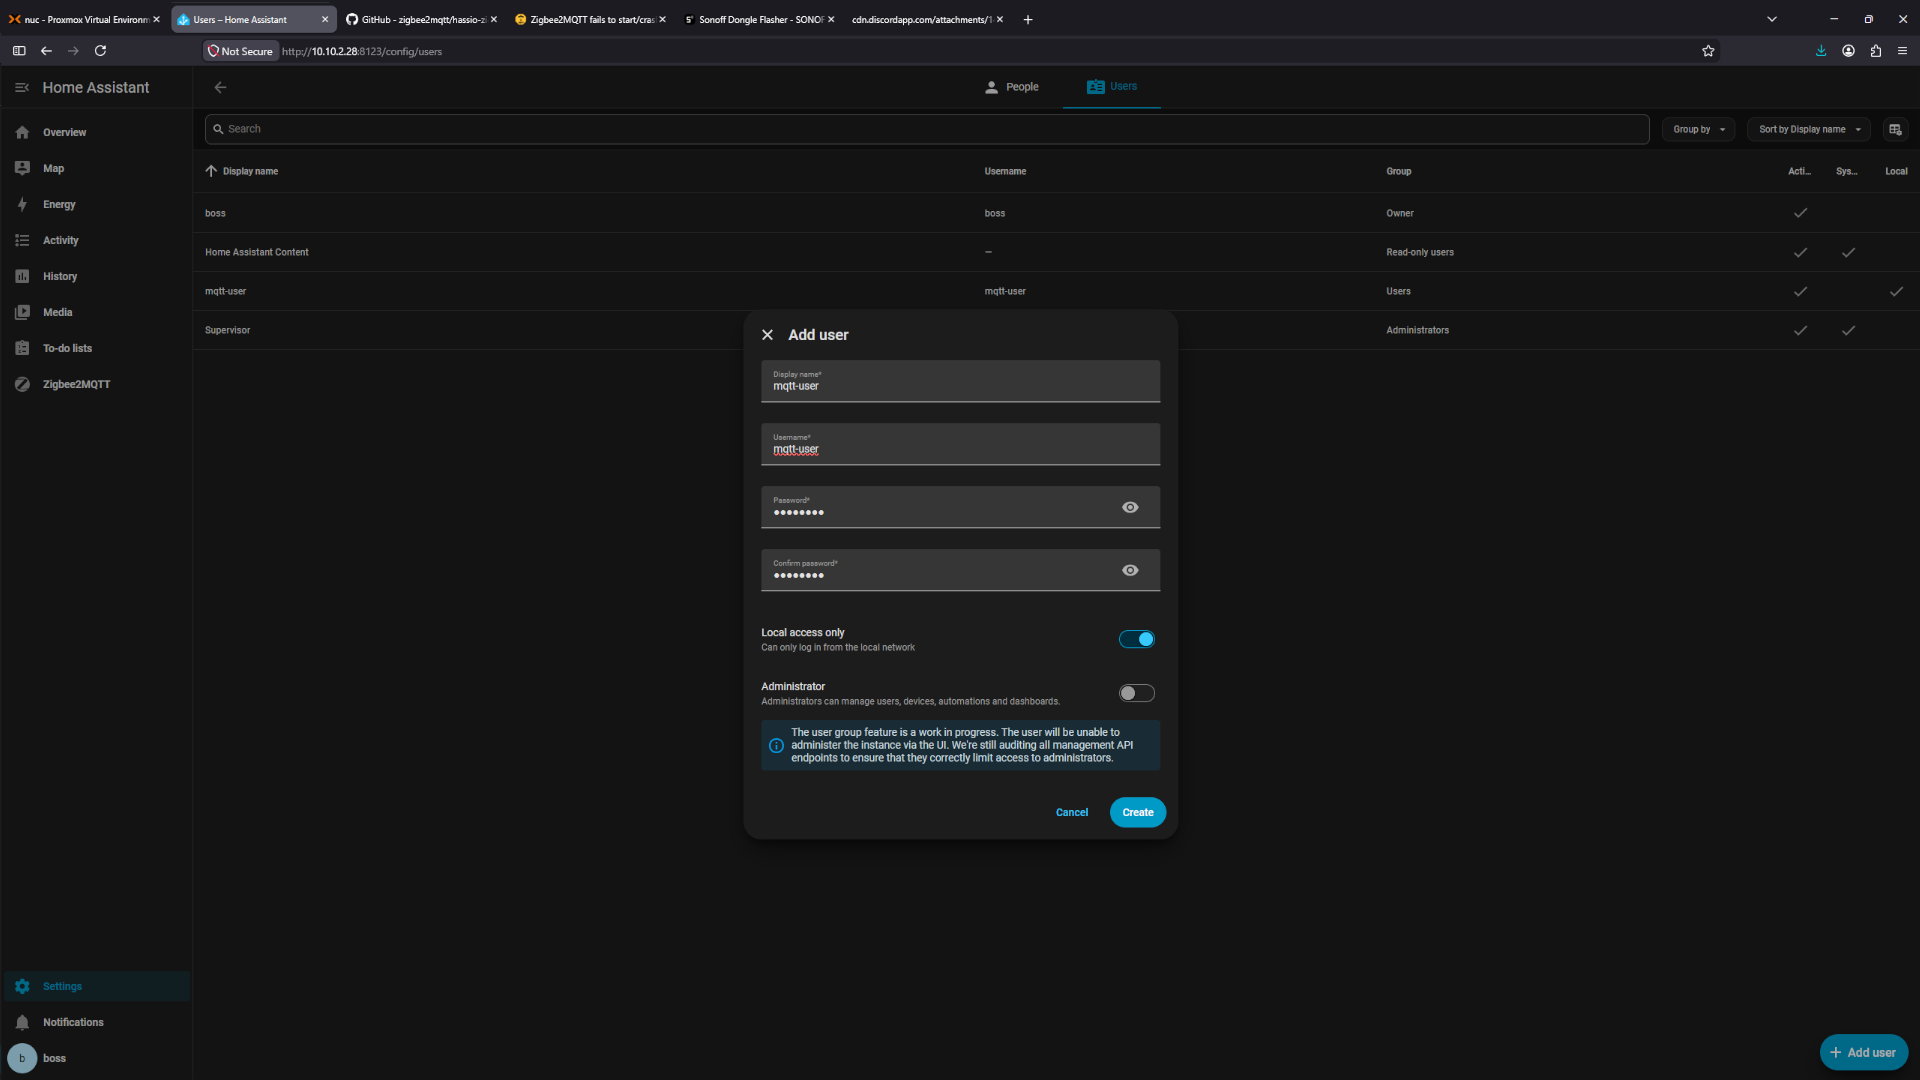 Add user
We need to locate the USB dongle for the later configuration. Go to Settings → System → Hardware, then select System Hardware. Find ttyACM0, click it, and copy the ID listed under DEVLINKS.
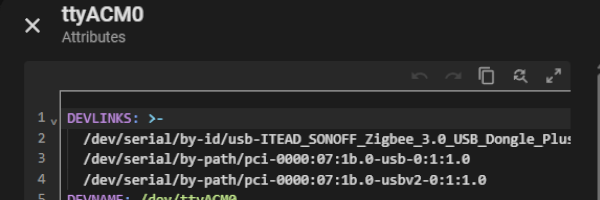 Sonoff Dongle ID
Store this ID for later use. Although the dongle will usually work with just ttyACM0, using the complete device path makes the configuration more reliable and avoids issues if the device path changes.
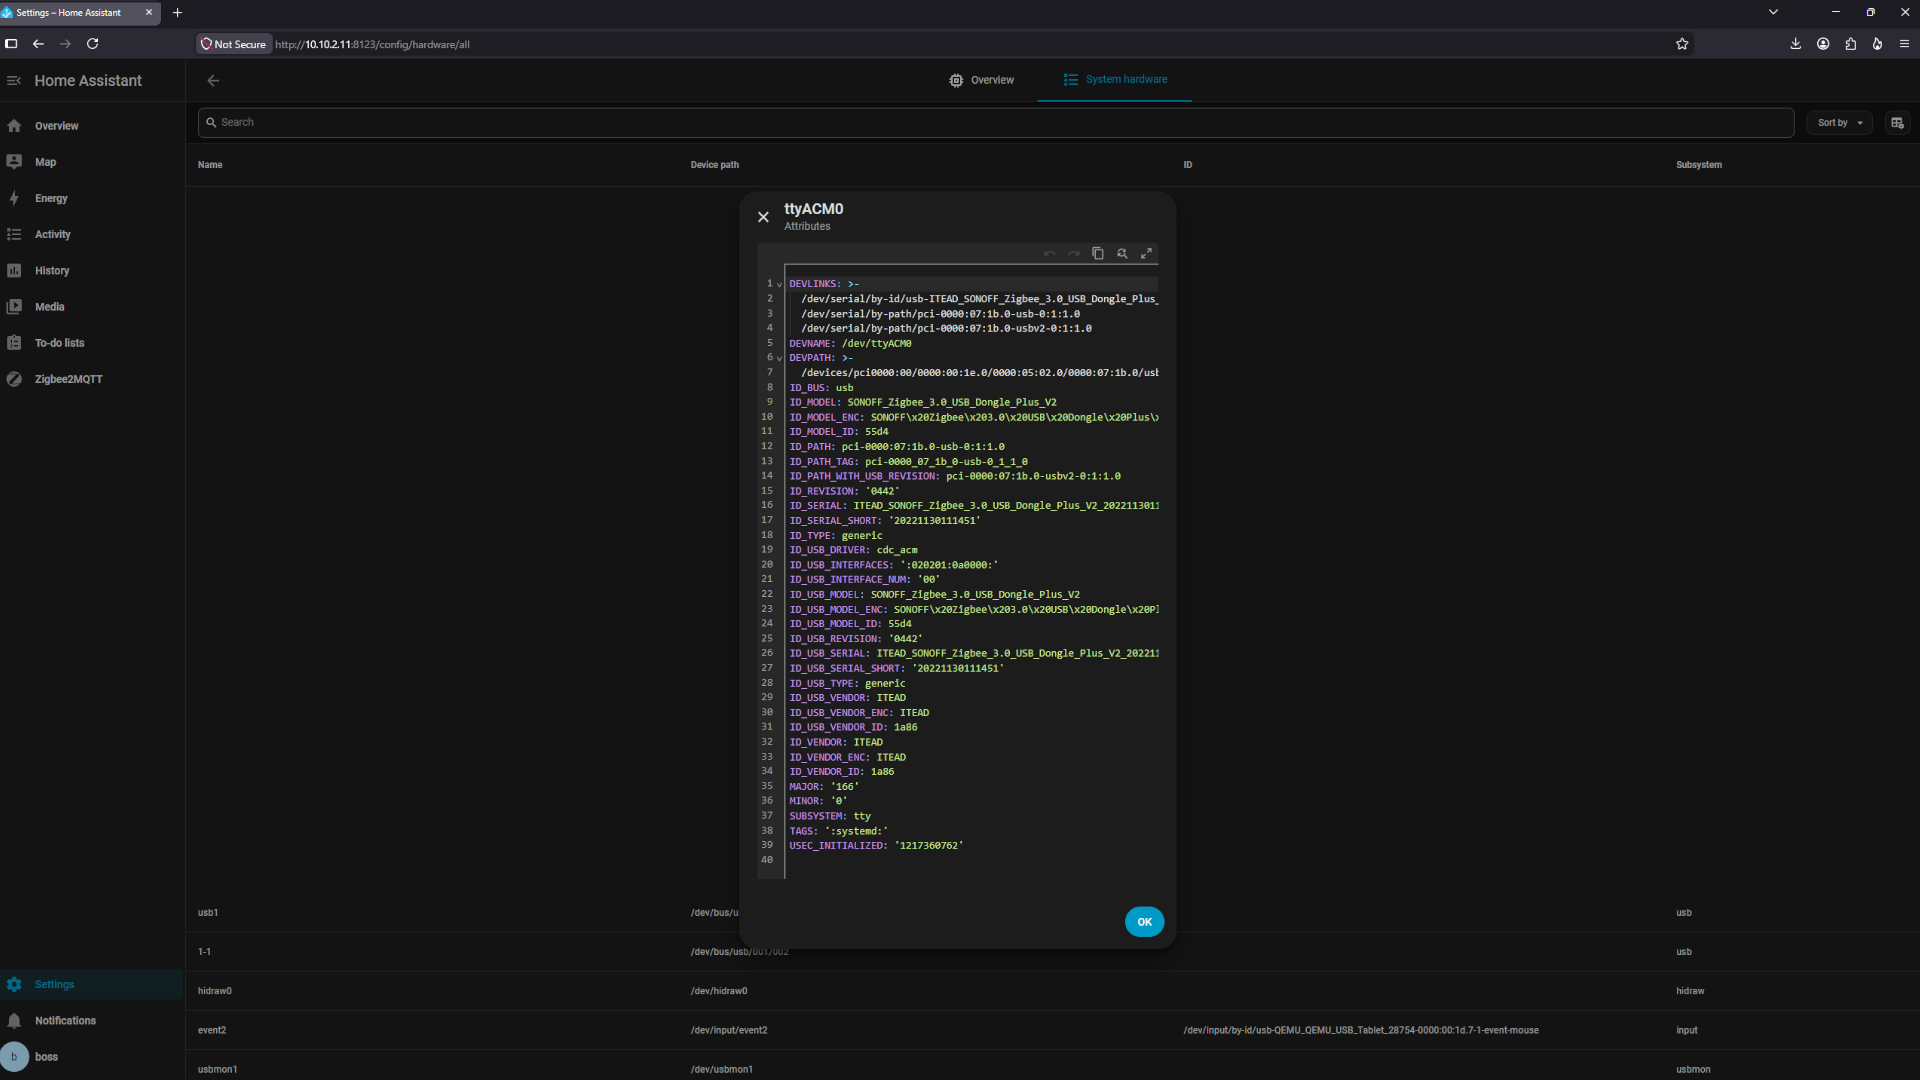 Sonoff Dongle
Now we can install the Mosquitto MQTT add-on. Navigate to Settings → apps → app store, search for MQTT, open the Mosquitto MQTT add-on page, and click Install.
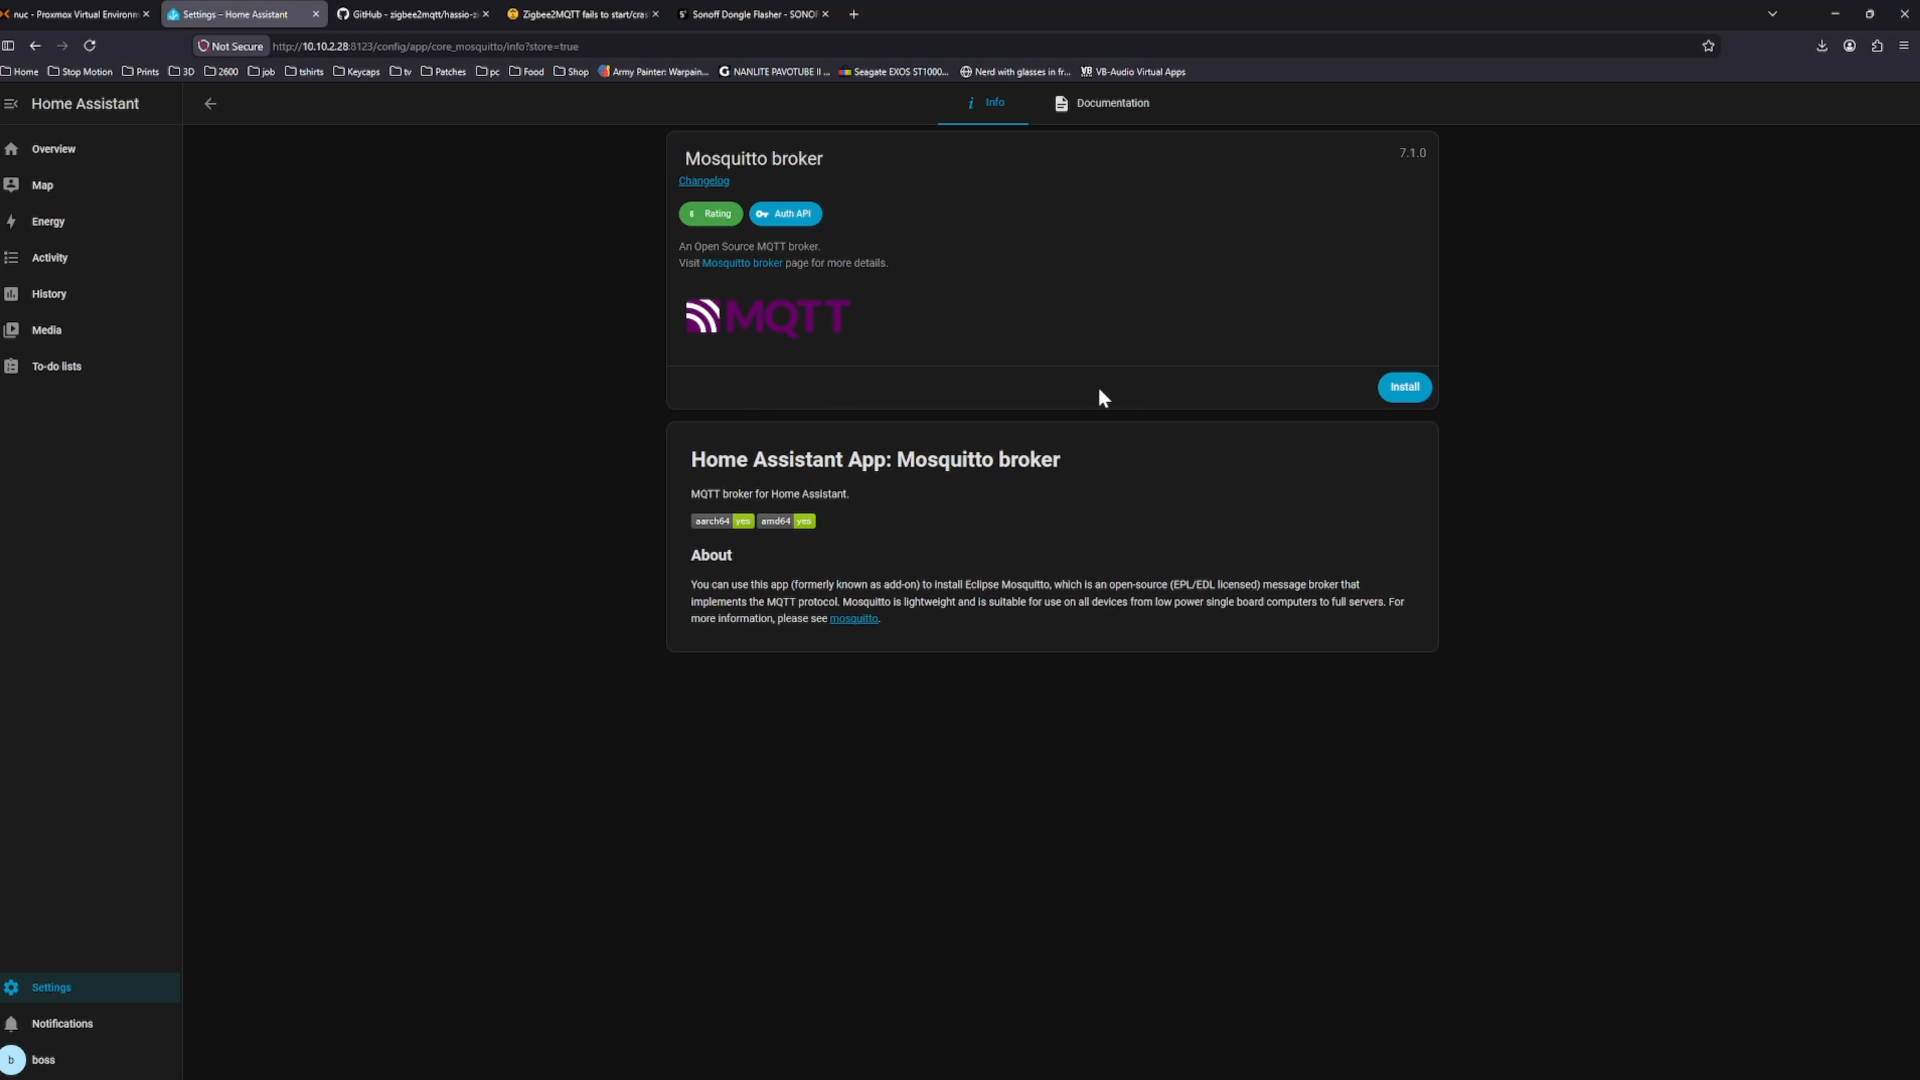 Mqtt broker
Once the add-on is installed, turn on Start on boot and Watchdog, then press Start to launch the add-on.
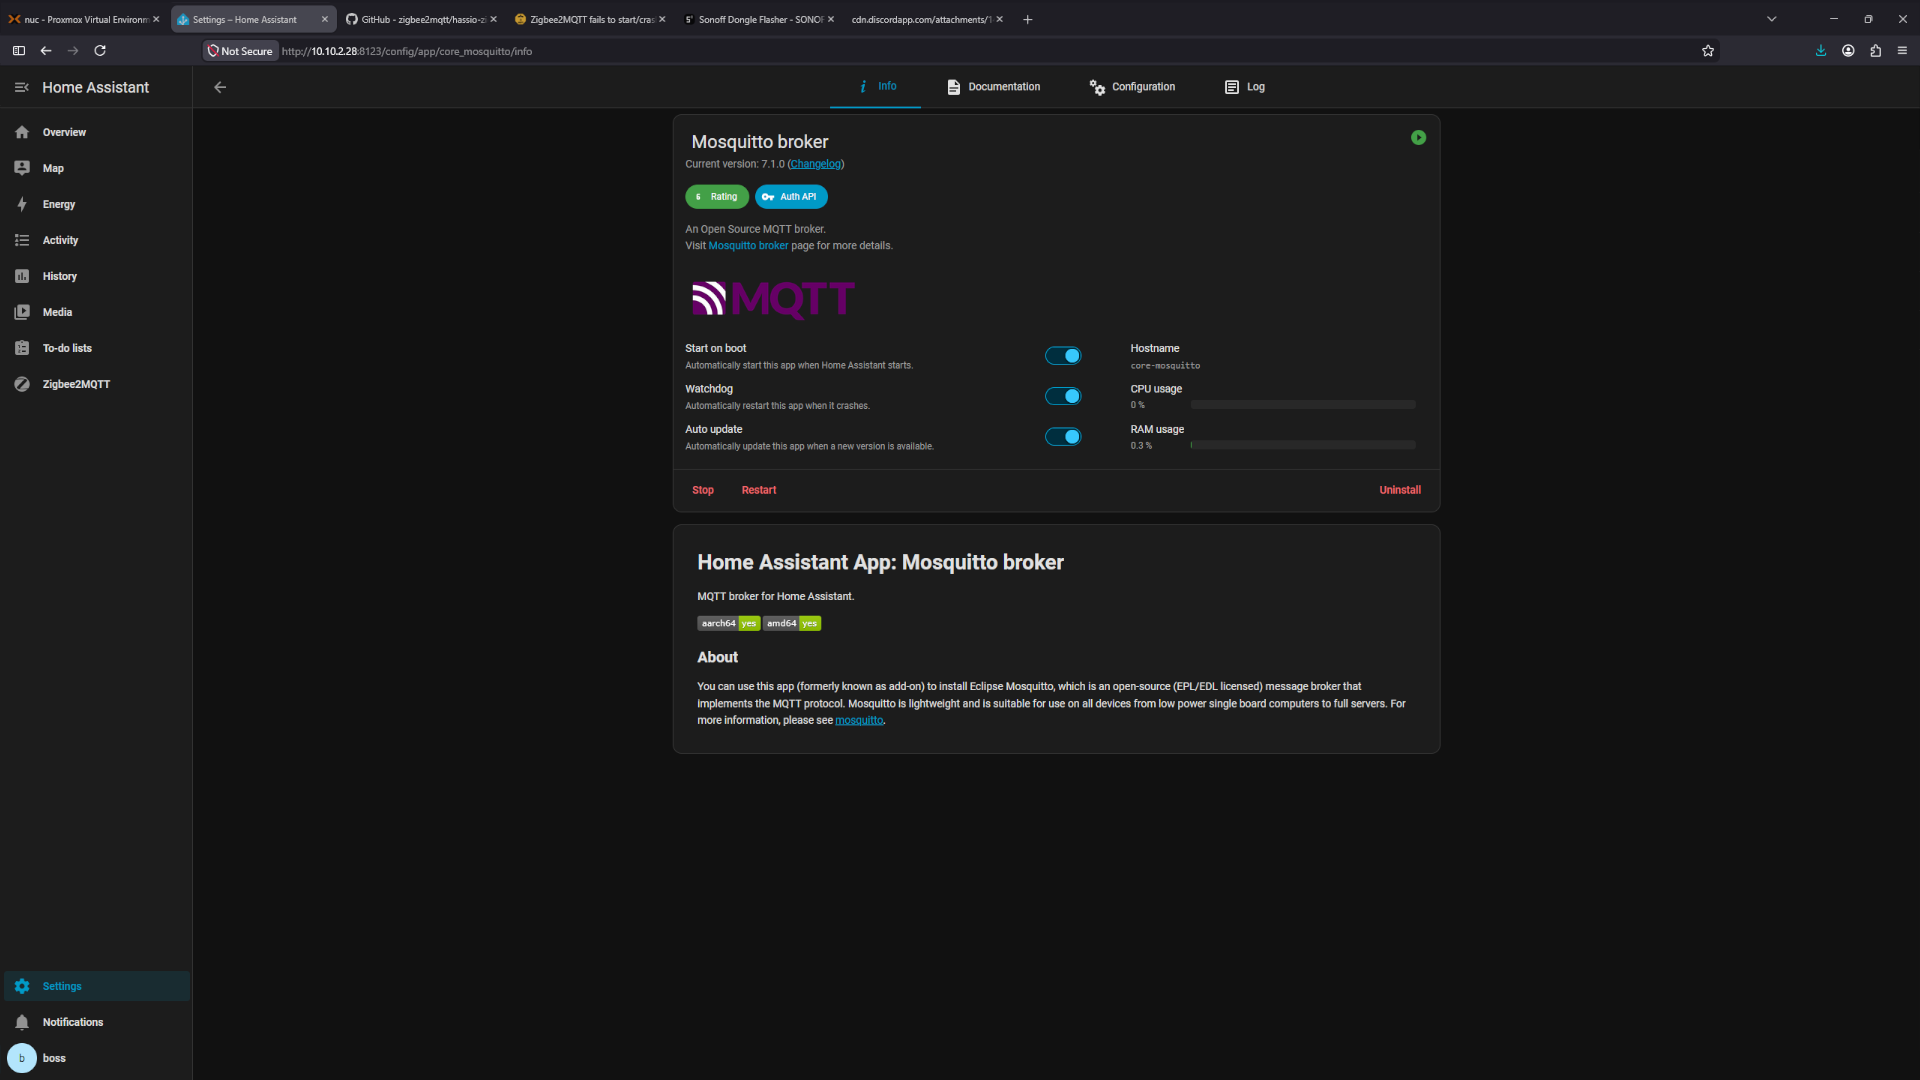 Start MQTT broker
Head back to Settings and open Devices & Services. Find the MQTT card, click Configure, and continue through the setup.
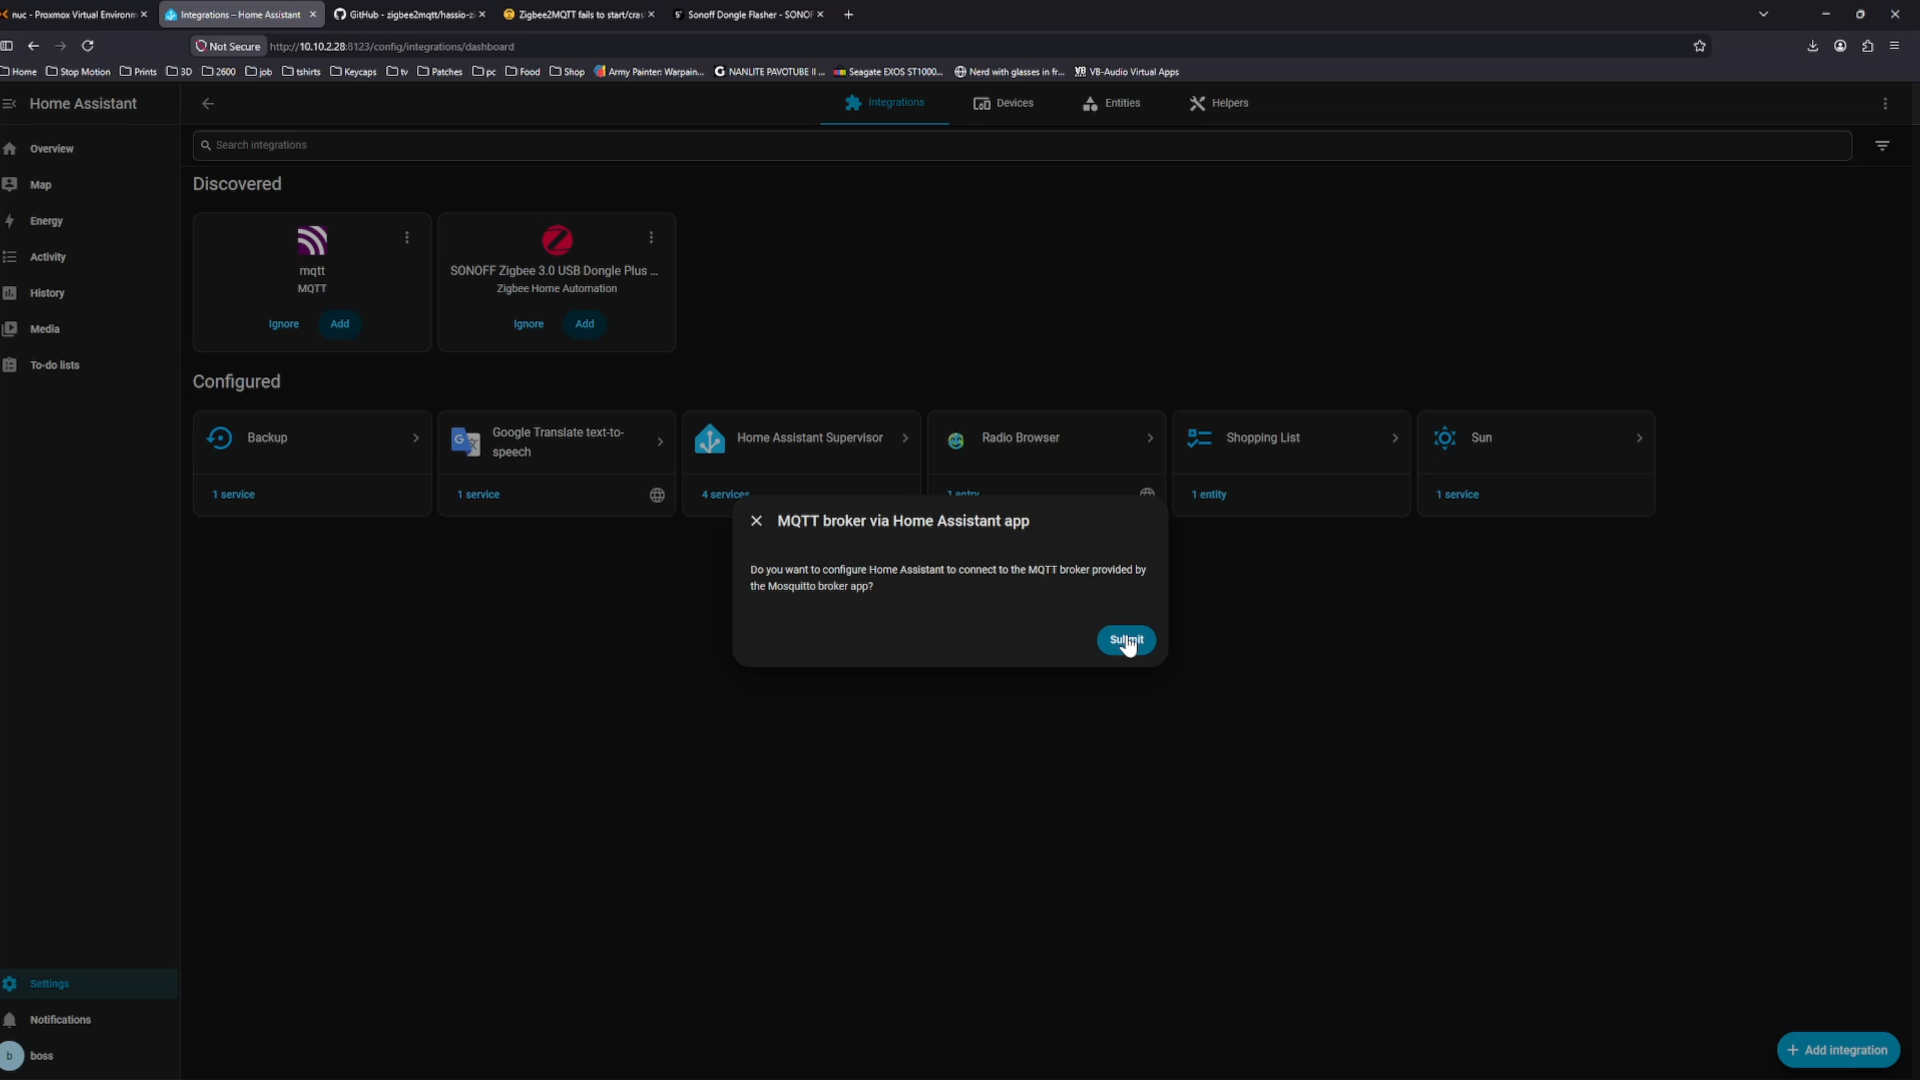 MQTT
MQTT
You might need to refresh the page first with Ctrl + Shift + R. Finally, click Submit and then Finish.
MQTT
Next step is installing Zigbee2MQTT. Navigate to Settings → Aps → install app to begin.
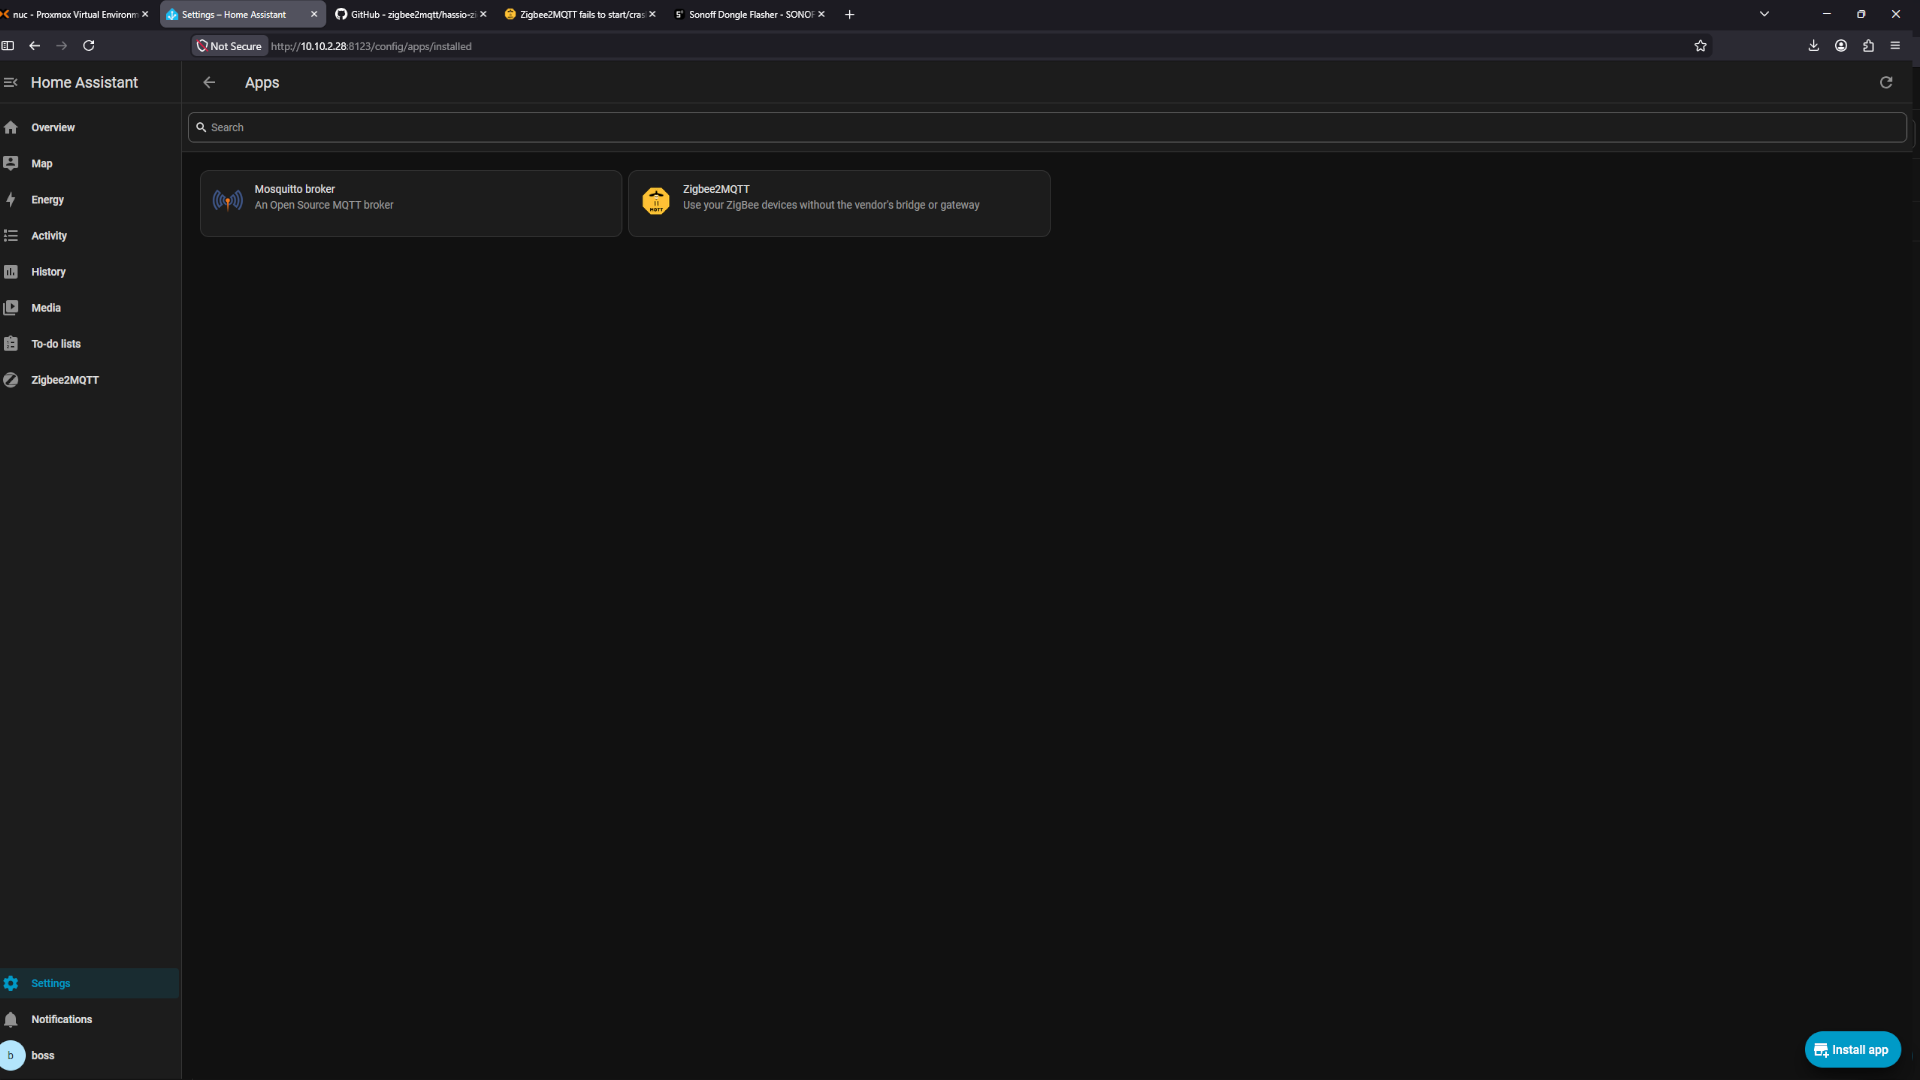 Zigbee2MQTT app
Before installing Zigbee2MQTT, we need to add its repository. Click the top-right three dots, choose Repositories, then select Add at the bottom right. Paste in the link, click Add again, close the window, and refresh your browser. Zigbee2MQTT should now be visible.
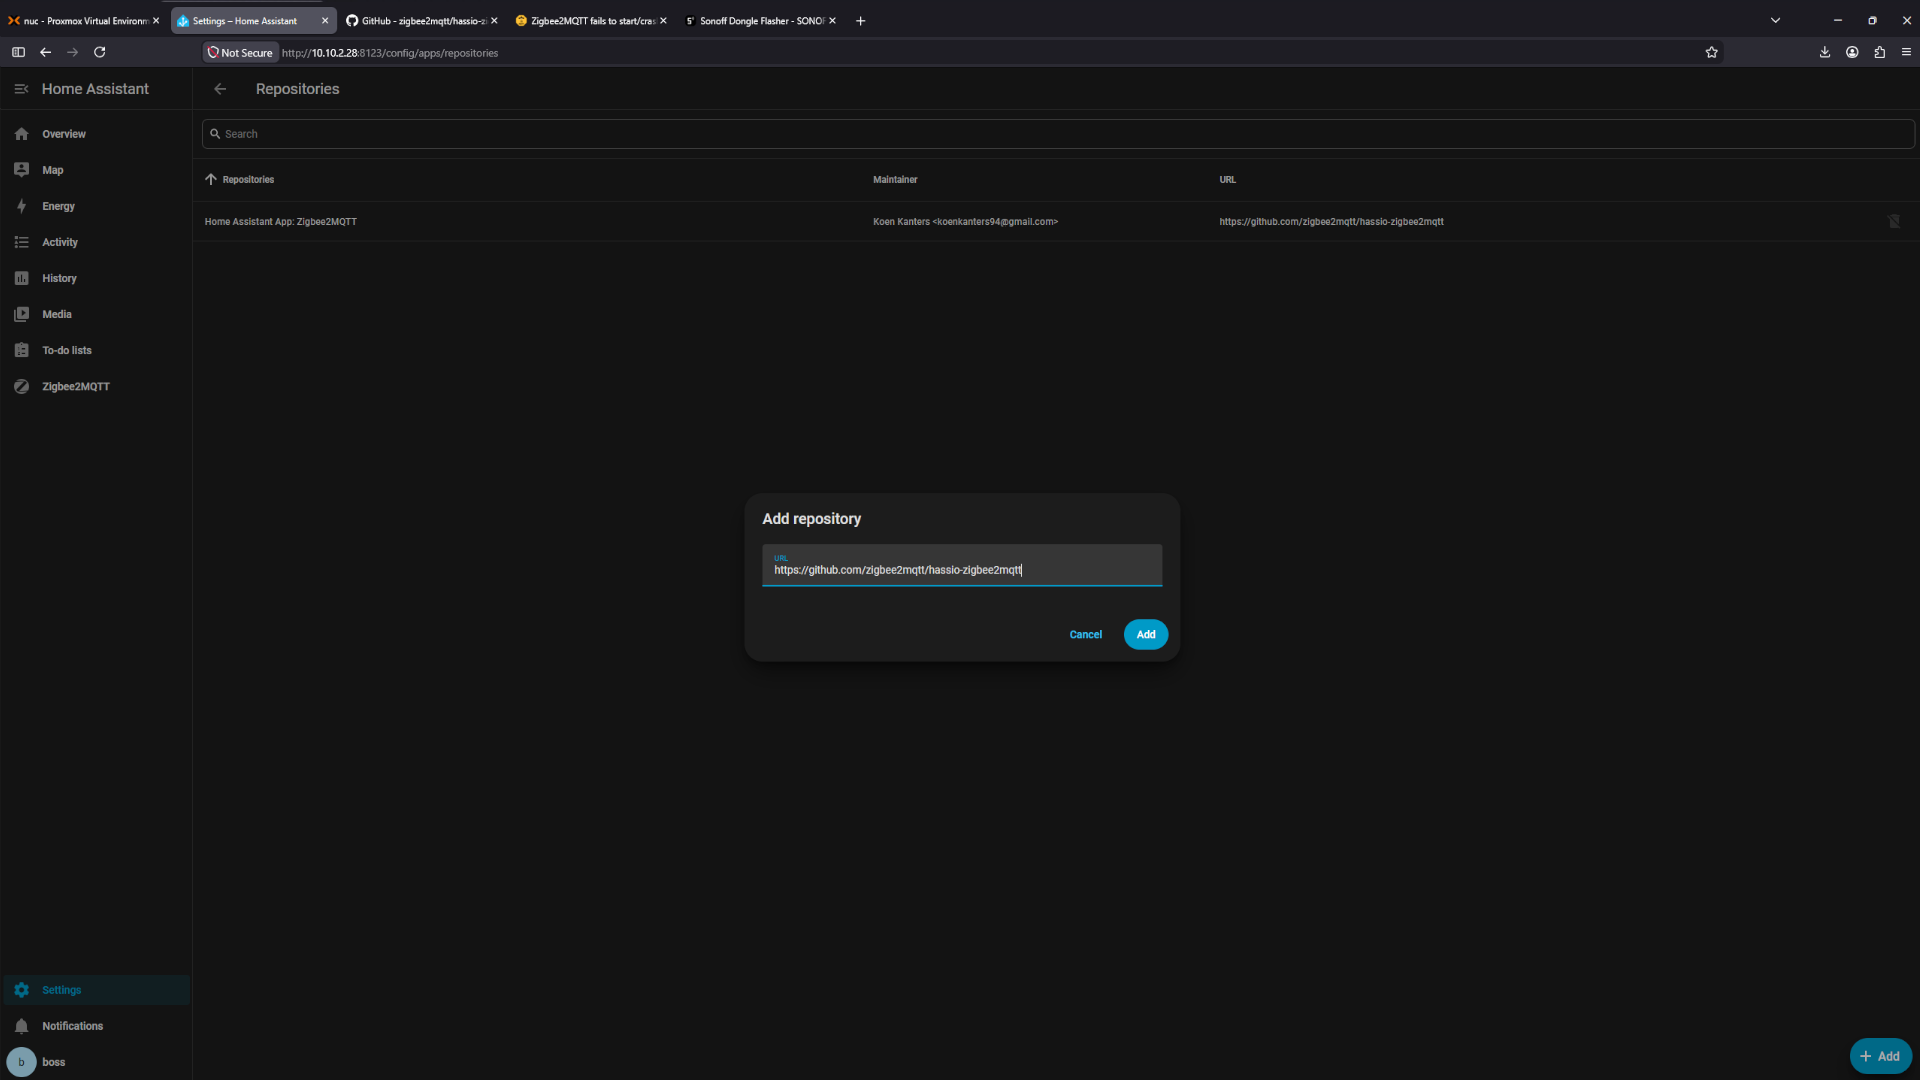 Zigbee2MQTT repository
Click on the Production version, then choose Install to proceed.
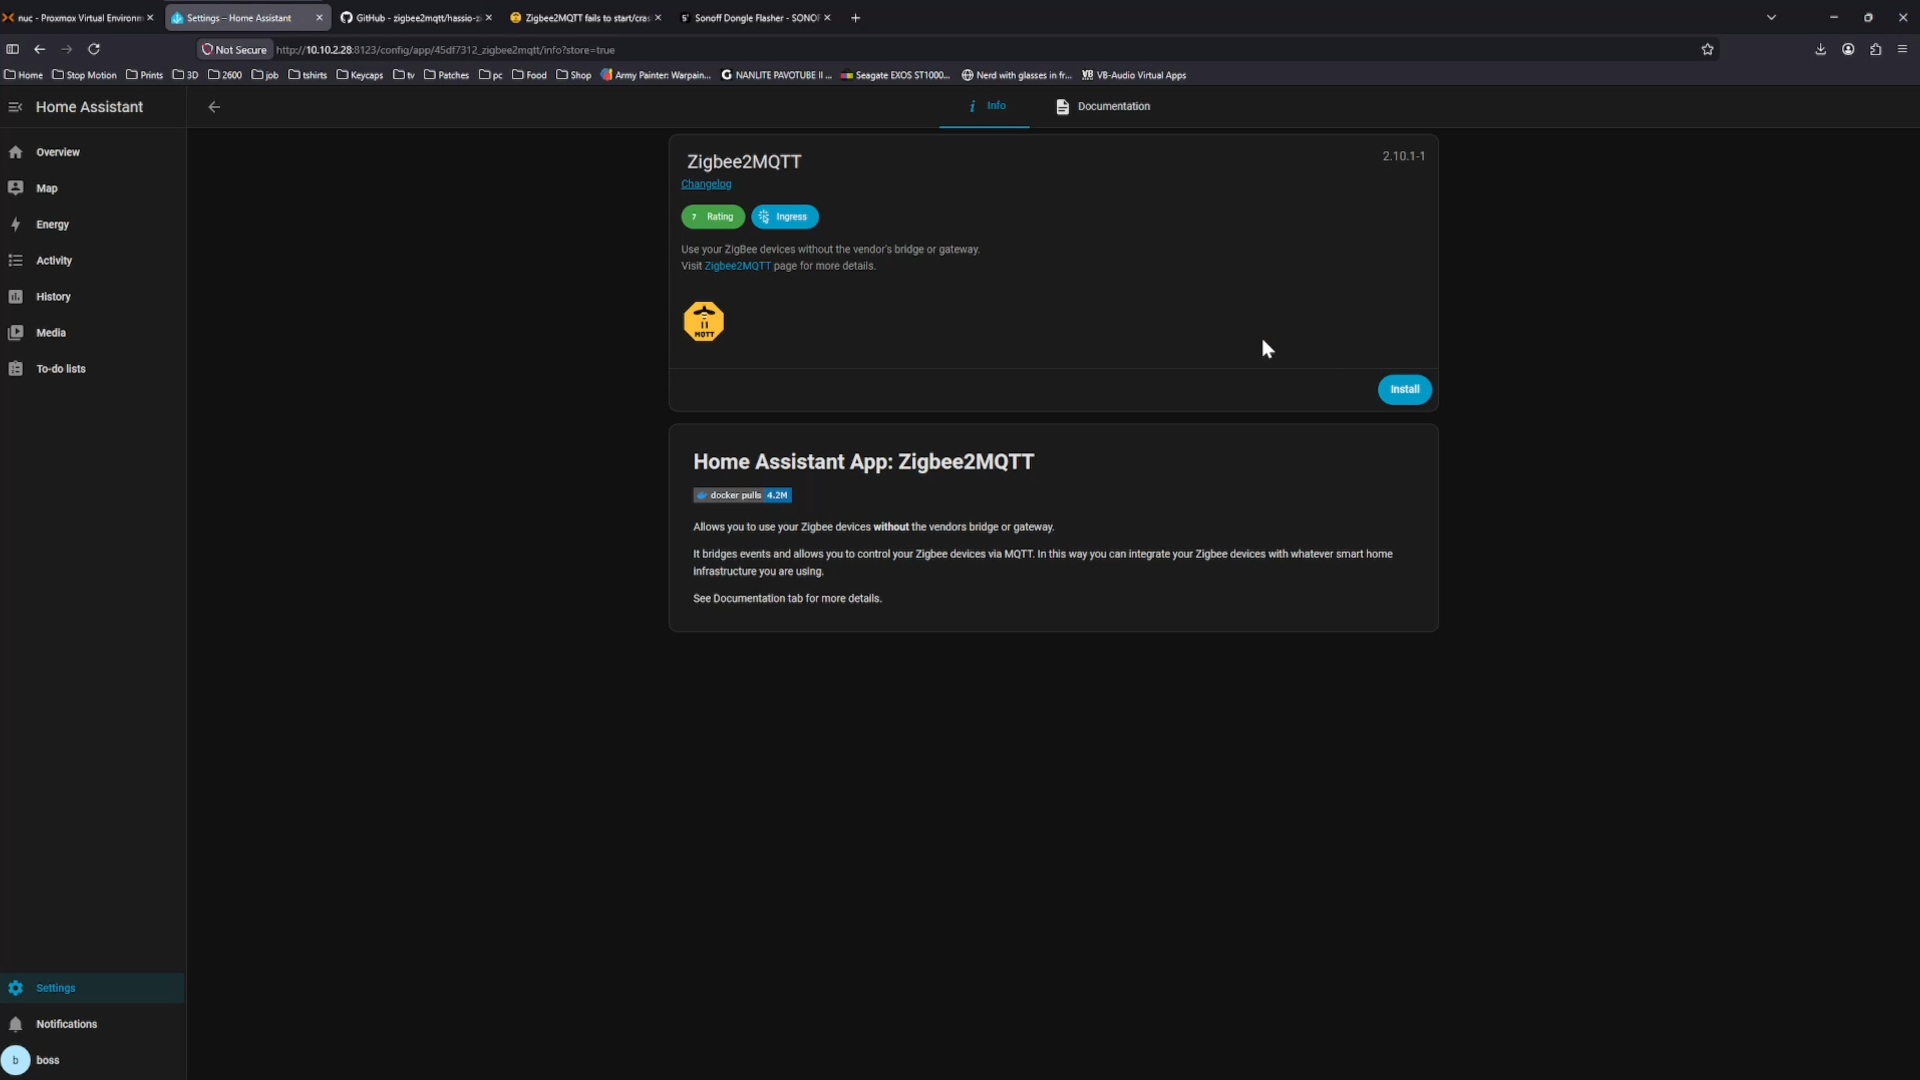 Zigbee2MQTT
Once installed, turn on Start on boot, Watchdog, and Show in sidebar.
 Zigbee2MQTT
After that, navigate to the Configuration tab. Fill in the fields with the data provided below.
1
2
3
4
5
6
7
server : mqtt://core-mosquitto:1883
user : mqtt-user
pass : subscribe

port: /dev/serial/by-id/usb-ITEAD_SONOFF_Zigbee_3.0_USB_Dongle_Plus_V2_20221130111451-if0
adapter: ember
baudrate: 115200
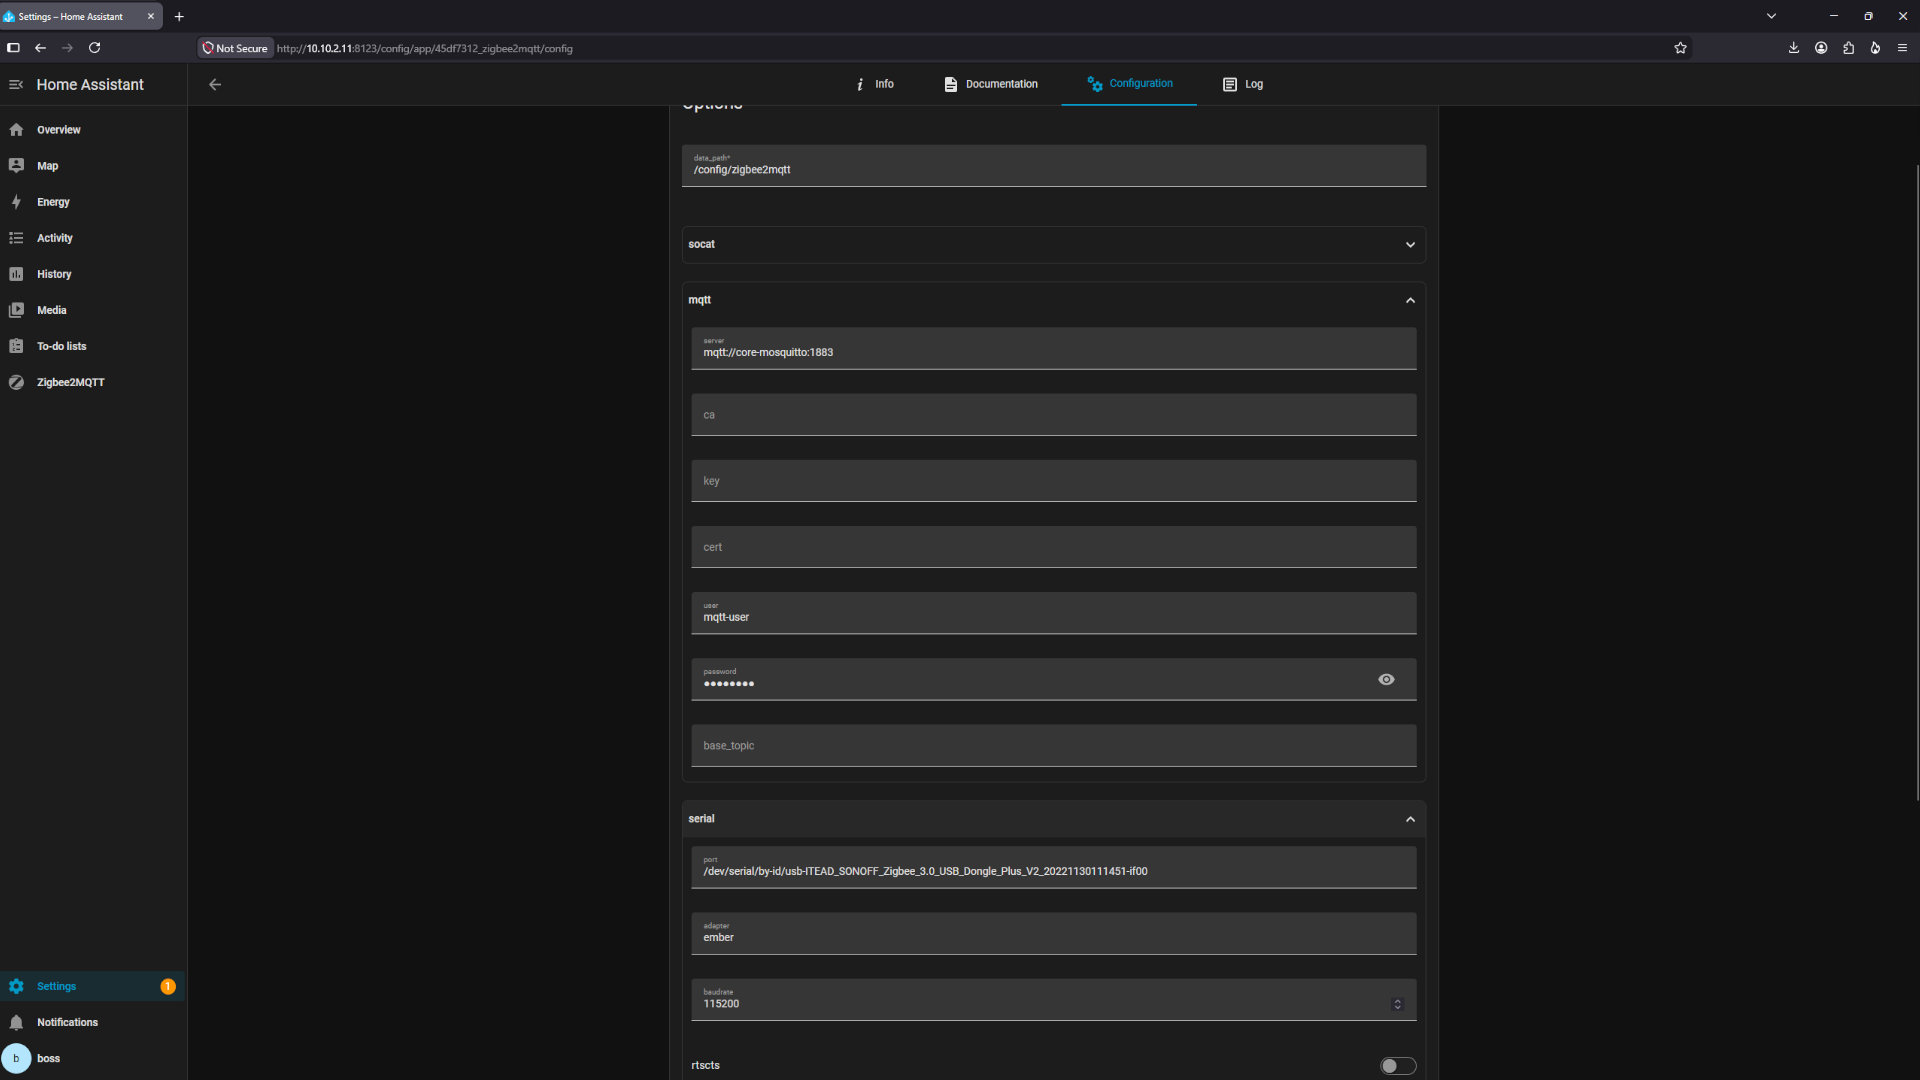 Configuration tab
Save the configuration, then go to Info and click Start.
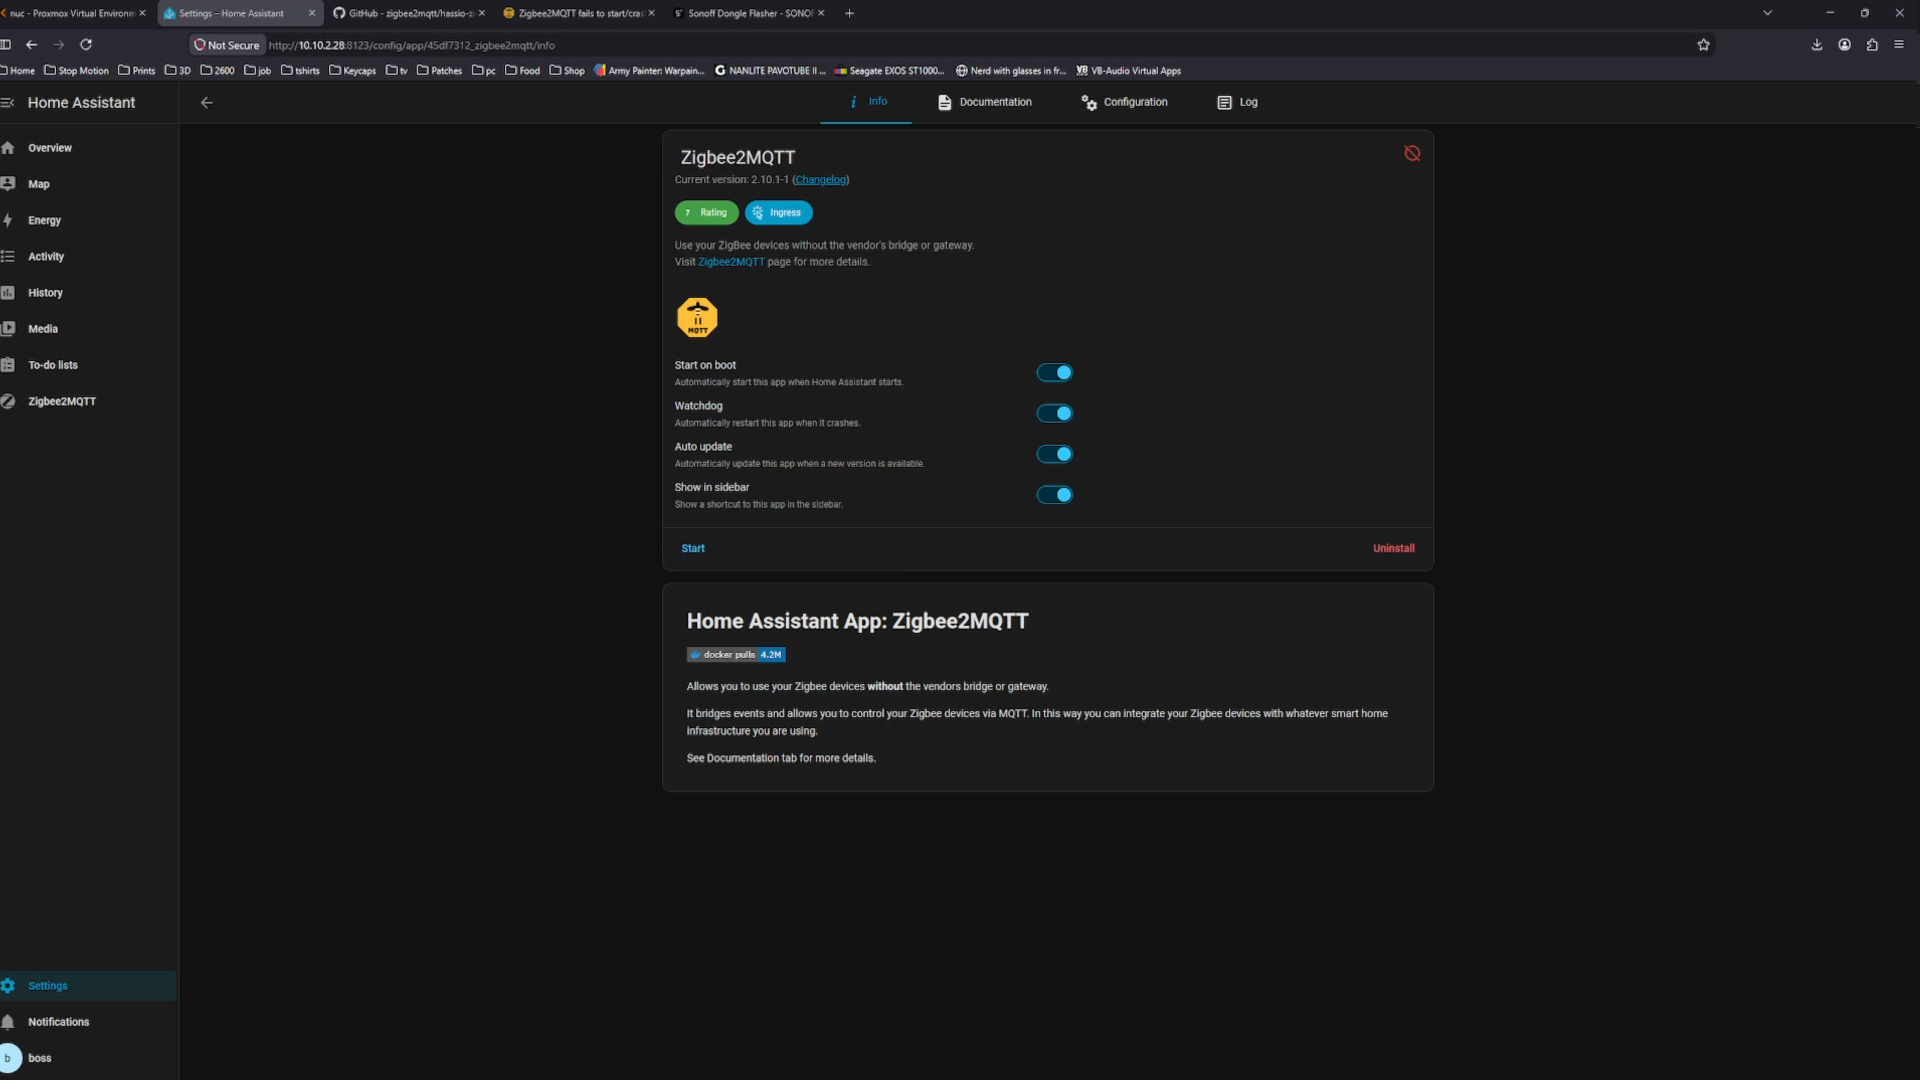 Zigbee2MQTT start
At this point, review the logs for any errors.
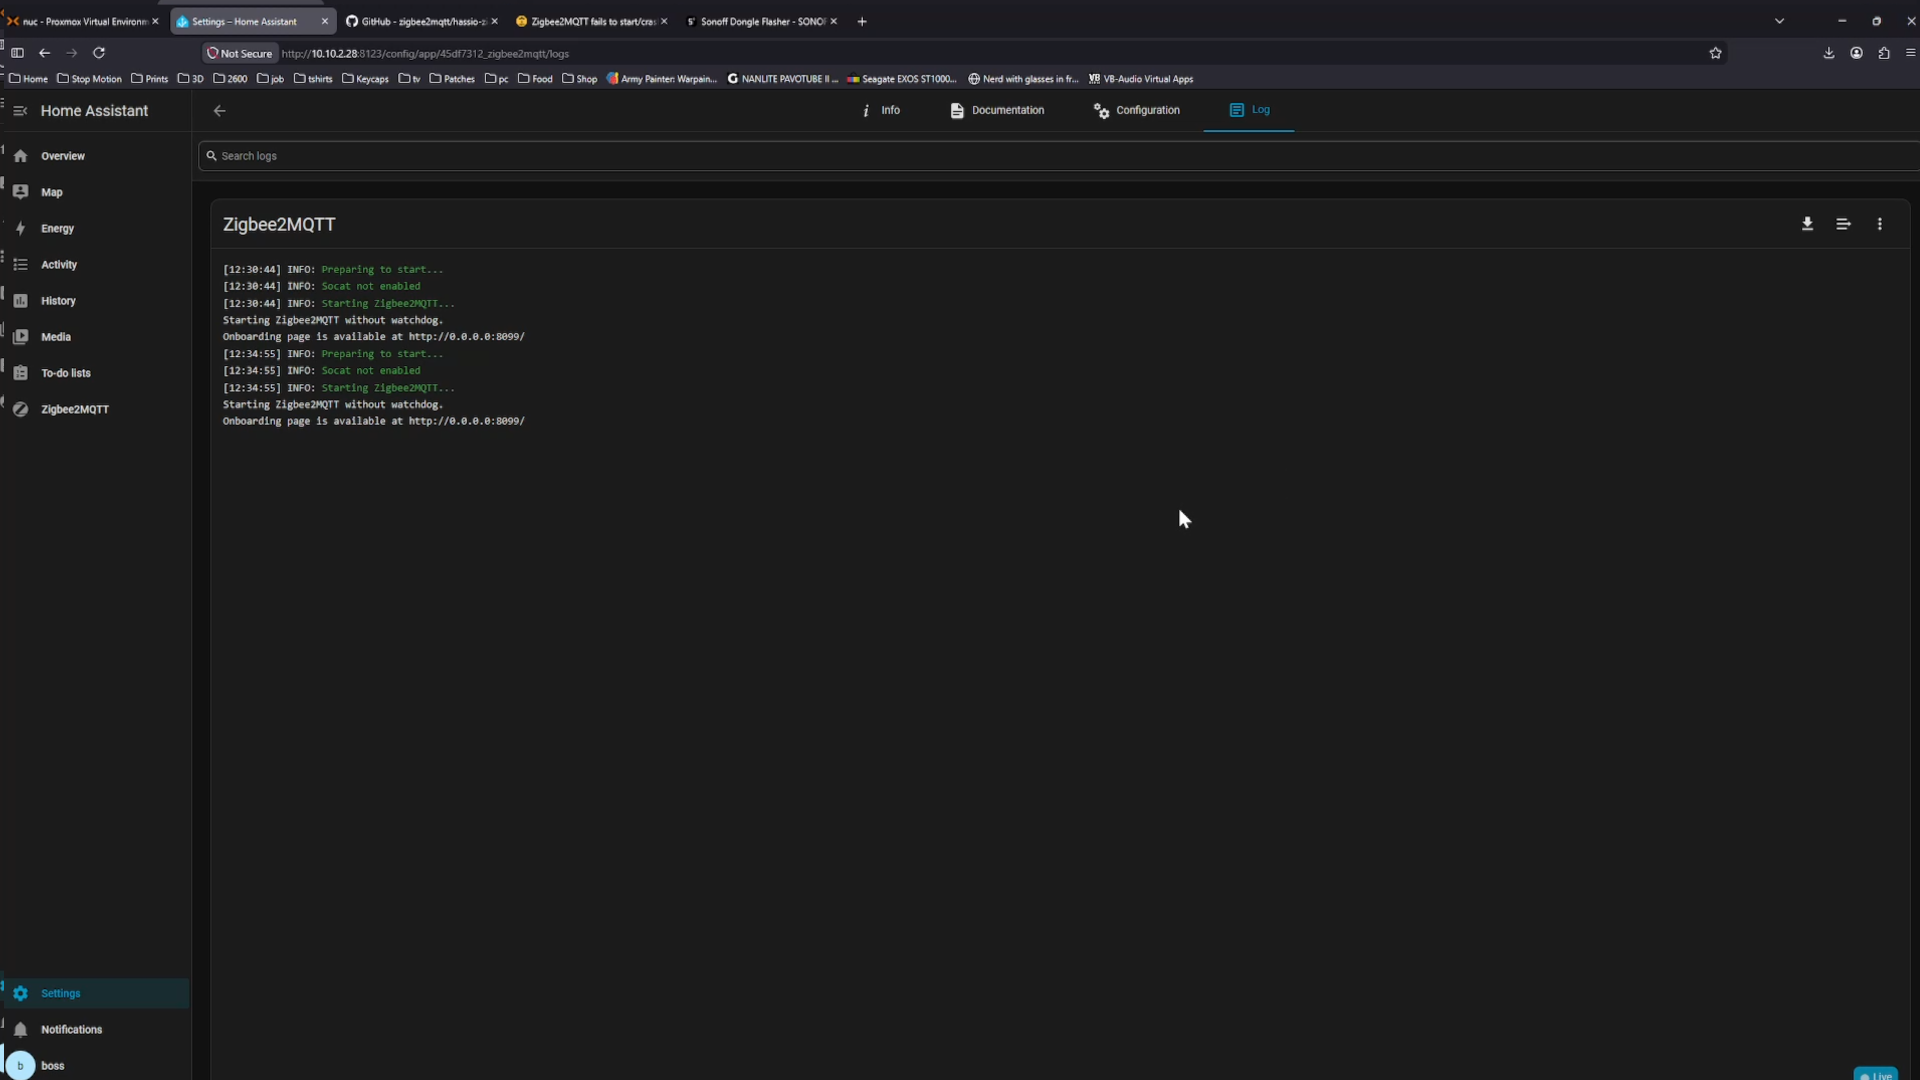 Logs
Logs
Next, open Zigbee2MQTT from the left sidebar.
In the Coordinator / Adapter section, choose your dongle from the dropdown list and press Submit at the bottom right.
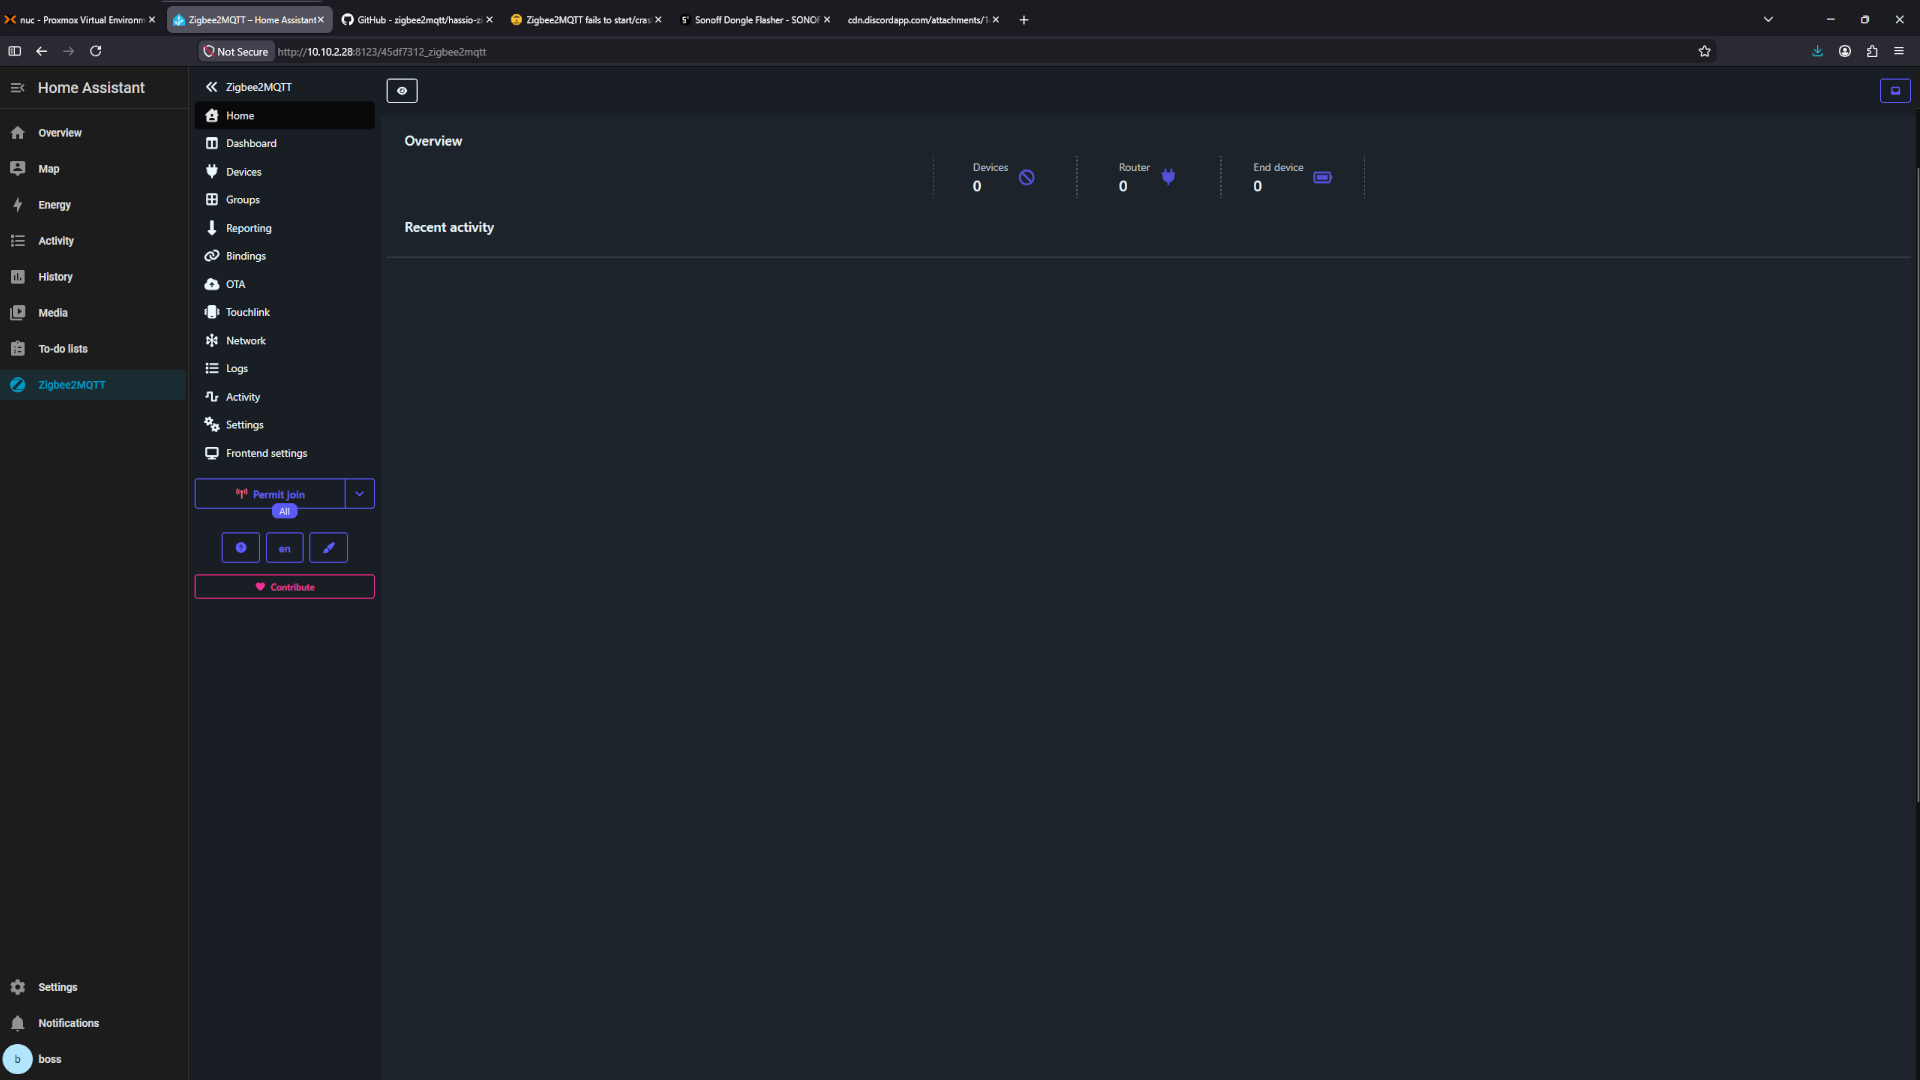 Zigbee2MQTT main page
Now it’s time to pair your devices. Select Permit Join (All), enable pairing mode on the device, and wait for it to appear. Then click the rename device to the right, type in a new name, and click Rename Device to save it. Continue repeating this process until all your devices have been added
Links
Zigbee2MQTT repository
Dongle flasher
Zigbee2mqtt fail to start
ZHA vs Zigbee2MQTT