Pihole Setup guide

Deploying a Pi-hole DNS Filtering Server.
This guide covers the end-to-end setup of a Pi-hole server, from installation to a fully configured network-wide DNS filtering solution.
First steps
We need a virtual machine(with a static ip) to install pihole to. Check this guide on how to setup a VM.
Then login to the VM
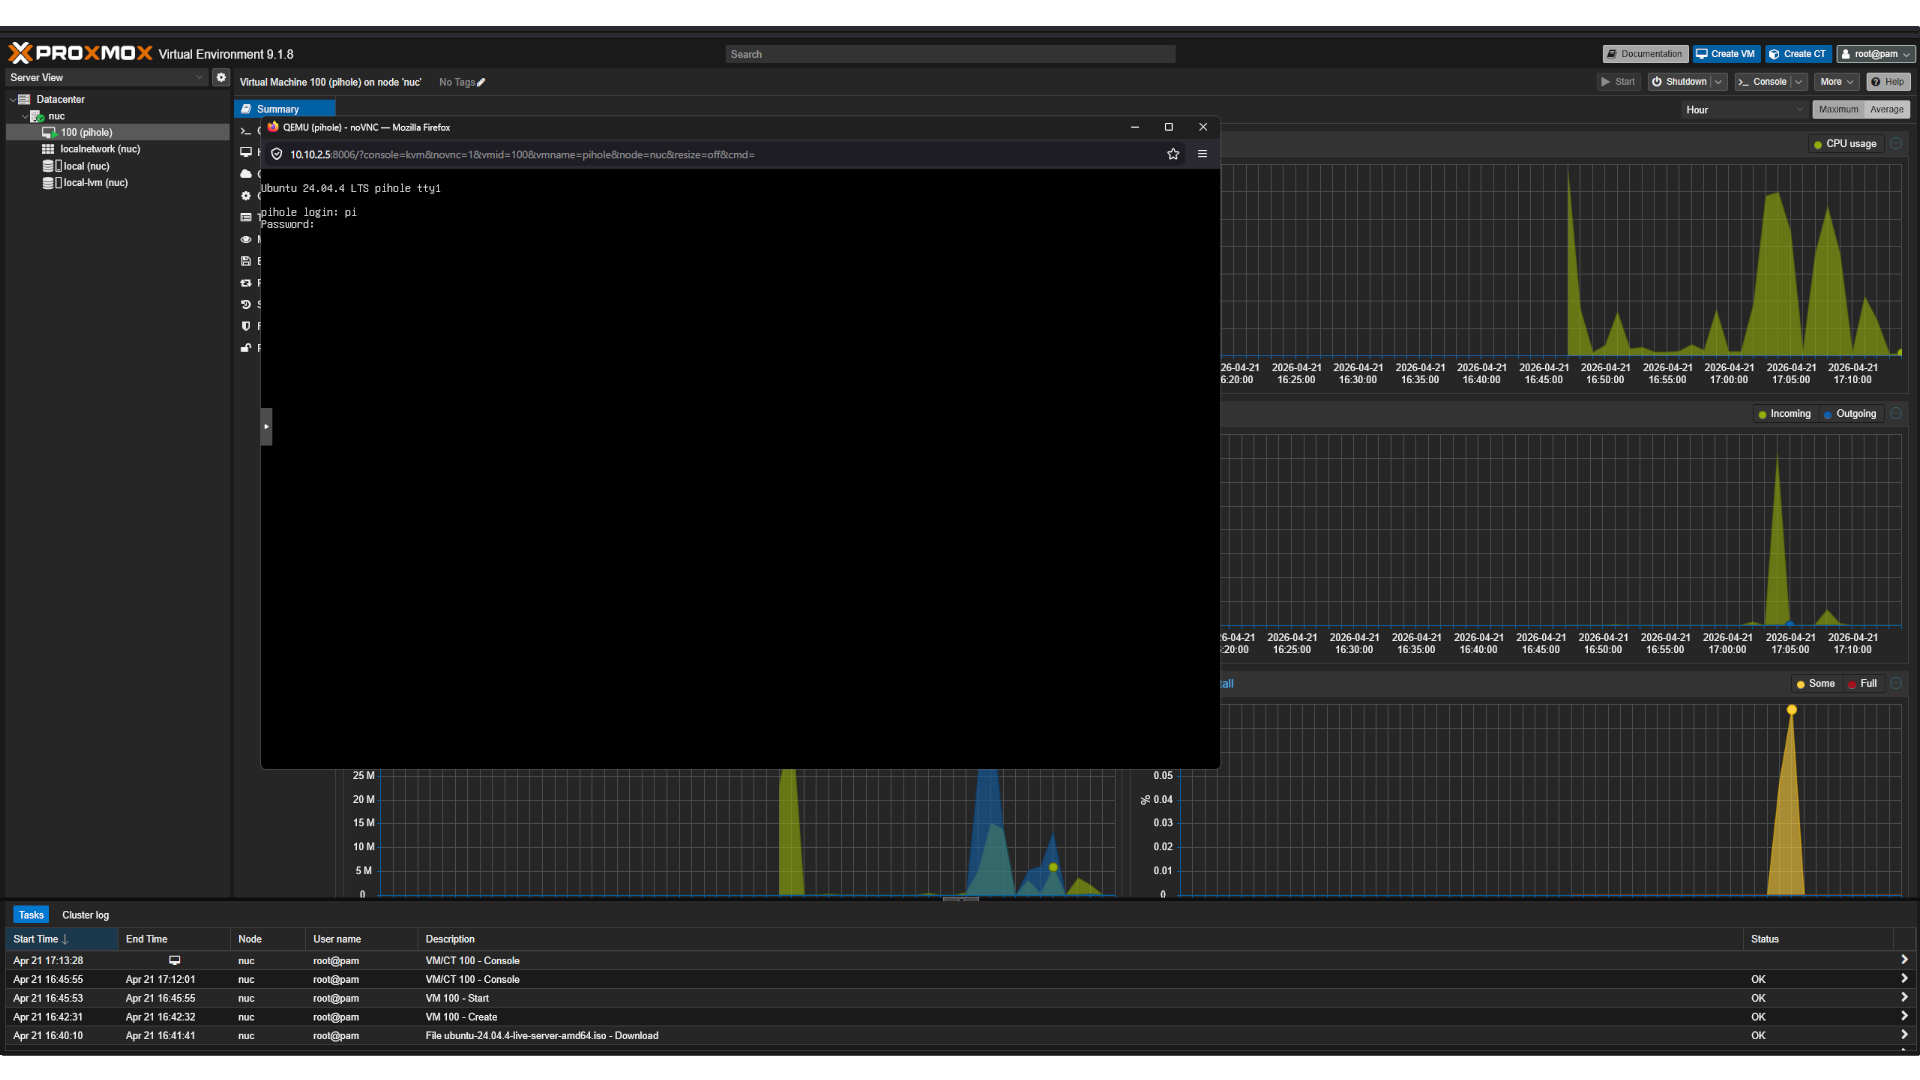 Login
Login
First we need to update run
1
sudo apt update && sudo apt upgraade -y
 Update
Now time to setup pihole google pihole installation or go to this link. https://docs.pi-hole.net/main/basic-install/
For a rapid and straightforward setup, Pi-hole can be installed by running the following command: (Note: If you are using the Proxmox shell, copy and paste may not work. You will need to type the command manually.)
Access your server by opening a shell or logging in using SSH, i will use SHH.
Run the command / curl.
1
curl -sSL https://install.pi-hole.net | bash
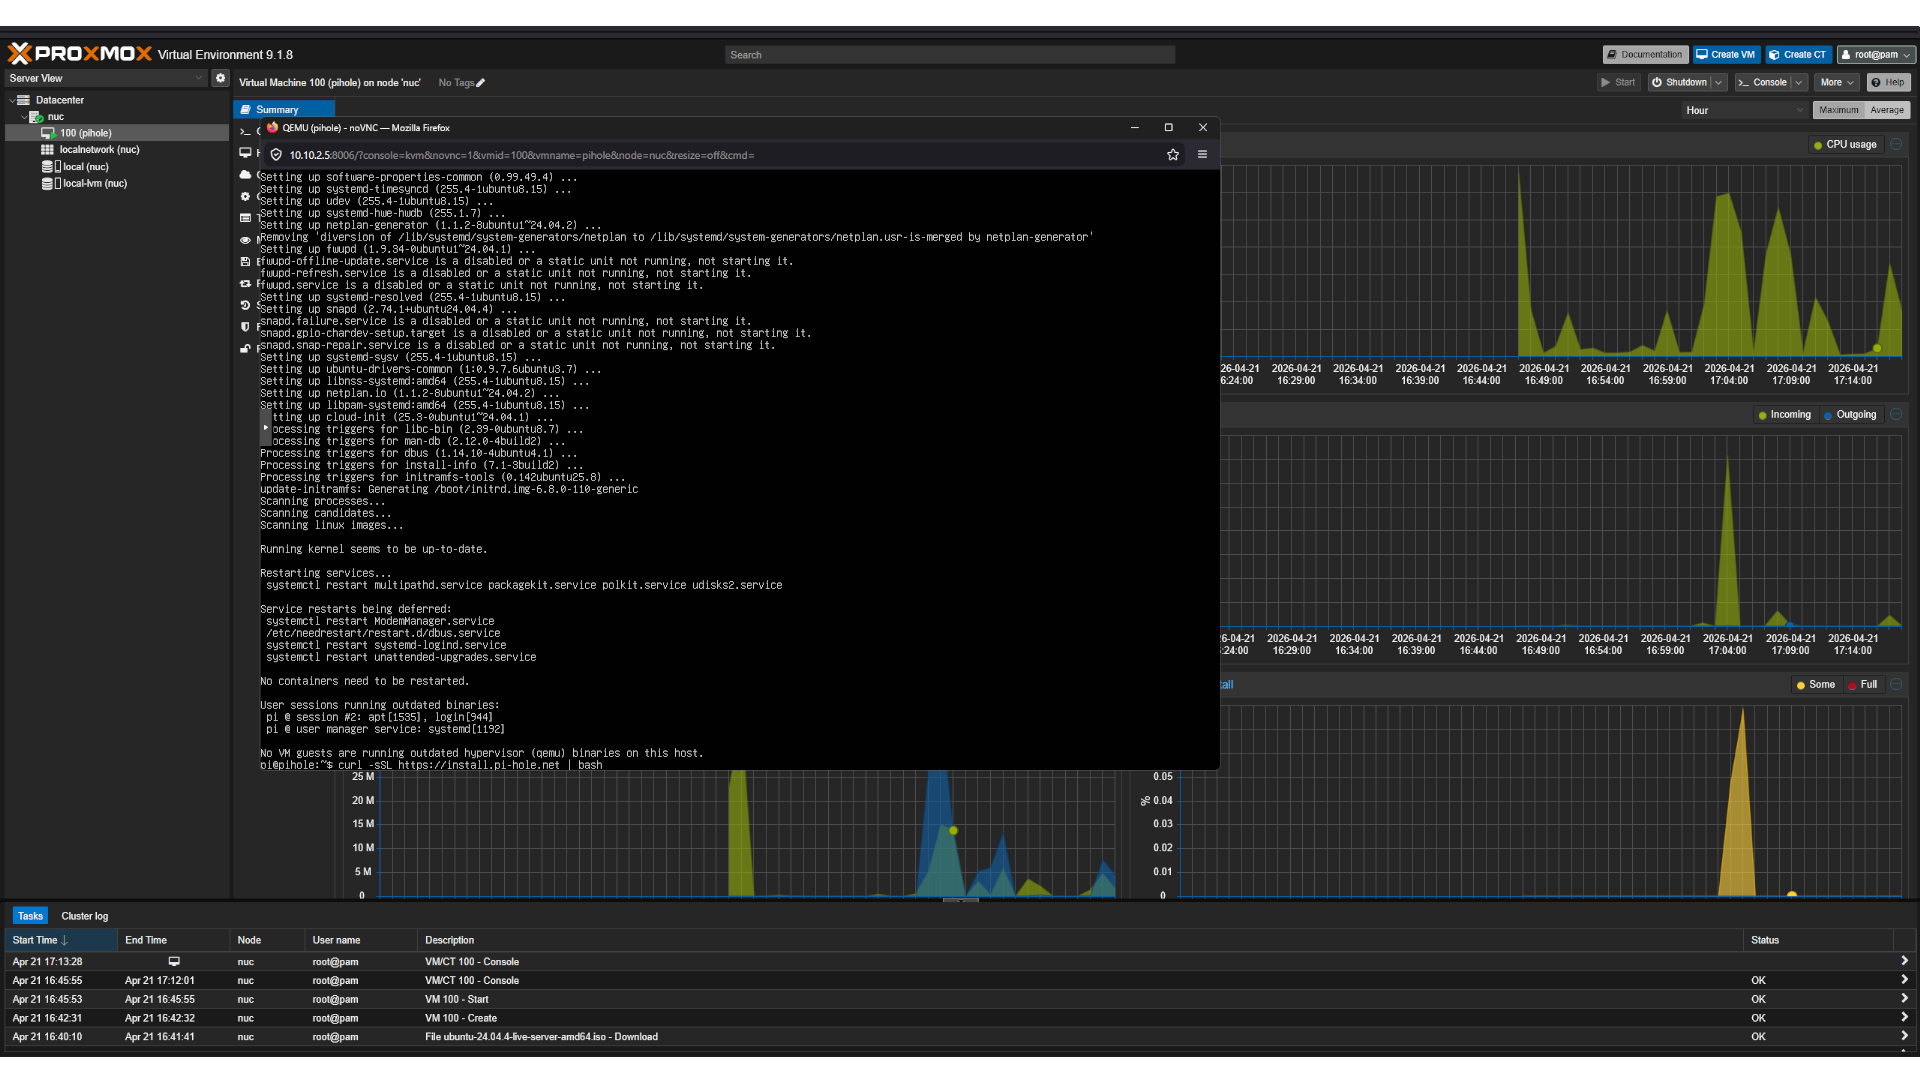 Install pihole
Select ok and ok again.
 pihole
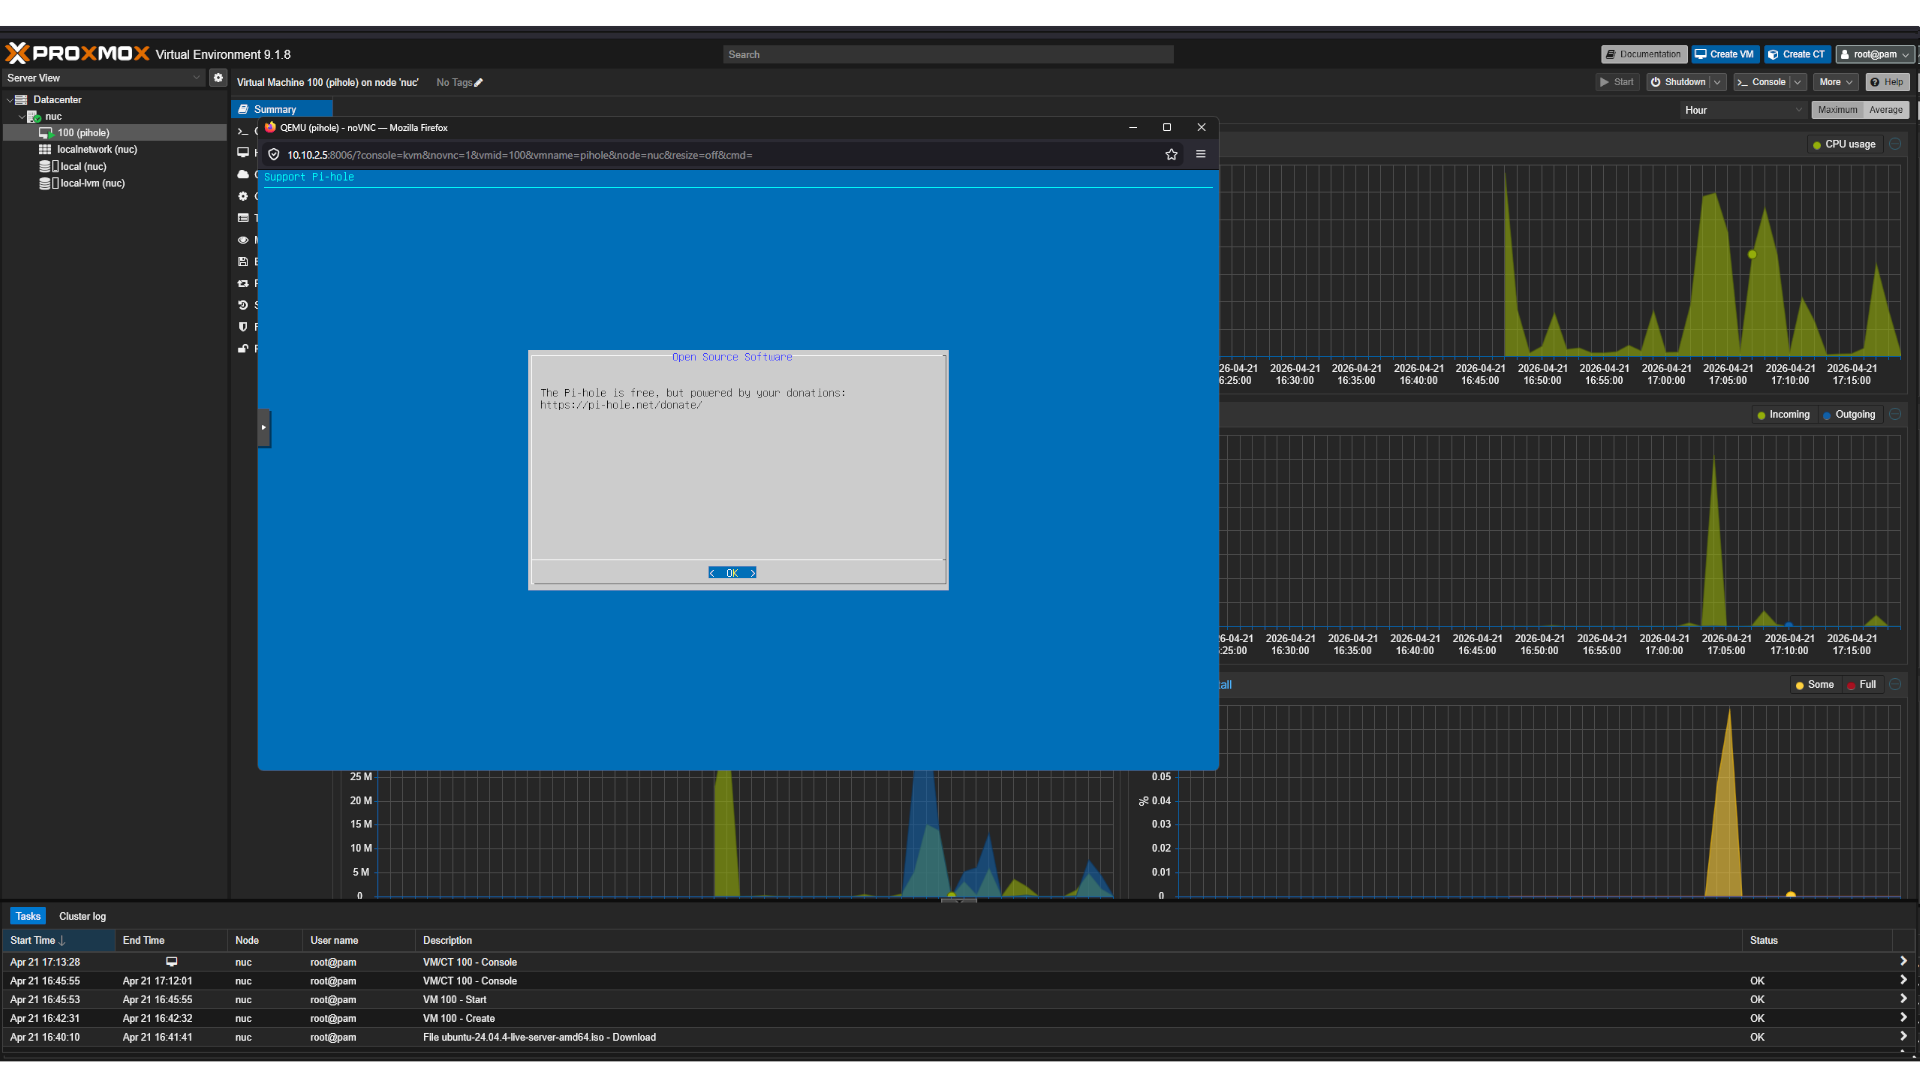 pihole
Pi-hole will now prompt for a static IP address. This is already configured, since it was set on the VM earlier.
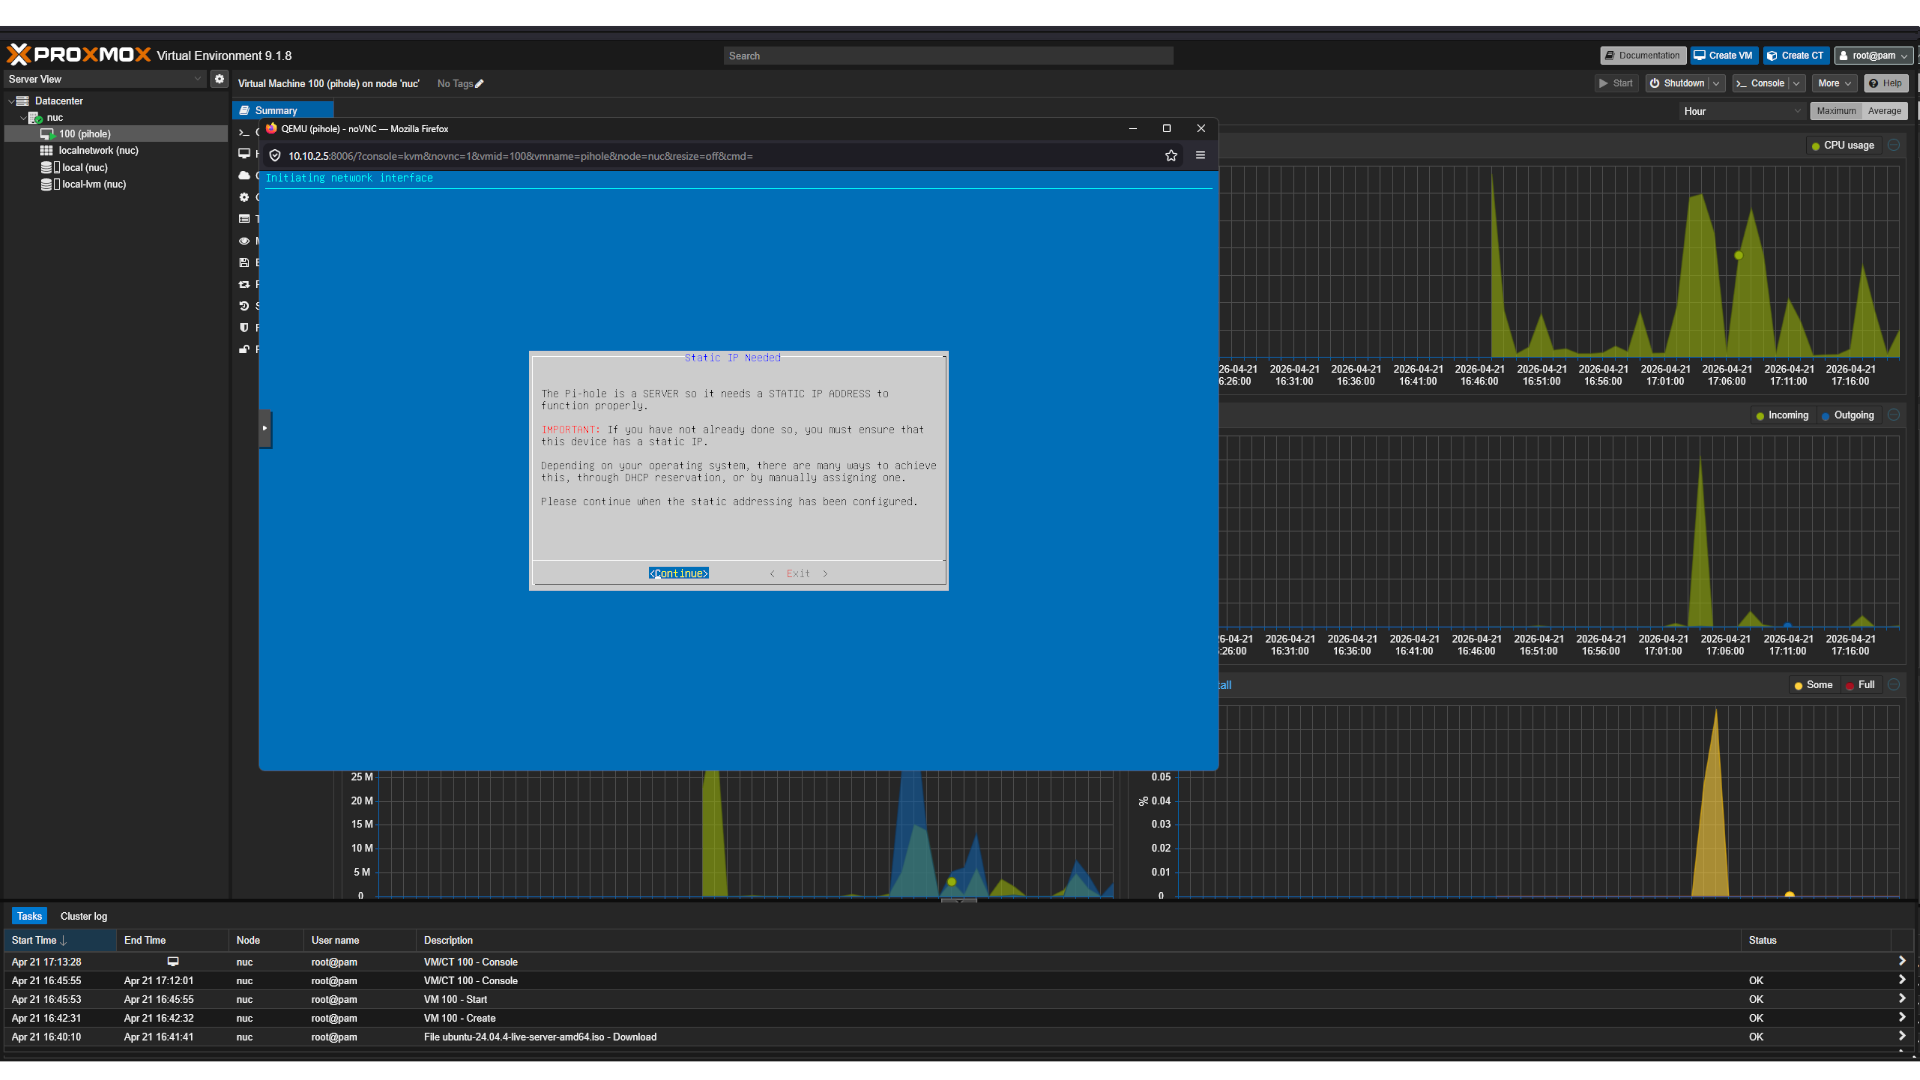 pihole
At this stage, select an upstream DNS provider. Any option may be chosen, as it will be reconfigured later to use Unbound.
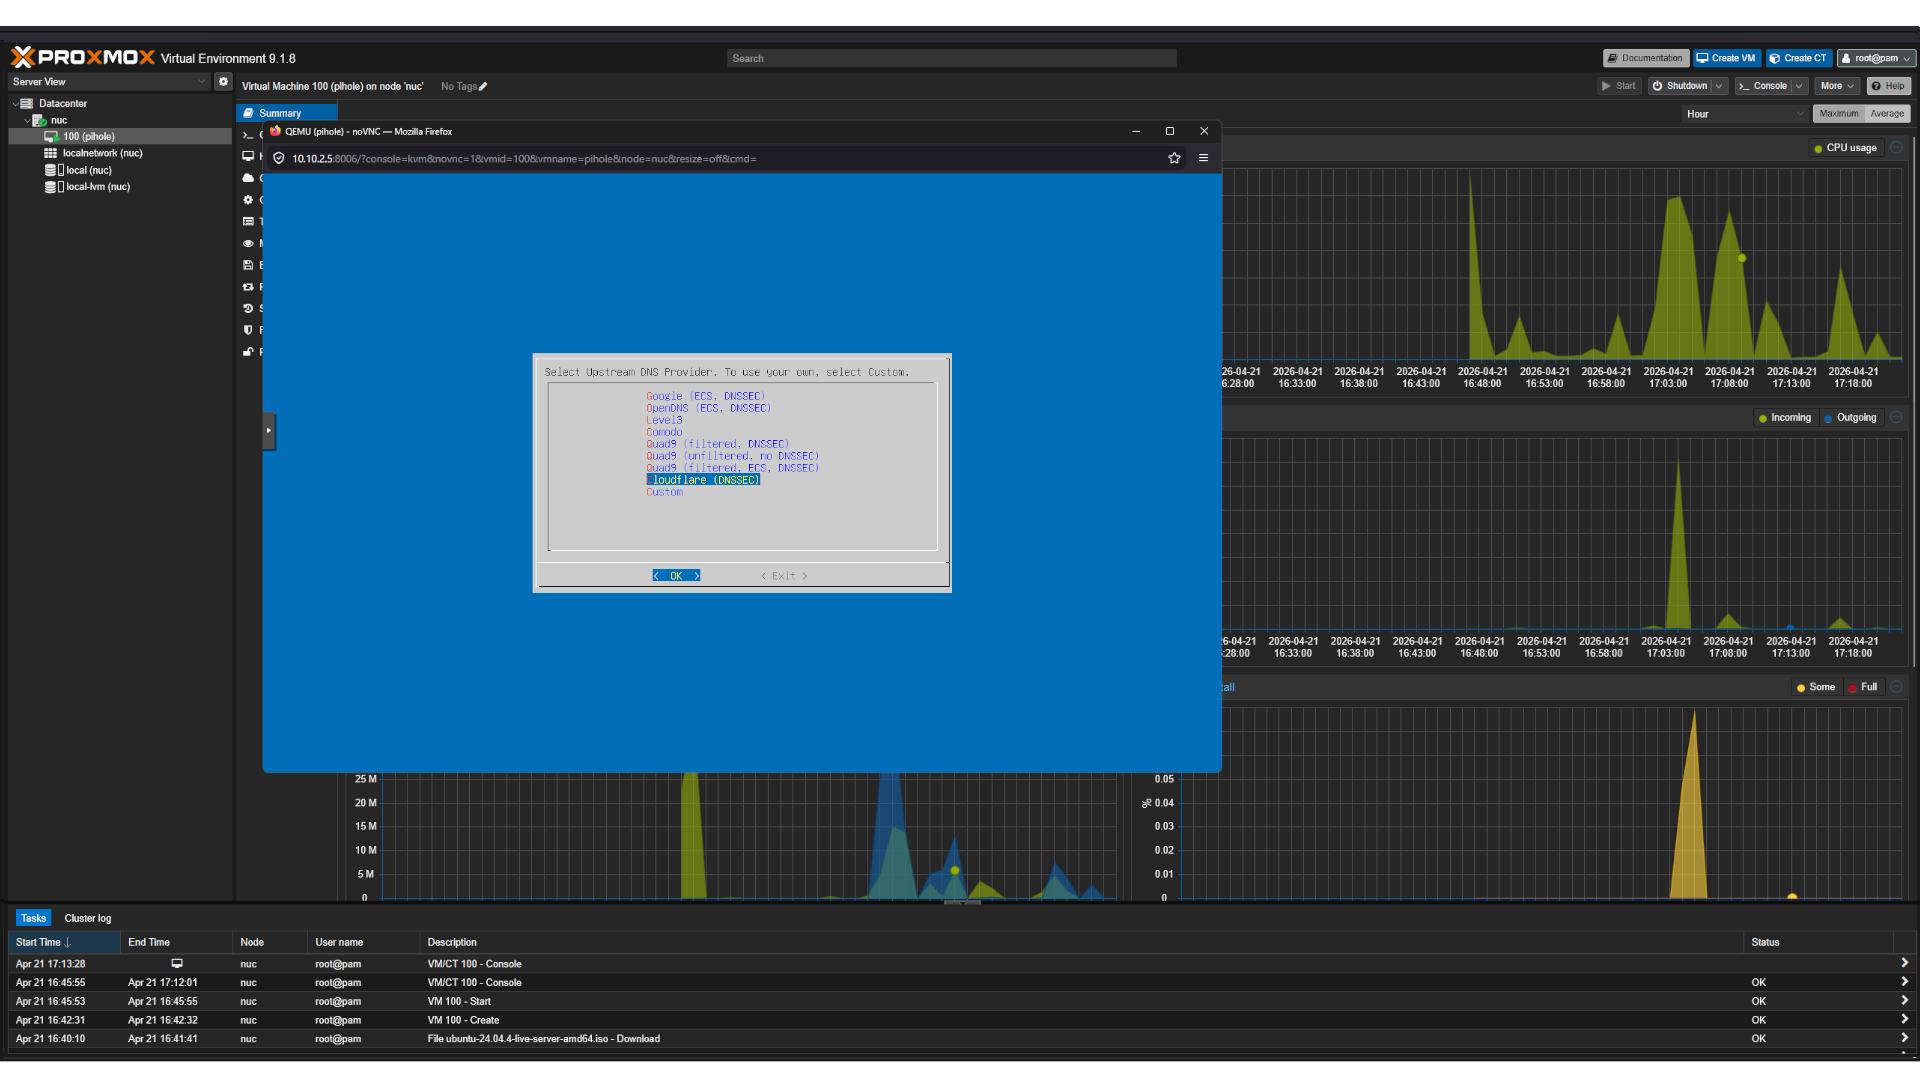 pihole
During setup, Pi-hole will prompt you to enable Steven Black’s host list. Select “Yes,” as this list defines the domains to be blocked. We will come back to this list later.
 pihole
Enable logging by selecting “Yes”
 pihole
Choose all. This is recommended for new installations, as settings can be modified afterward.
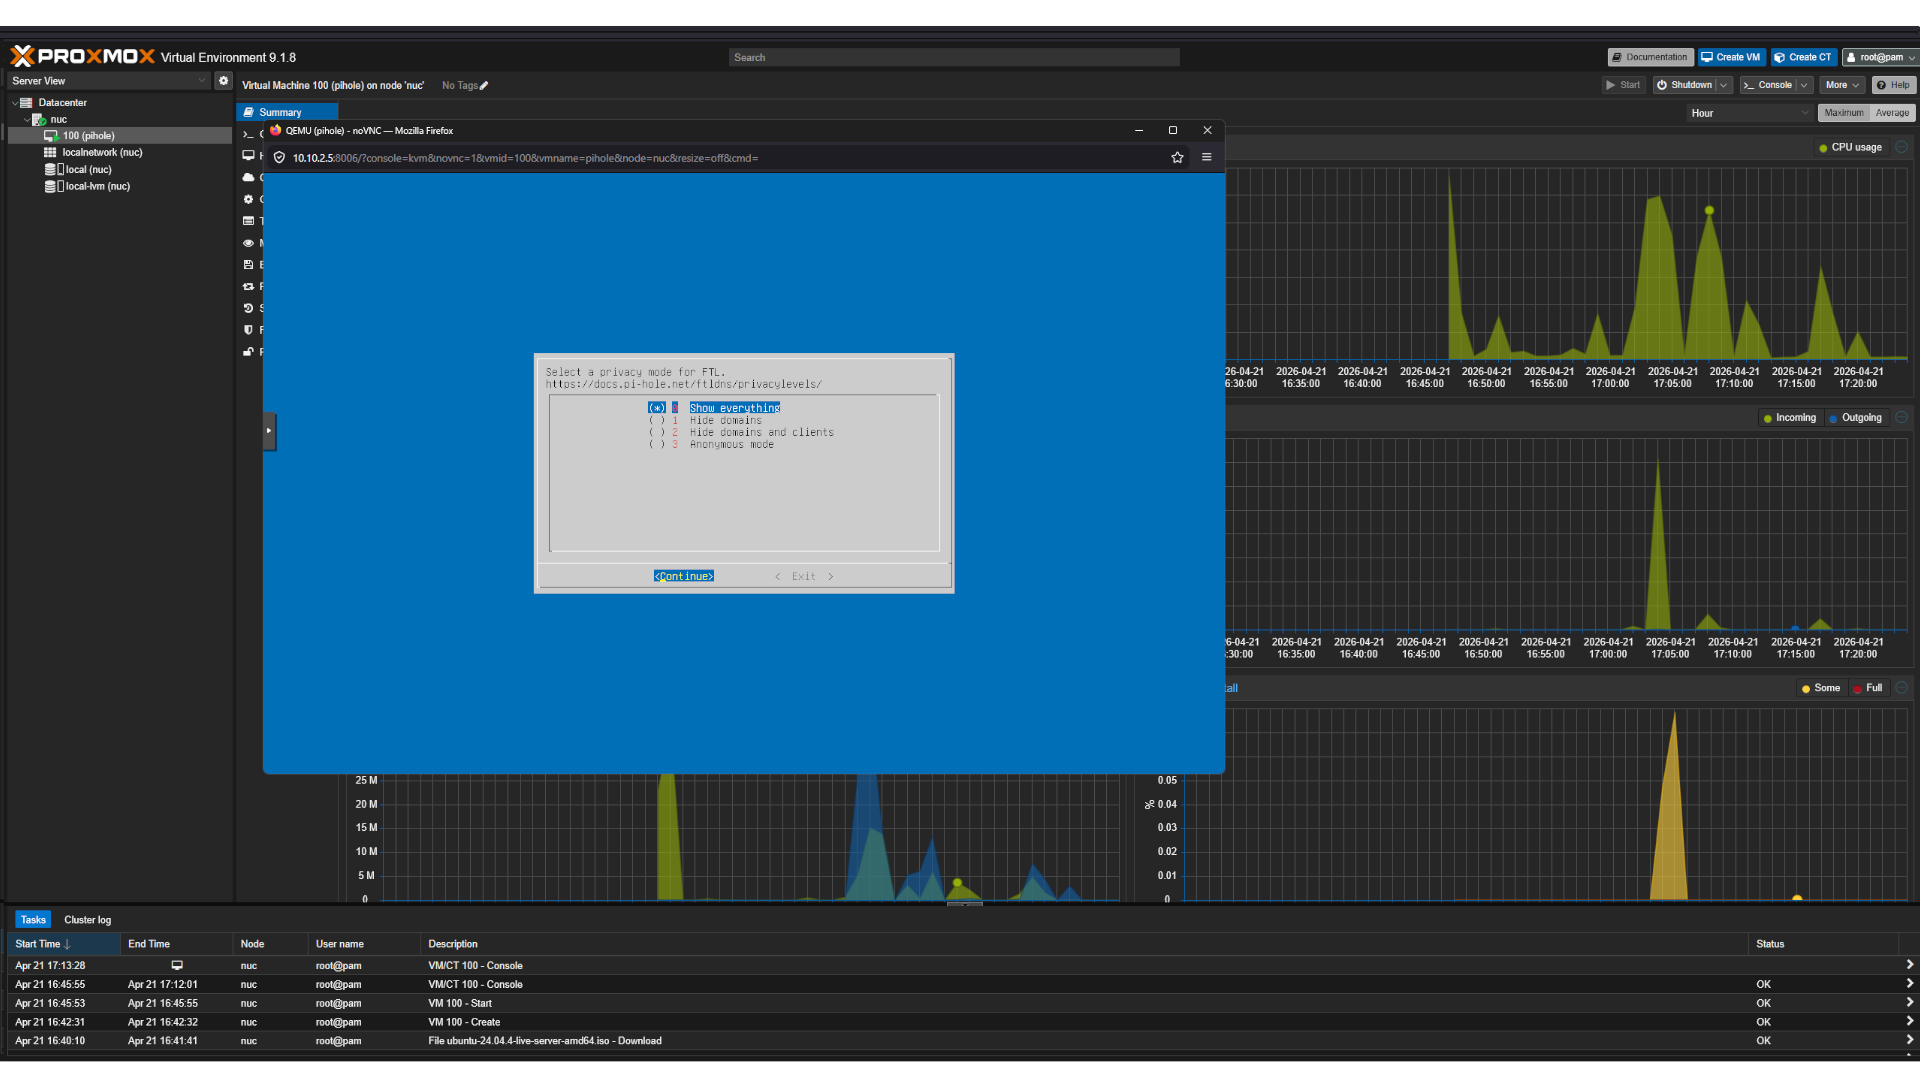 pihole
Installation is complete and Hers is the temp password displayed
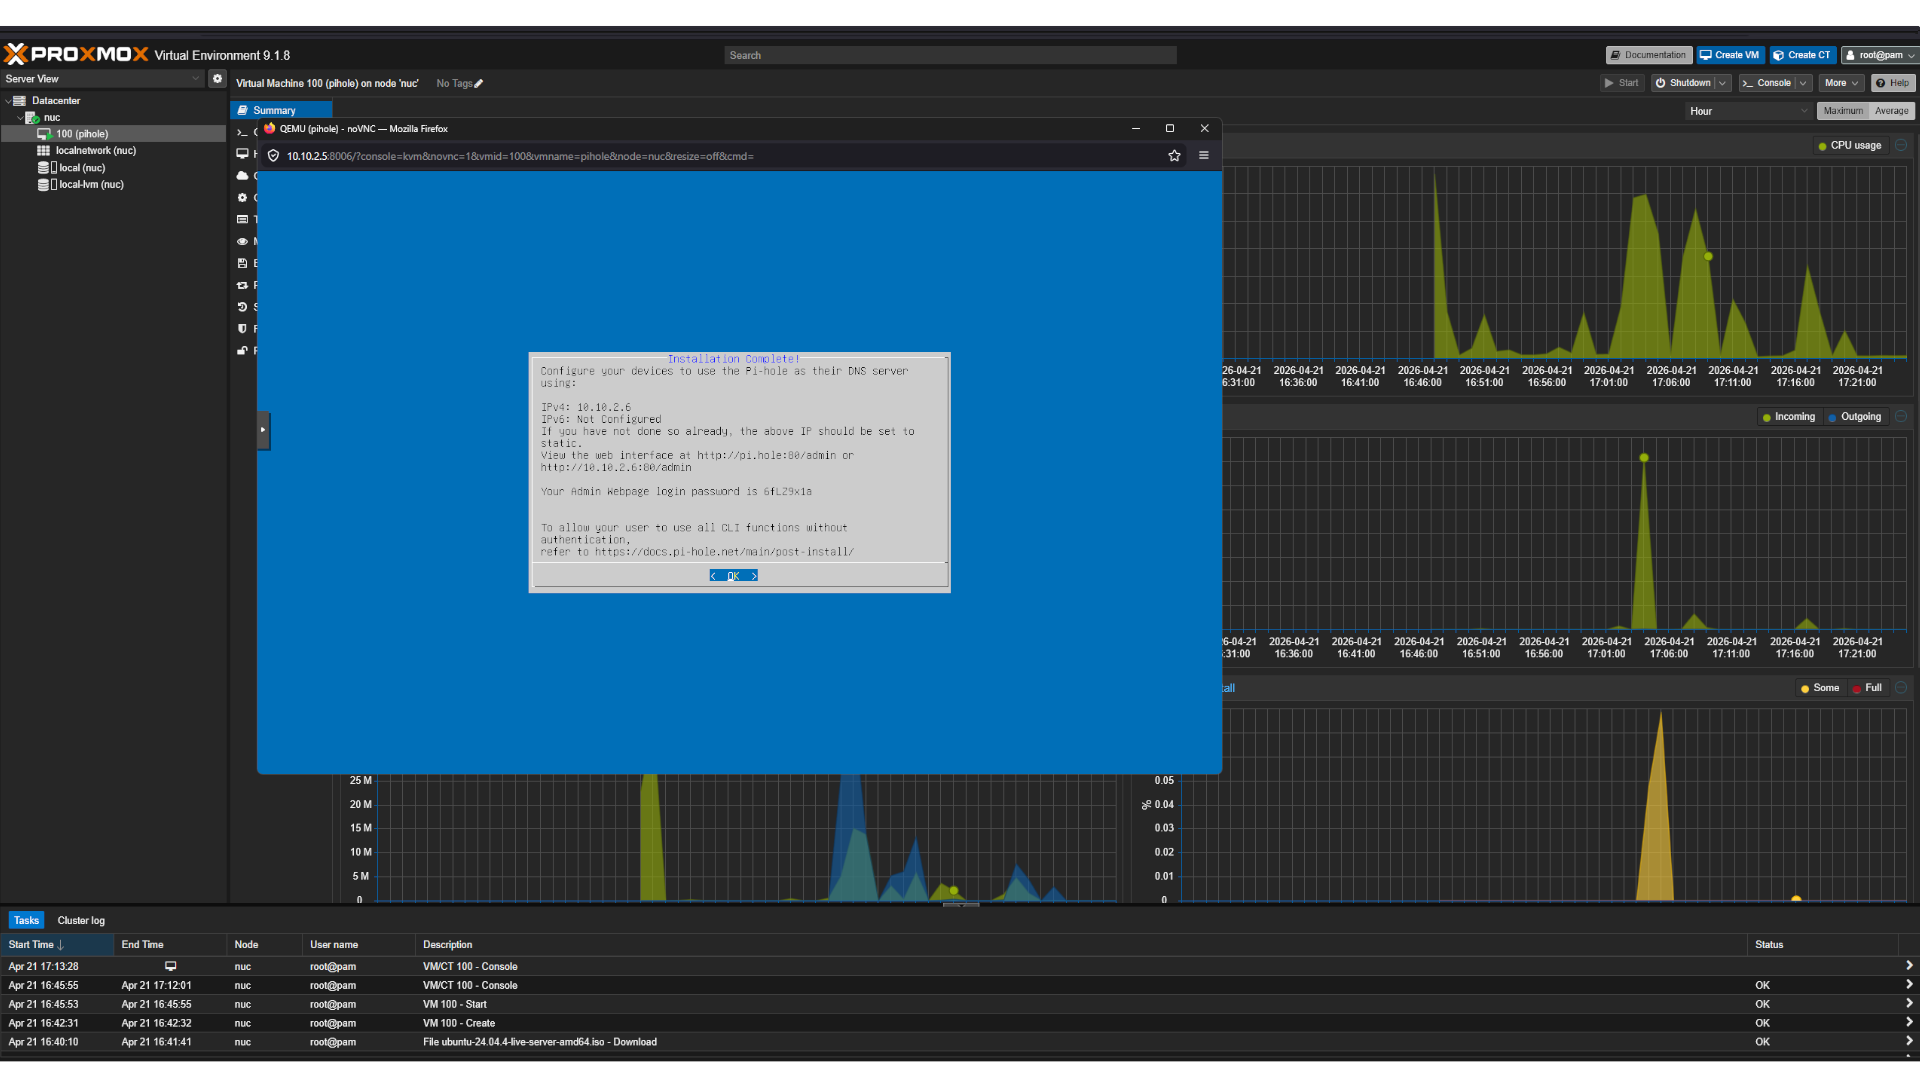 pihole
I will not use the generated password and will create my own instead.
in the shell type :
1
sudo pihole setpassword
Configure a new password and access
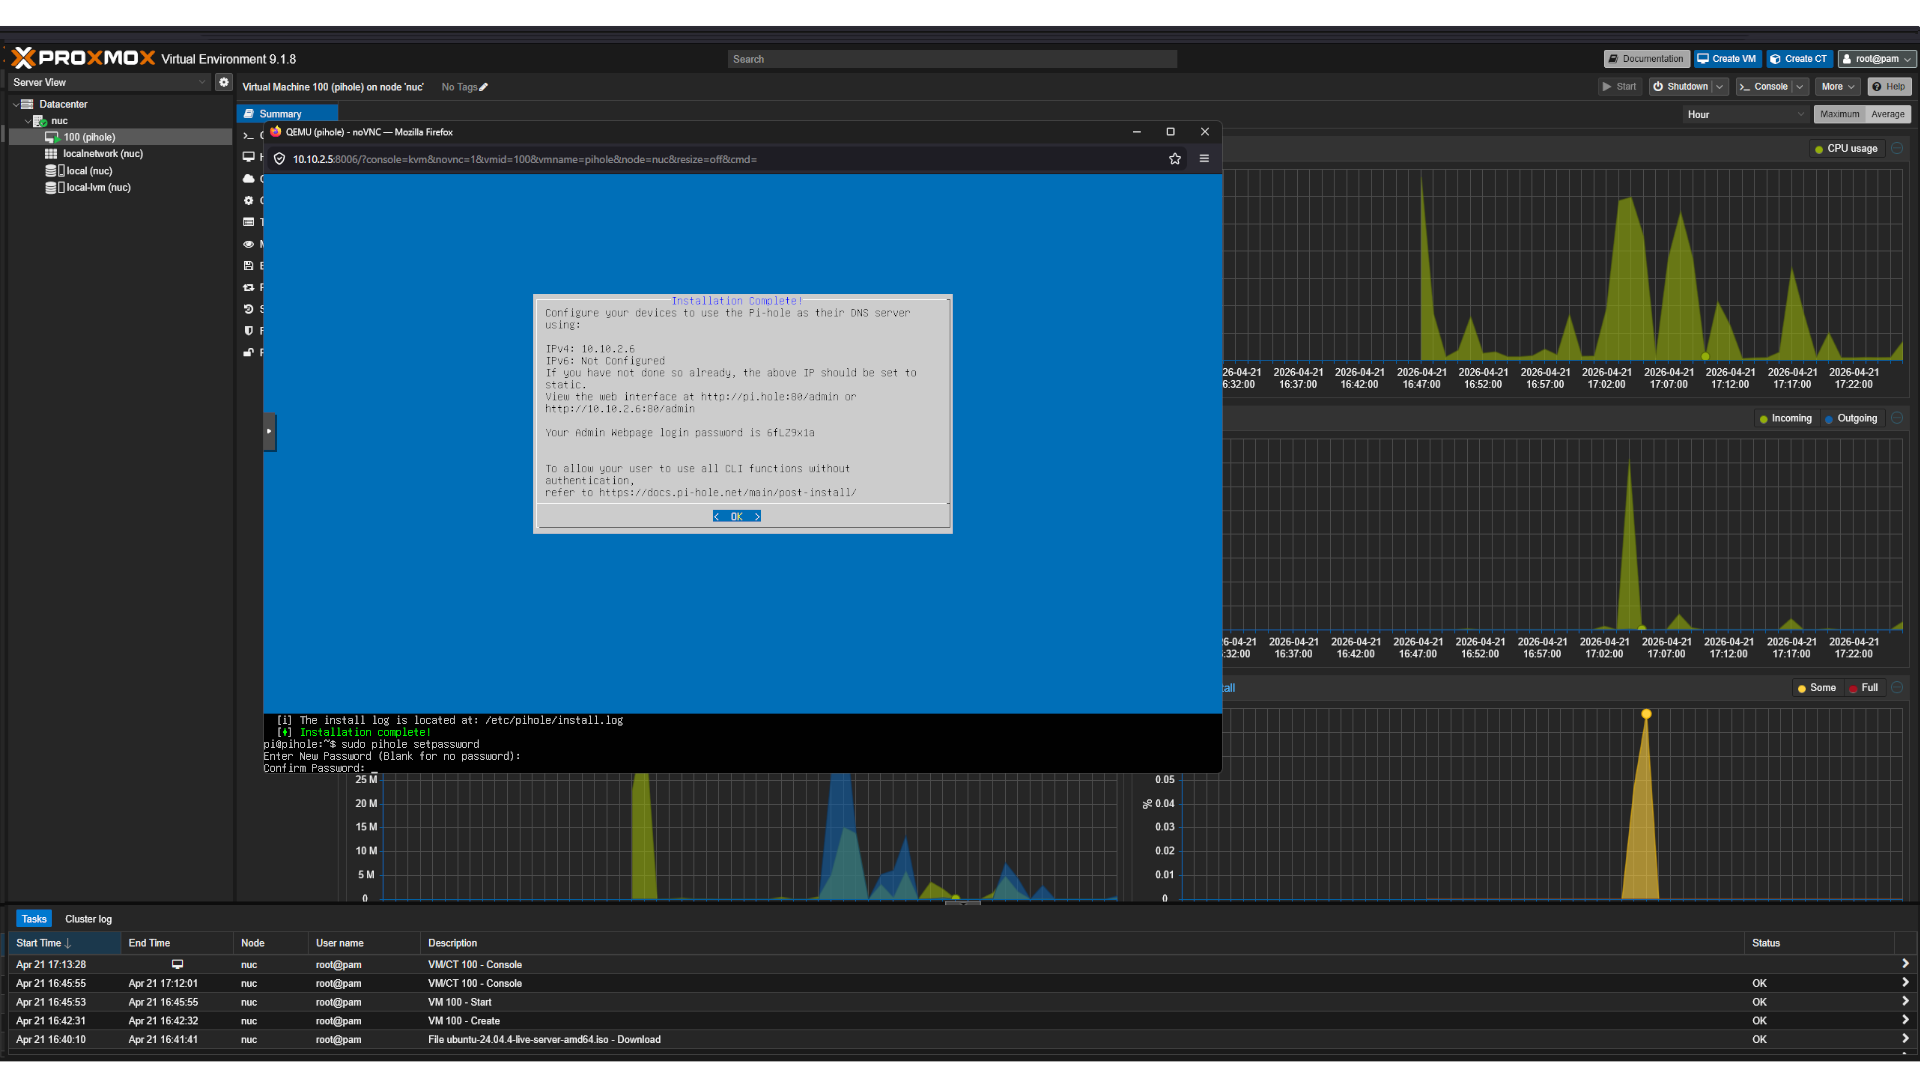 Set password
unbound
Setting up Pi-hole as a recursive DNS server solution
https://docs.pi-hole.net/guides/dns/unbound/
1
sudo apt install unbound
 Install Unbound
press y for yes
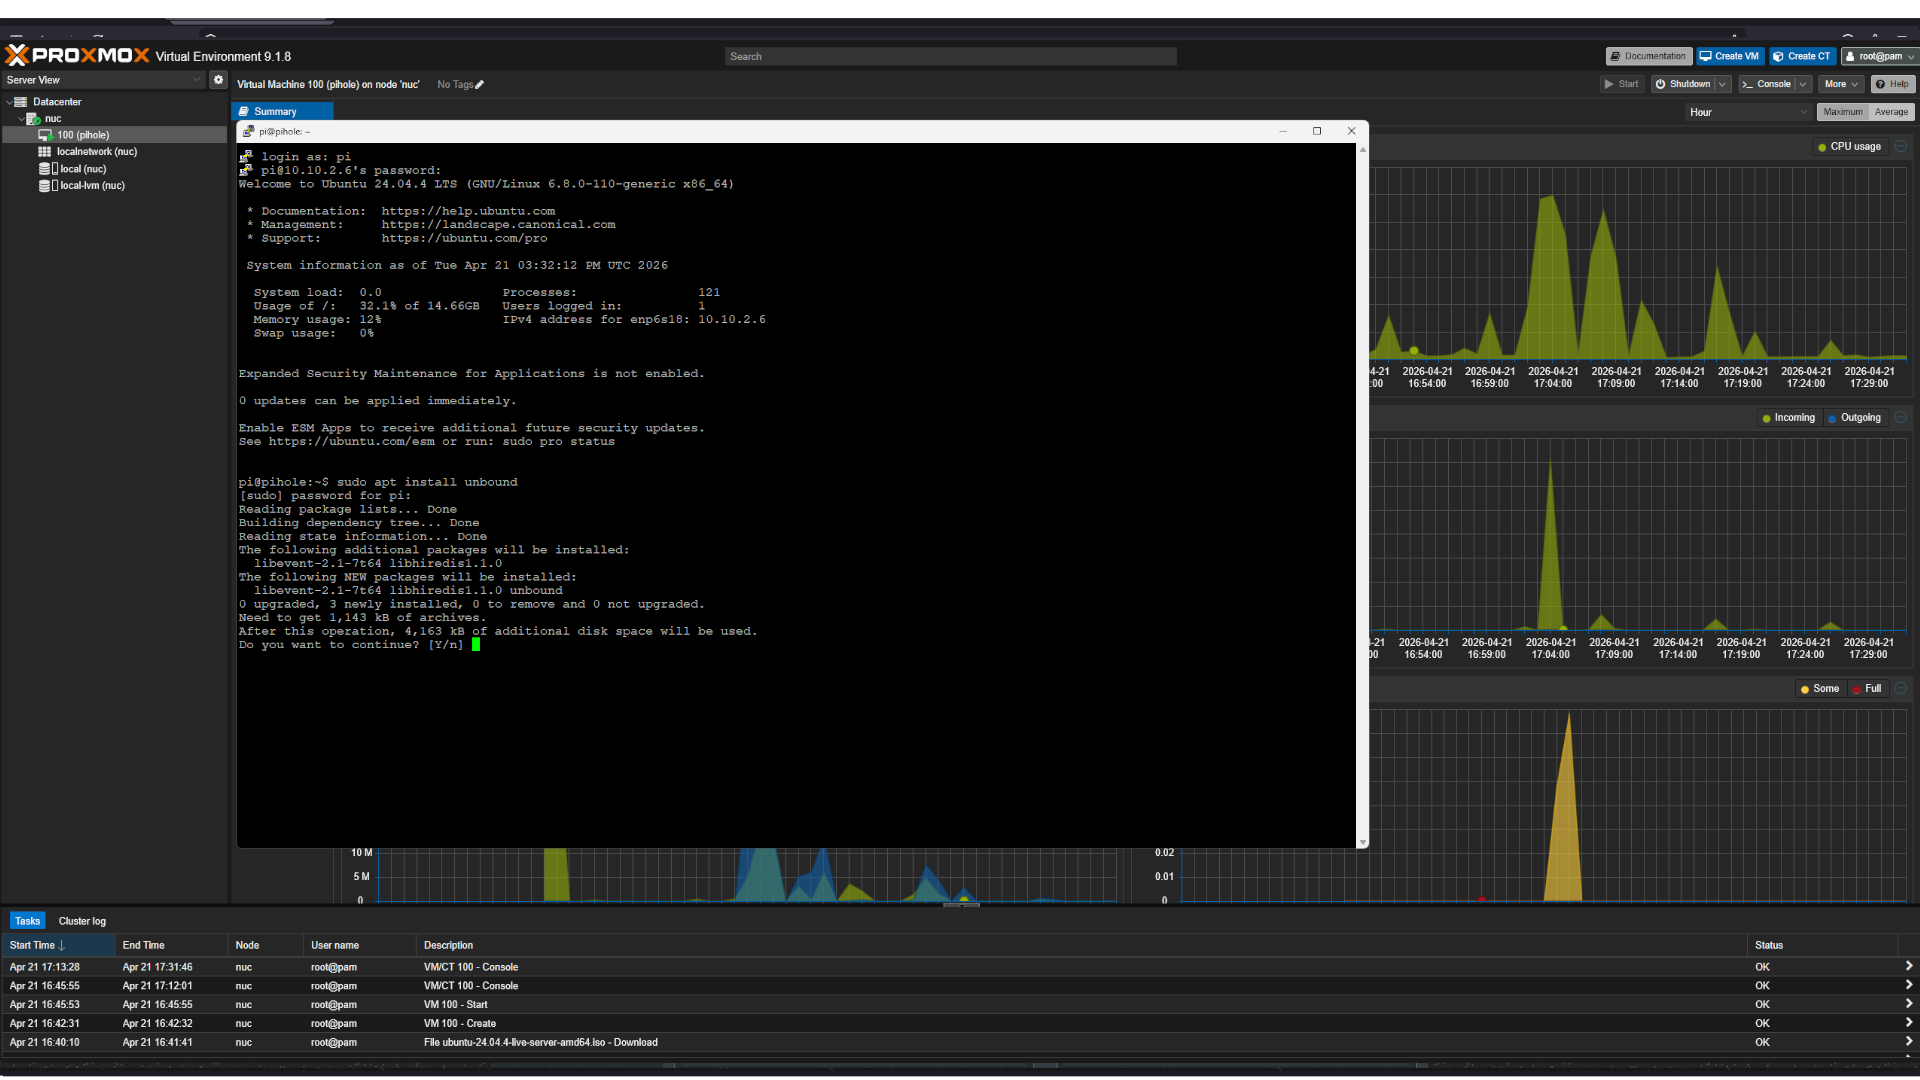 Unbound
We need to create a configuration file named pi-hole.conf in the directory /etc/unbound/unbound.conf.d/.
1
sudo nano /etc/unbound/unbound.conf.d/pi-hole.conf
 Make pi-hole.conf
Copy the configuration below into the file,
1
2
3
4
5
6
7
8
9
10
11
12
13
14
15
16
17
18
19
20
21
22
23
24
25
26
27
28
29
30
31
32
33
34
35
36
37
38
39
40
41
42
43
44
45
46
47
48
49
50
51
52
53
54
55
56
57
58
59
60
61
62
63
64
65
66
67
68
69
70
71
72
73
server:
    # If no logfile is specified, syslog is used
    # logfile: "/var/log/unbound/unbound.log"
    verbosity: 0

    interface: 127.0.0.1
    port: 5335
    do-ip4: yes
    do-udp: yes
    do-tcp: yes

    # May be set to no if you don't have IPv6 connectivity
    do-ip6: yes

    # You want to leave this to no unless you have *native* IPv6. With 6to4 and
    # Terredo tunnels your web browser should favor IPv4 for the same reasons
    prefer-ip6: no

    # Use this only when you downloaded the list of primary root servers!
    # If you use the default dns-root-data package, unbound will find it automatically
    #root-hints: "/var/lib/unbound/root.hints"

    # Trust glue only if it is within the server's authority
    harden-glue: yes

    # Require DNSSEC data for trust-anchored zones, if such data is absent, the zone becomes BOGUS
    harden-dnssec-stripped: yes

    # Don't use Capitalization randomization as it known to cause DNSSEC issues sometimes
    # see https://discourse.pi-hole.net/t/unbound-stubby-or-dnscrypt-proxy/9378 for further details
    use-caps-for-id: no

    # Reduce EDNS reassembly buffer size.
    # IP fragmentation is unreliable on the Internet today, and can cause
    # transmission failures when large DNS messages are sent via UDP. Even
    # when fragmentation does work, it may not be secure; it is theoretically
    # possible to spoof parts of a fragmented DNS message, without easy
    # detection at the receiving end. Recently, there was an excellent study
    # >>> Defragmenting DNS - Determining the optimal maximum UDP response size for DNS <<<
    # by Axel Koolhaas, and Tjeerd Slokker (https://indico.dns-oarc.net/event/36/contributions/776/)
    # in collaboration with NLnet Labs explored DNS using real world data from the
    # the RIPE Atlas probes and the researchers suggested different values for
    # IPv4 and IPv6 and in different scenarios. They advise that servers should
    # be configured to limit DNS messages sent over UDP to a size that will not
    # trigger fragmentation on typical network links. DNS servers can switch
    # from UDP to TCP when a DNS response is too big to fit in this limited
    # buffer size. This value has also been suggested in DNS Flag Day 2020.
    edns-buffer-size: 1232

    # Perform prefetching of close to expired message cache entries
    # This only applies to domains that have been frequently queried
    prefetch: yes

    # One thread should be sufficient, can be increased on beefy machines. In reality for most users running on small networks or on a single machine, it should be unnecessary to seek performance enhancement by increasing num-threads above 1.
    num-threads: 1

    # Ensure kernel buffer is large enough to not lose messages in traffic spikes
    so-rcvbuf: 1m

    # Ensure privacy of local IP ranges
    private-address: 192.168.0.0/16
    private-address: 169.254.0.0/16
    private-address: 172.16.0.0/12
    private-address: 10.0.0.0/8
    private-address: fd00::/8
    private-address: fe80::/10

    # Ensure no reverse queries to non-public IP ranges (RFC6303 4.2)
    private-address: 192.0.2.0/24
    private-address: 198.51.100.0/24
    private-address: 203.0.113.0/24
    private-address: 255.255.255.255/32
    private-address: 2001:db8::/32
 docker
Check the status of unbound with, you properly see it failed to start.
1
sudo service unbound status
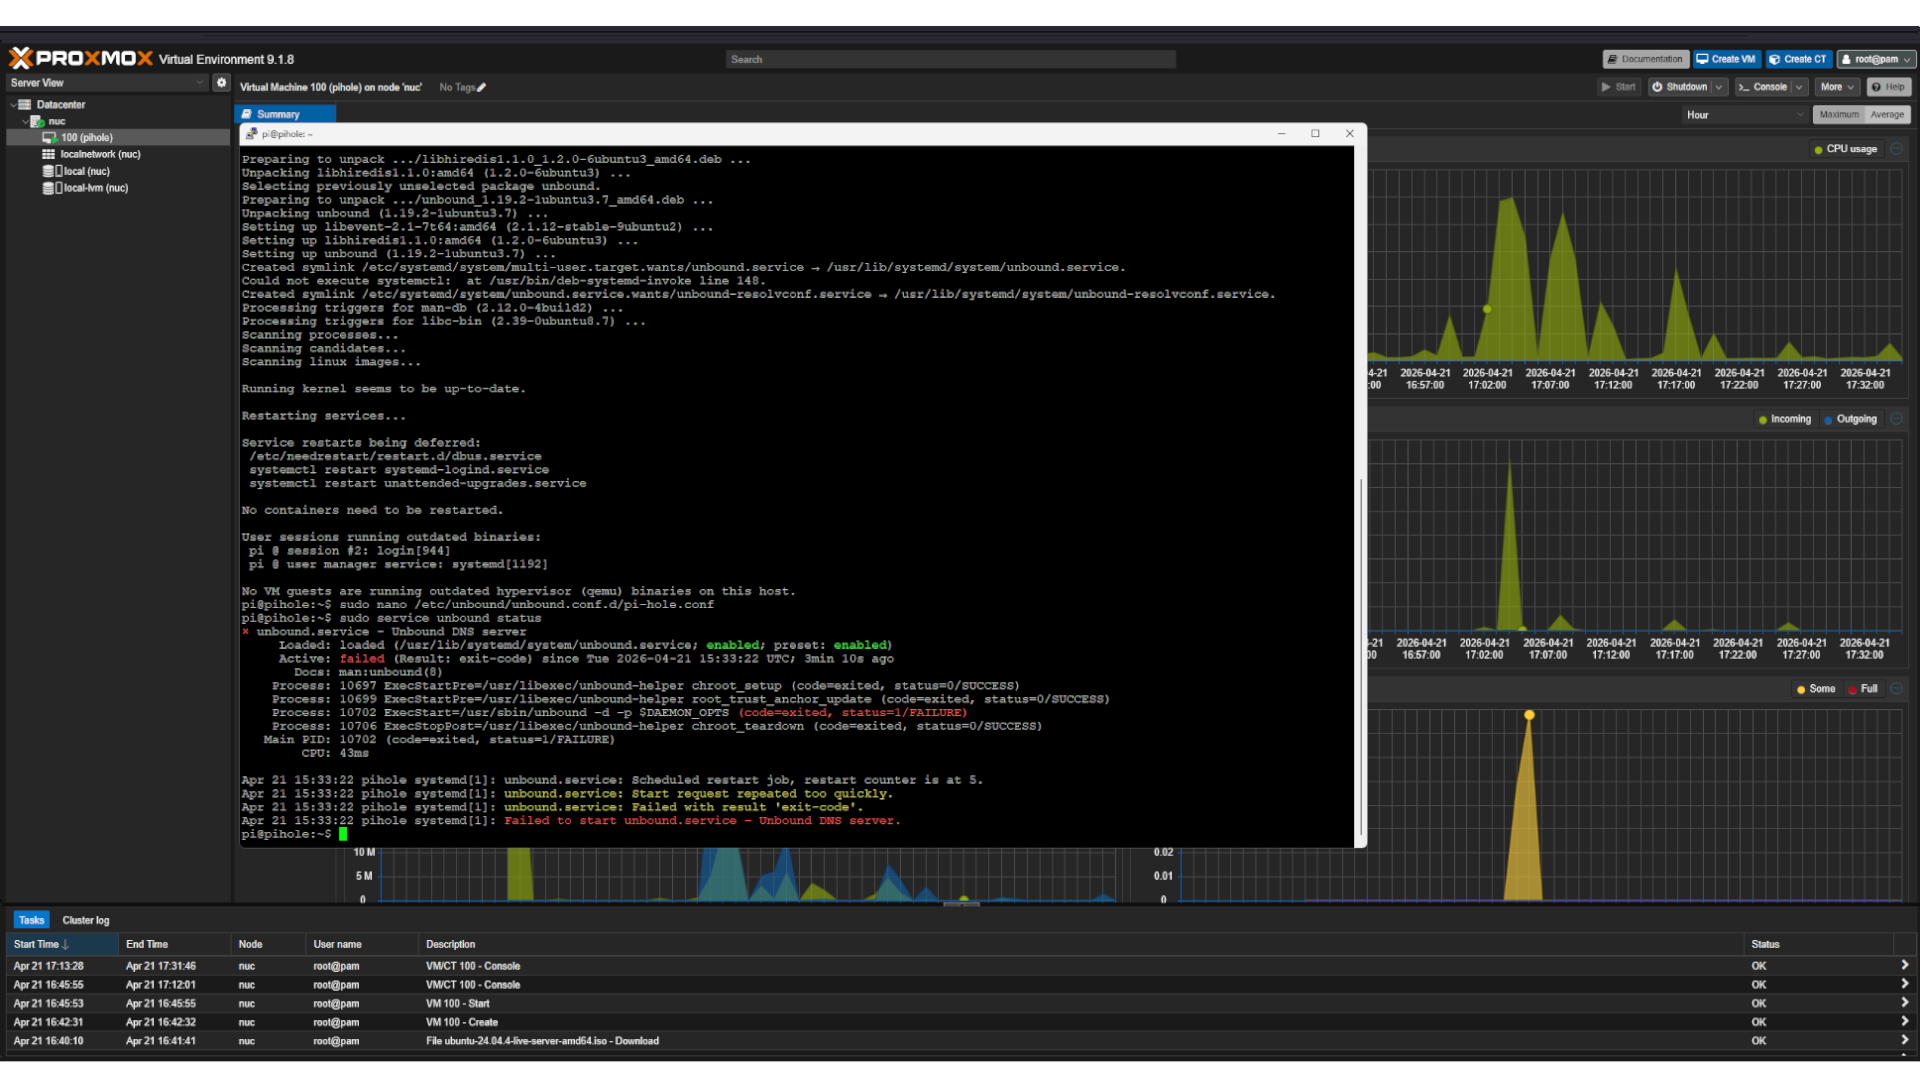 docker
Just restart it
1
sudo service unbound restart
Validate Unbound functionality and DNSSEC resolution by executing the following command:
1
2
3
dig fail01.dnssec.works @127.0.0.1 -p 5335 &&

dig +ad dnssec.works @127.0.0.1 -p 5335
The first test should fail, while the second one should succeed.
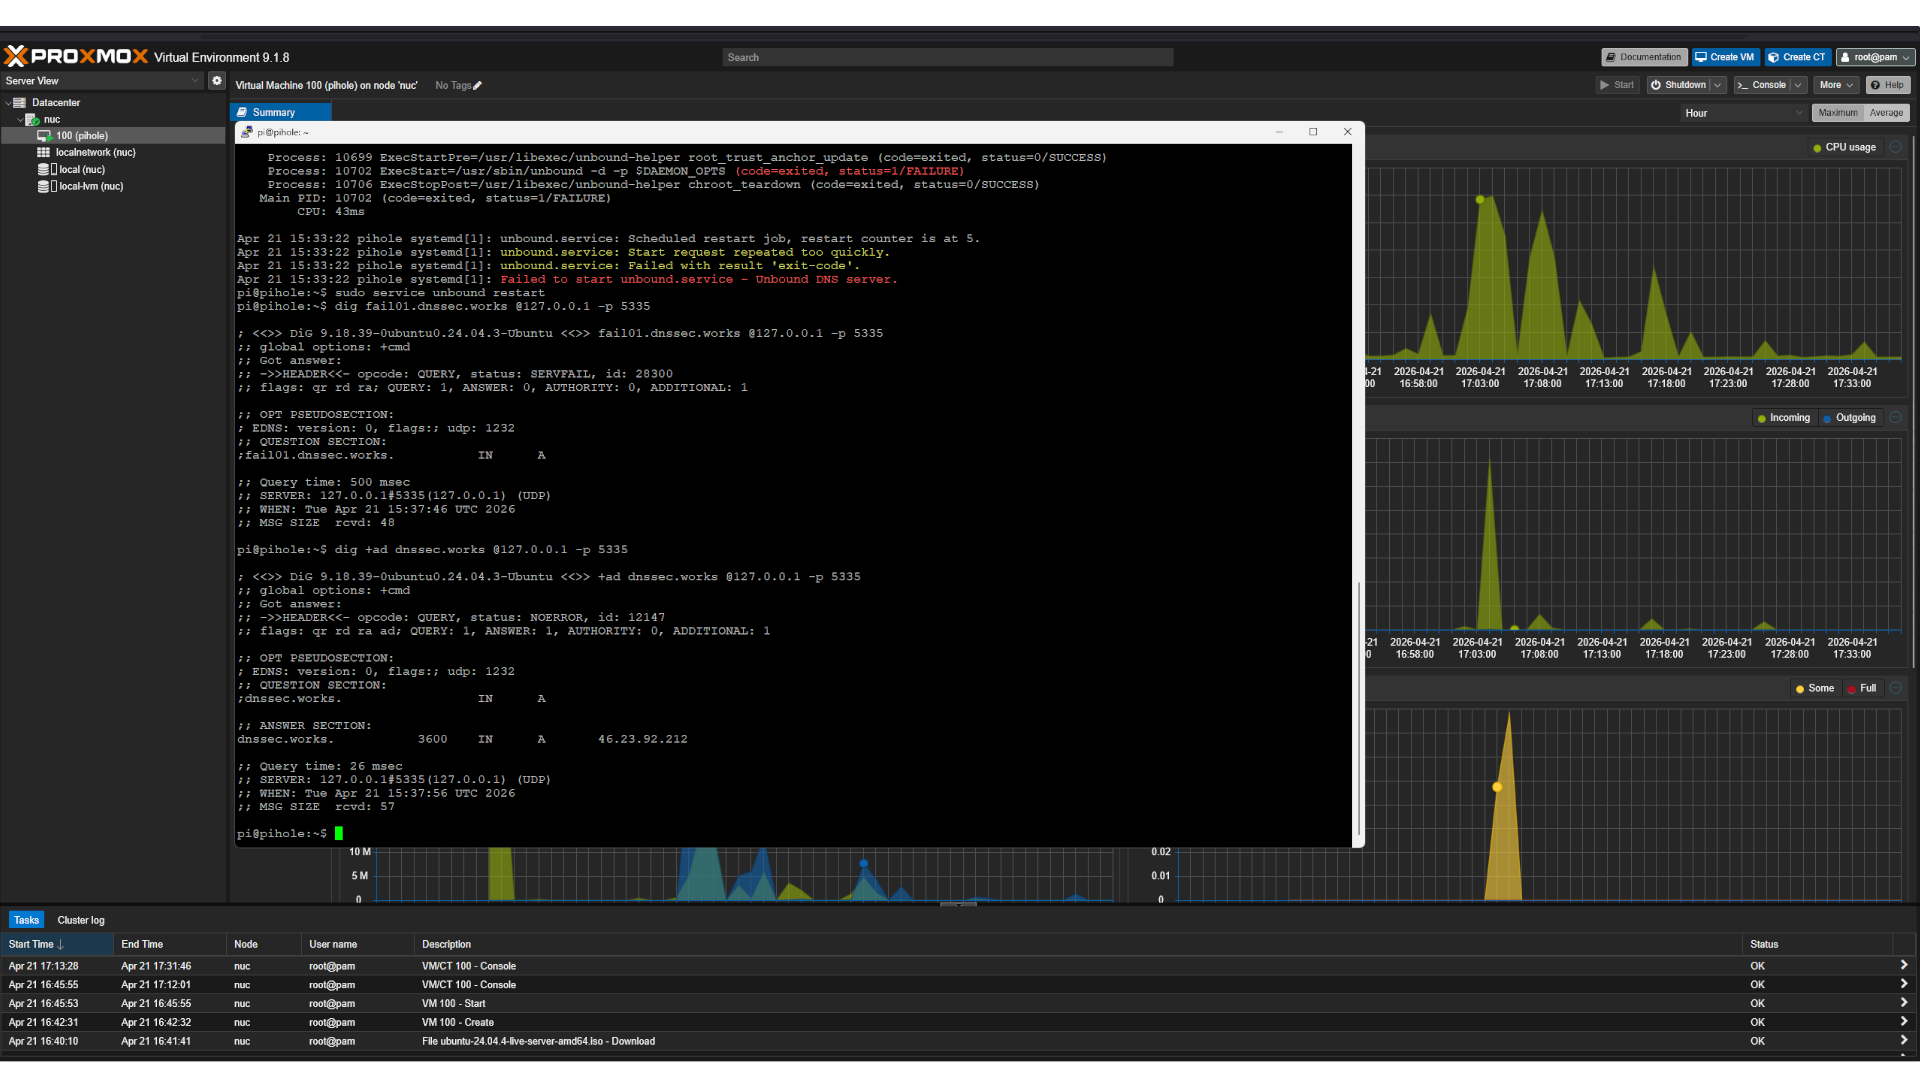 docker
DNS
Access the web interface to log in. Hit advanced and proced
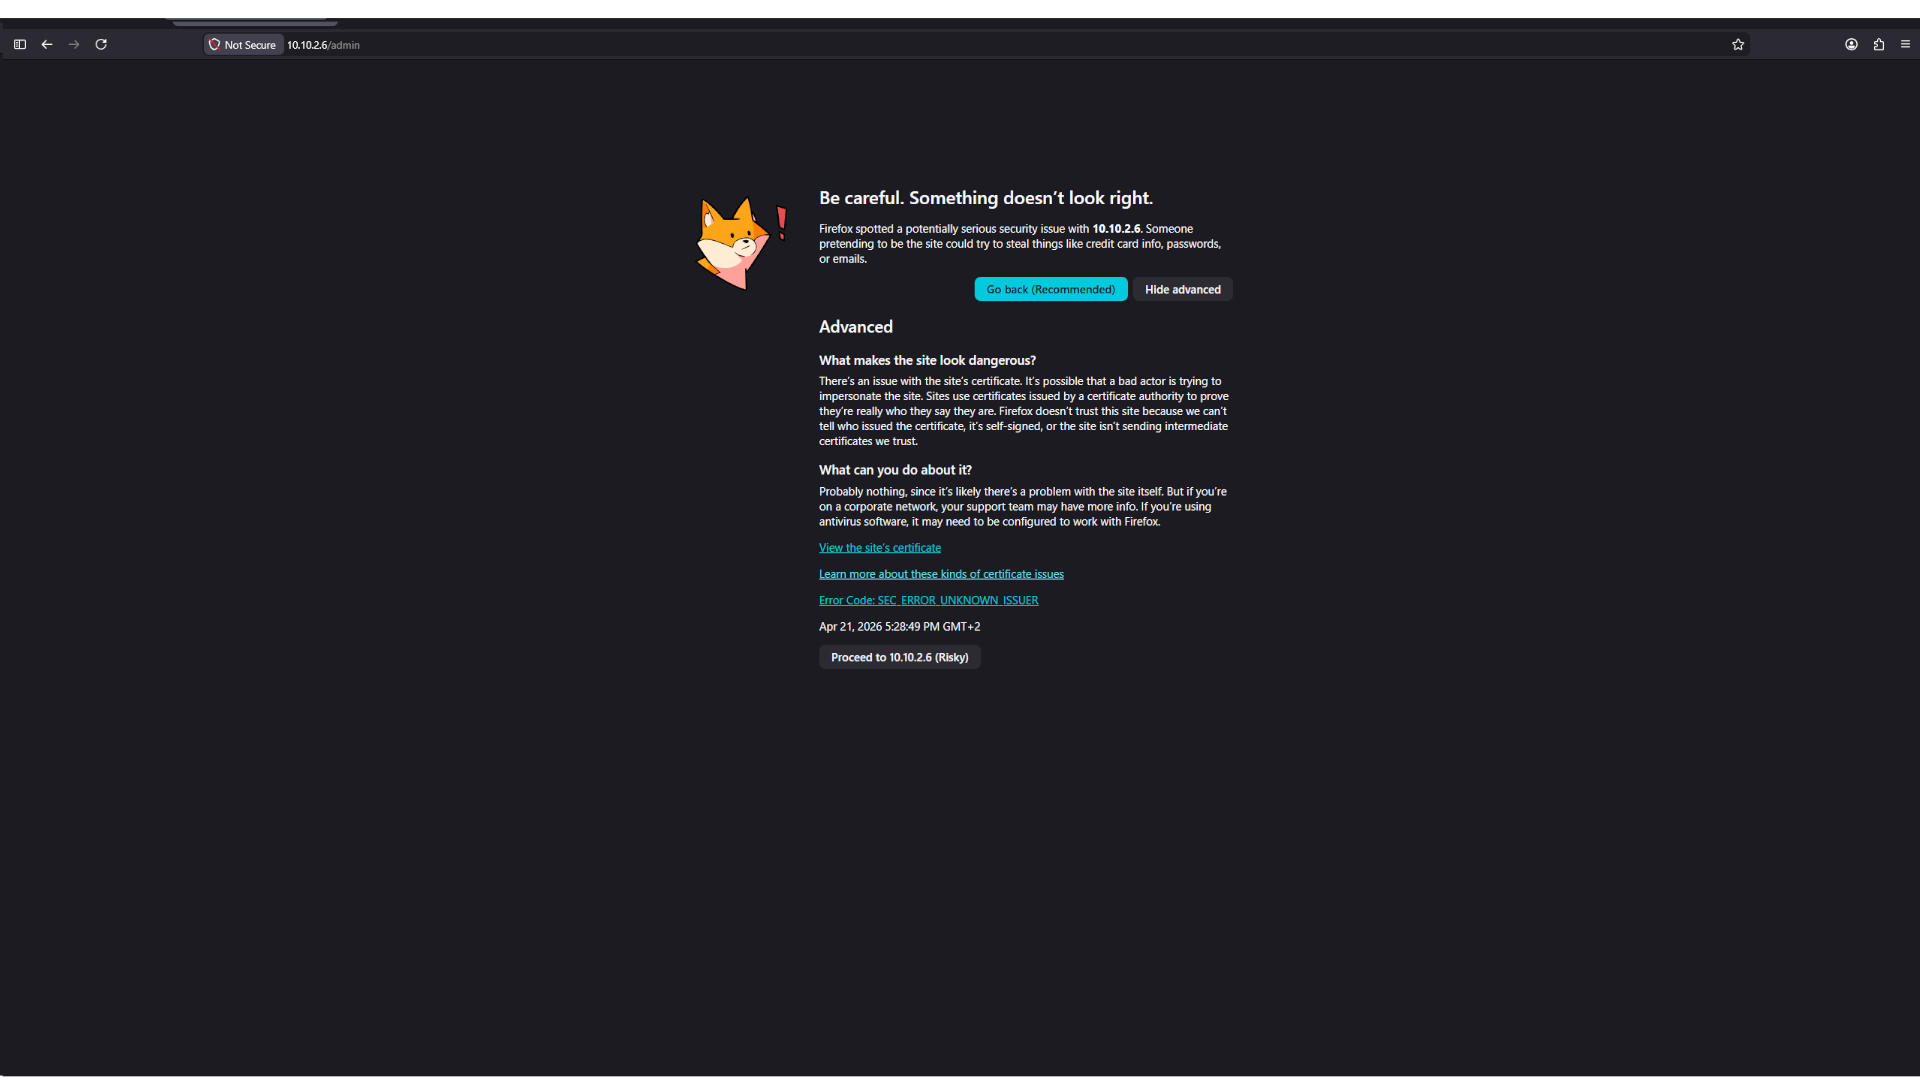 Web interface login
Then update Pi-hole to forward DNS queries to Unbound
Go to Settings -> DNS and uncheck the DNS there
Add a custom DNS server by entering 127.0.0.1#5335, then save and apply the changes.
1
127.0.0.1#5335
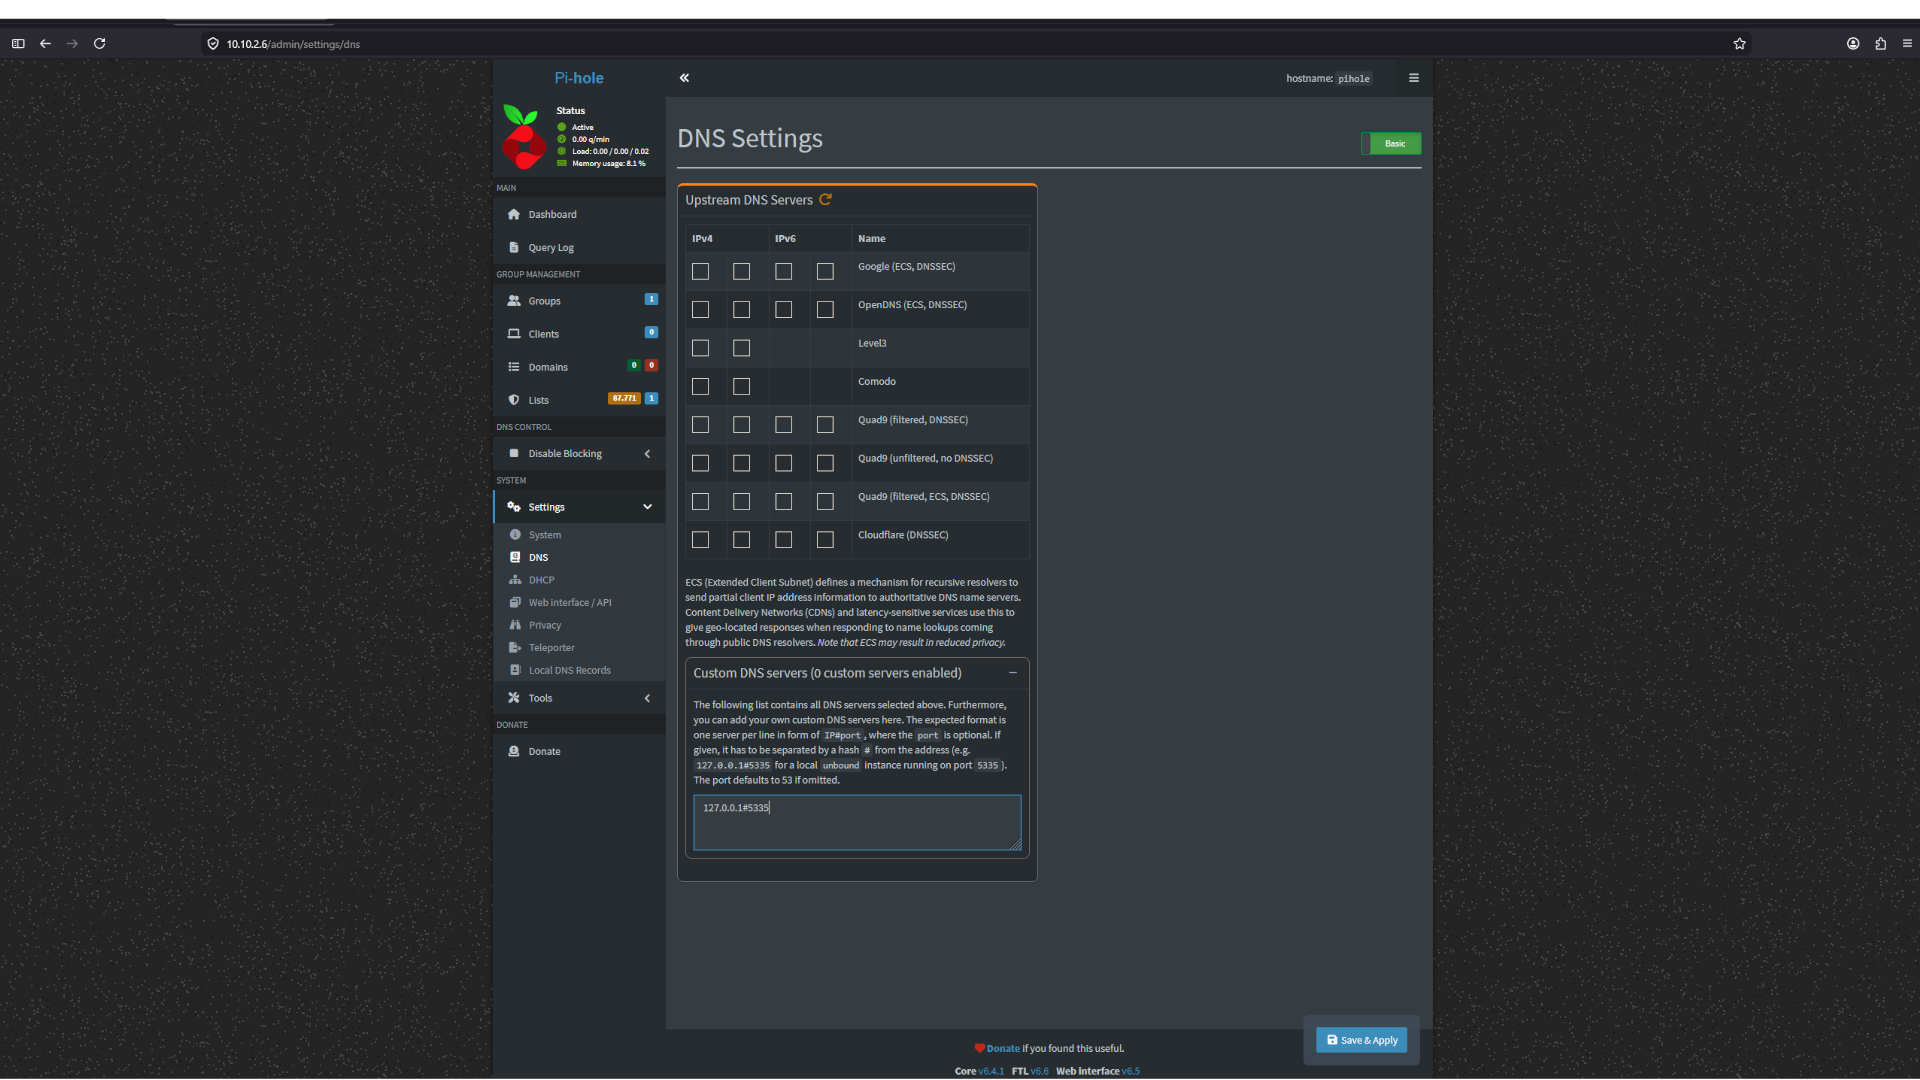 _Set DNS _
Blocklists
Let’s move on to the block lists. There are many available, and I’ve included a link to the one I use—Hagezi Blocklist. However, The Big Blocklist Collection, Firebog,(links below) and others offer similar results.
 Blocklists
Select and add the list you want to apply. For it to work we need to update gravity. Go to tools -> update gravity -> update
DHCP
Then set the network in Pihole.
Open Settings, then go to DHCP. Turn on the DHCP server and set up your network. If your router is already handling DHCP, make sure to disable it on the router to avoid conflicts.
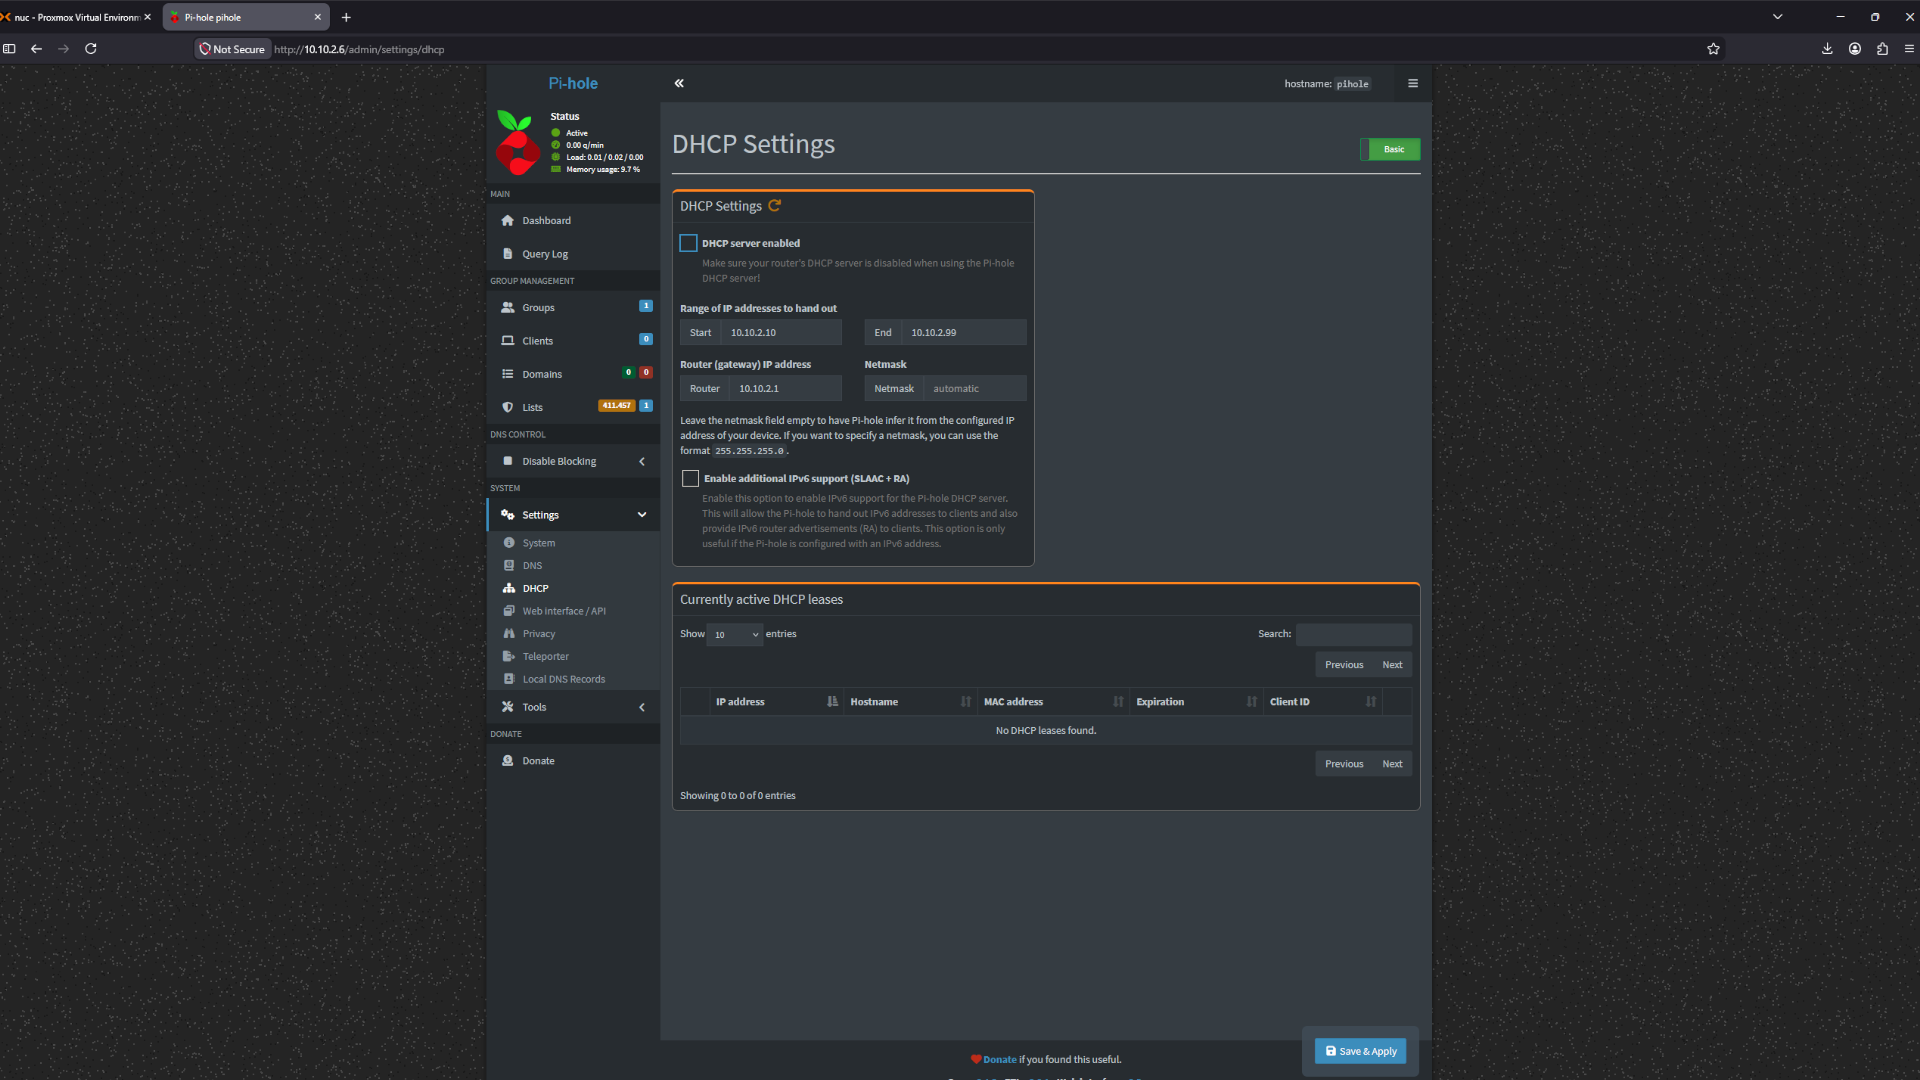 Set DHCP
If your router for some reason don’t let you disable DHCP there is a little trick to cheat it. Make 2 static ip add with some fake mac add like aa:aa:aa:aa:aa:aa and then set the DHCP range to those 2 IP and it will sinck in to a blackhole.
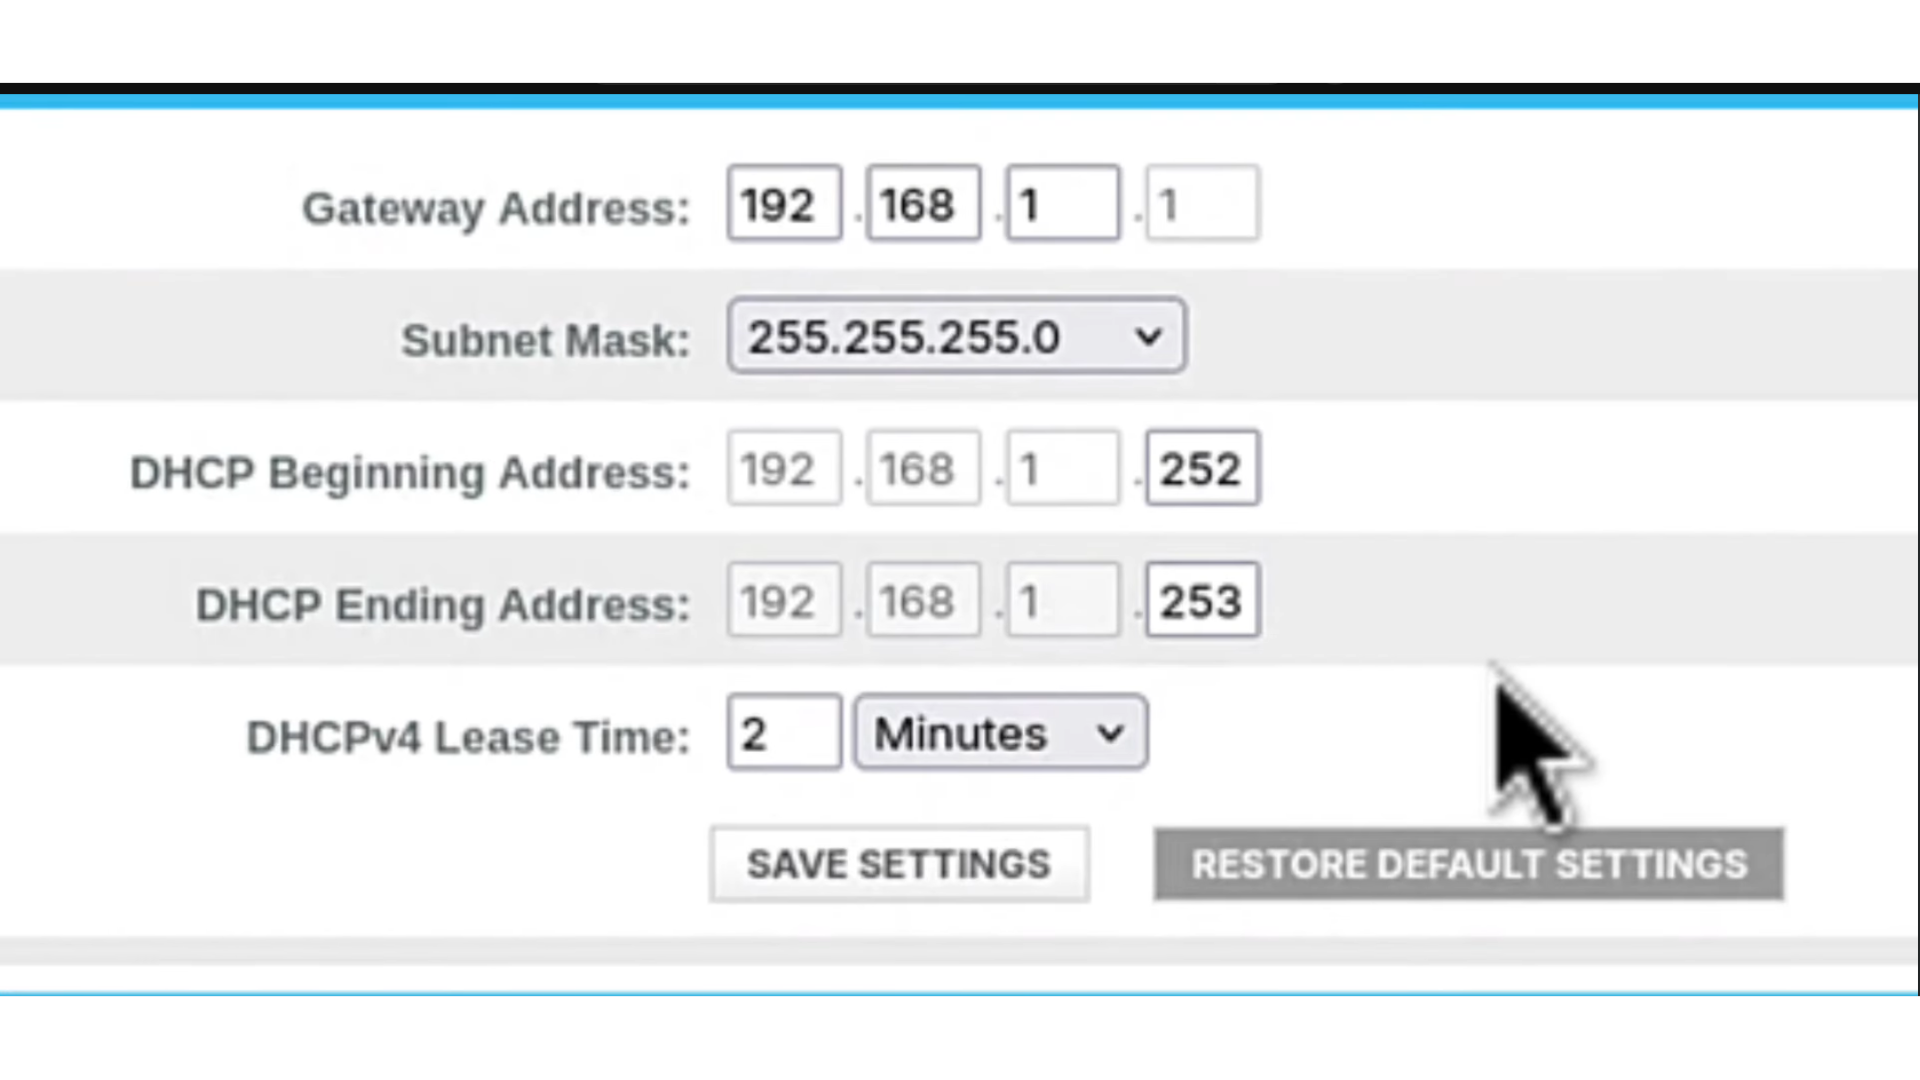 Router DHCP
All done