Getting Started with Proxmox

Proxmox Server Guide.
New to Proxmox? No worries. By the end of this guide, you’ll have a fully working Proxmox server up and running — no prior experience required.
What you’ll need:
Hardware: Any server or PC — I personally used an Intel NUC i3 with 16GB RAM, and it worked great for years.
Software: The Proxmox ISO file, a USB tool (I recommend Rufus if you’re on Windows)
Let’s get started
Let’s start by putting the Proxmox ISO onto a USB stick so we can install it. If you’re on Windows, Rufus is a super easy tool to use for this
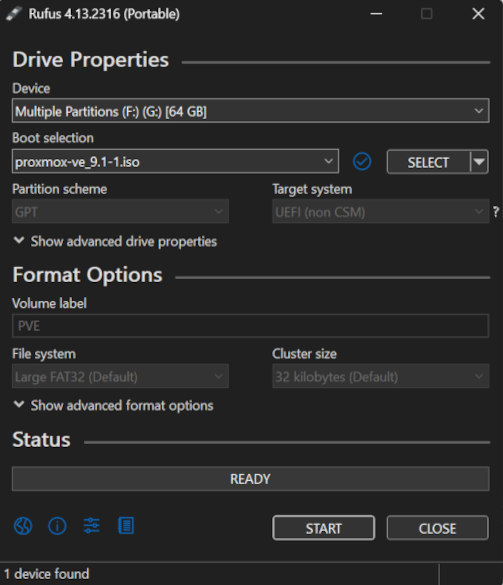 Rufus
Rufus
Now click Select and find your Proxmox ISO file.
 Rufus
Rufus
And then hit start say yes to erase the drive.
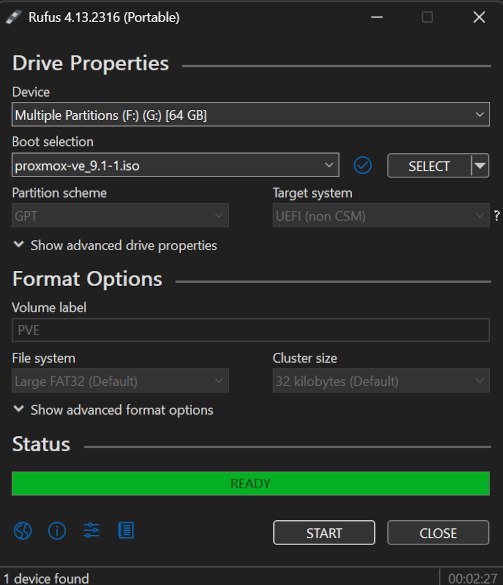 Rufus
Rufus
Alright, time to start the installation!
Before plugging in the USB and booting from it, we need to check a BIOS setting. Restart your computer and enter the BIOS (usually Delete, F2, or F12 — if not, check your motherboard manual).
Then go to Advanced → CPU Configuration and make sure virtualization is turned on:
- VT-x if you’re using Intel (VT-x = VMX = Intel Virtualization Technology )
- AMD-V if you’re using AMD
 Bios
Bios
Additionally, ensure that Secure Boot is disabled in the BIOS settings. Just double-check that Secure Boot is turned off in the BIOS before continuing.
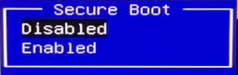 Bios
Bios
In my case, I actually managed to install with Secure Boot still on (I forgot to turn it off), but it can cause problems like:
- Fail to boot
- Reject unsigned kernel modules
Now go ahead and boot from your USB stick.
Choose “Install Proxmox VE (Graphical)” from the menu.
 Proxmox Install GUI
Next, pick the hard drive where you want to install Proxmox. I only had one option, but if you have multiple drives, make sure you pick the right one!
 Proxmox Install GUI
By default, it uses ext4, which is perfectly fine. You can change it by clicking Options next to the drive, but I just stick with the default.
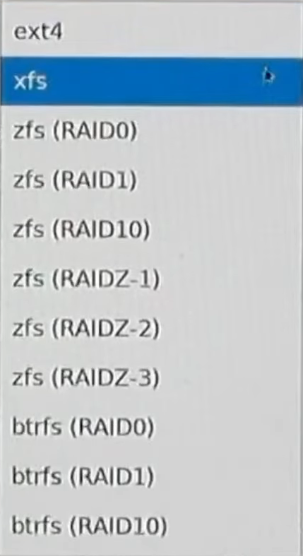 File system
Now set your country, time zone, and keyboard layout (this is really important if you’re not using an English keyboard!).
 Proxmox Install GUI
Next up, create a password for the root user and add your email (you dont need to put in a valid email but if you want erros reports it needs a valid email)
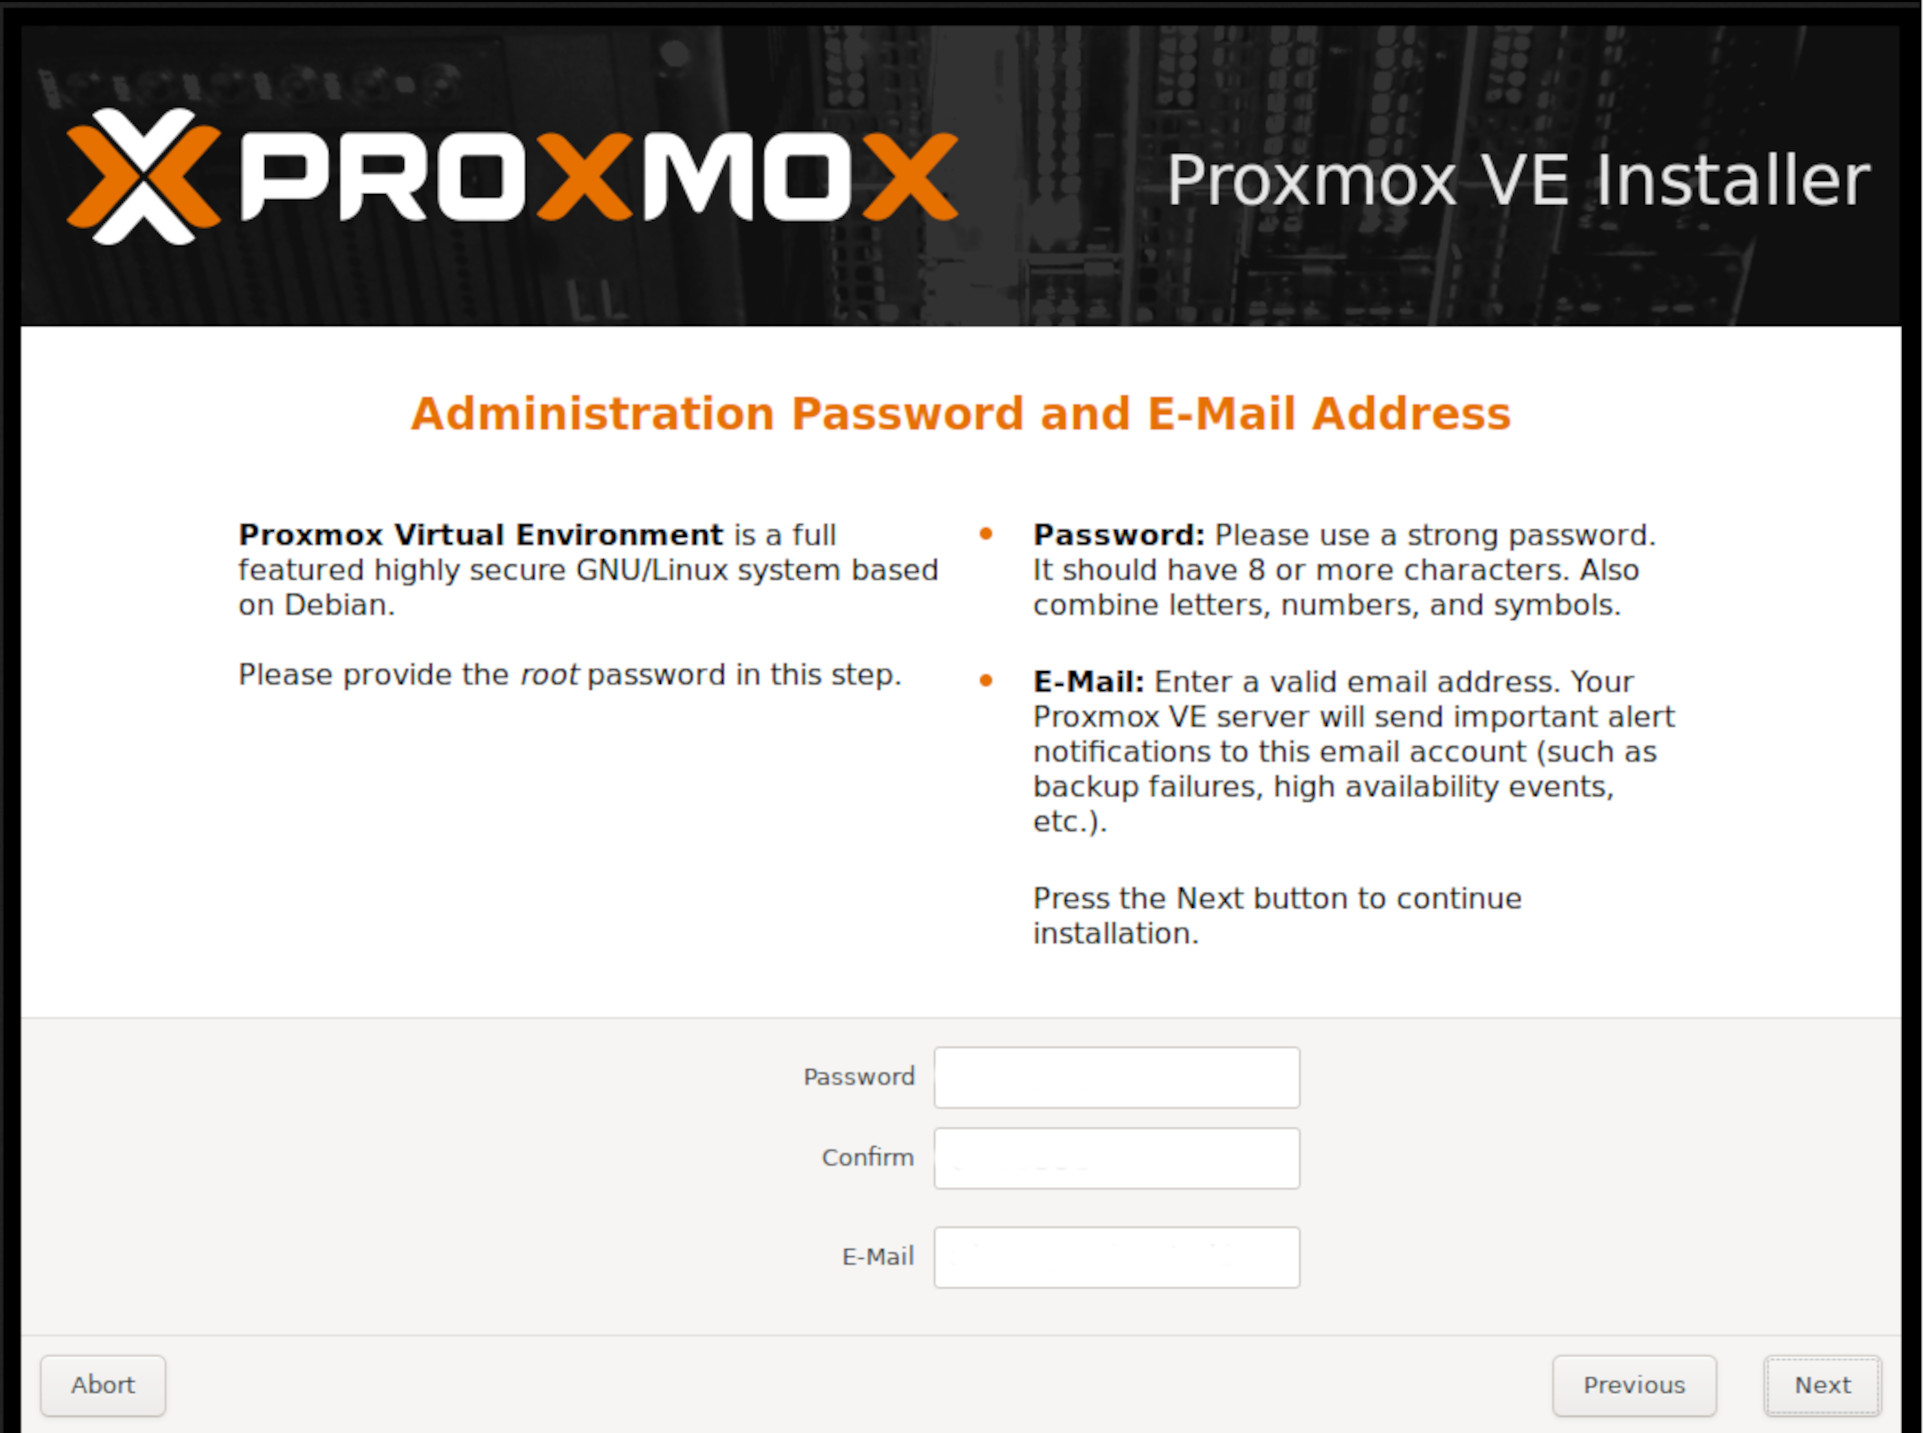 Proxmox Install GUI
If your machine has more than one network port, pick the one you want to use and give your server a hostname (basically its name). mine is nuc.local (is a special-use domain reserved for link-local multicast DNS. It allows devices on the same local network to discover each other by hostname without needing a DNS server)
Then set the IP address — I recommend using a static IP so it doesn’t change. Just fill in your IP + gateway and DNS (same as your normal network settings).
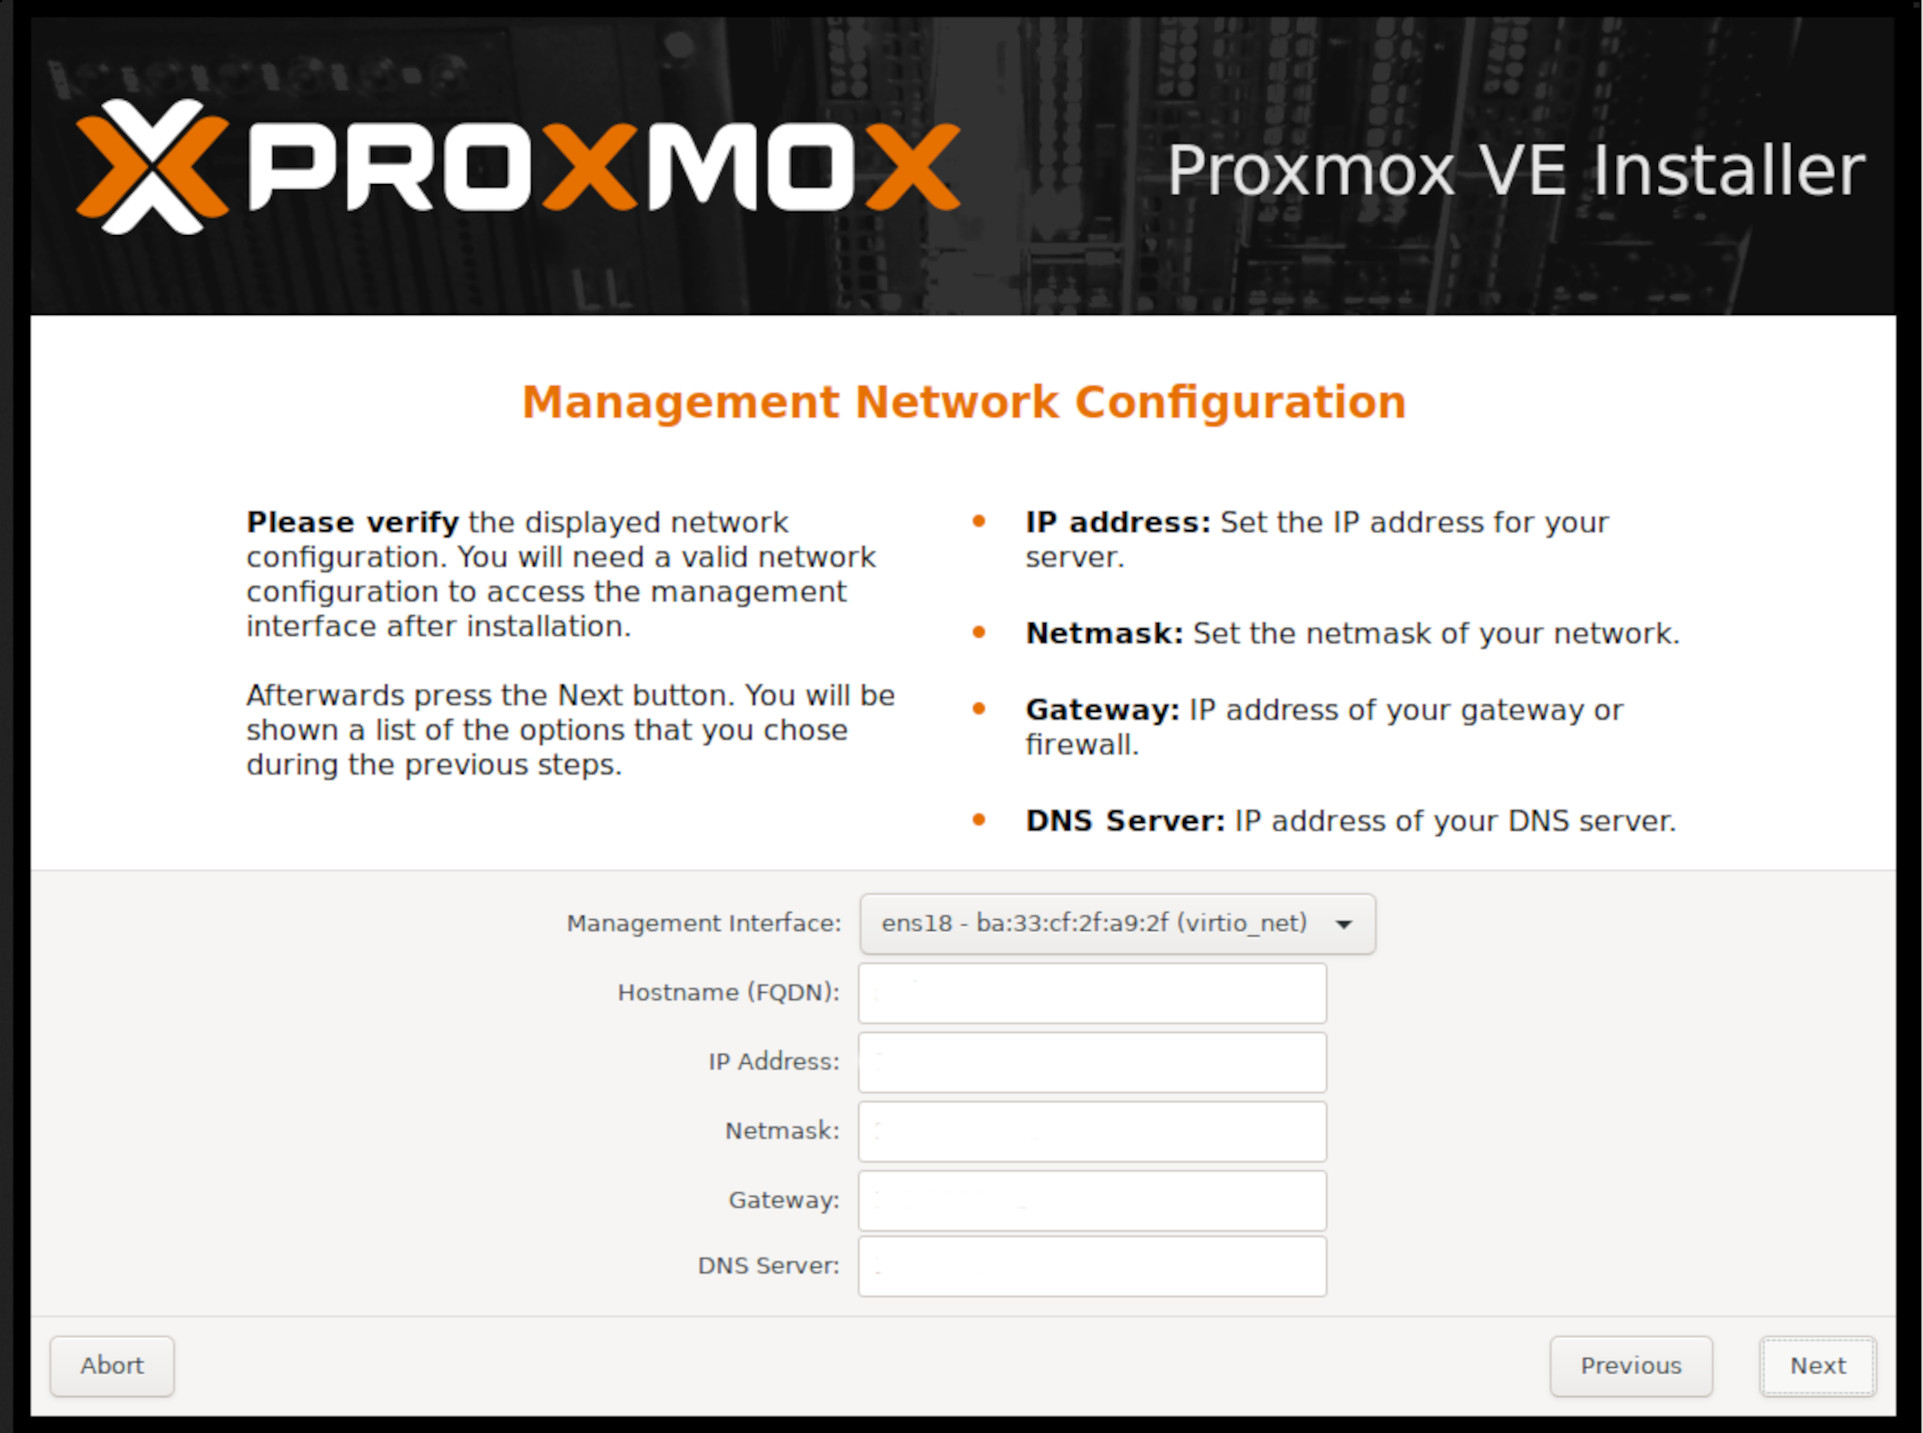 Proxmox Install GUI
At the bottom, uncheck “Automatically reboot after successful installation” — this makes it easier to remove the USB stick. Then click Install.
 Proxmox Install GUI
When it’s done, you’ll see “Installation Successful”. Remove the USB and reboot.
After reboot, you can connect to your server through the web interface.
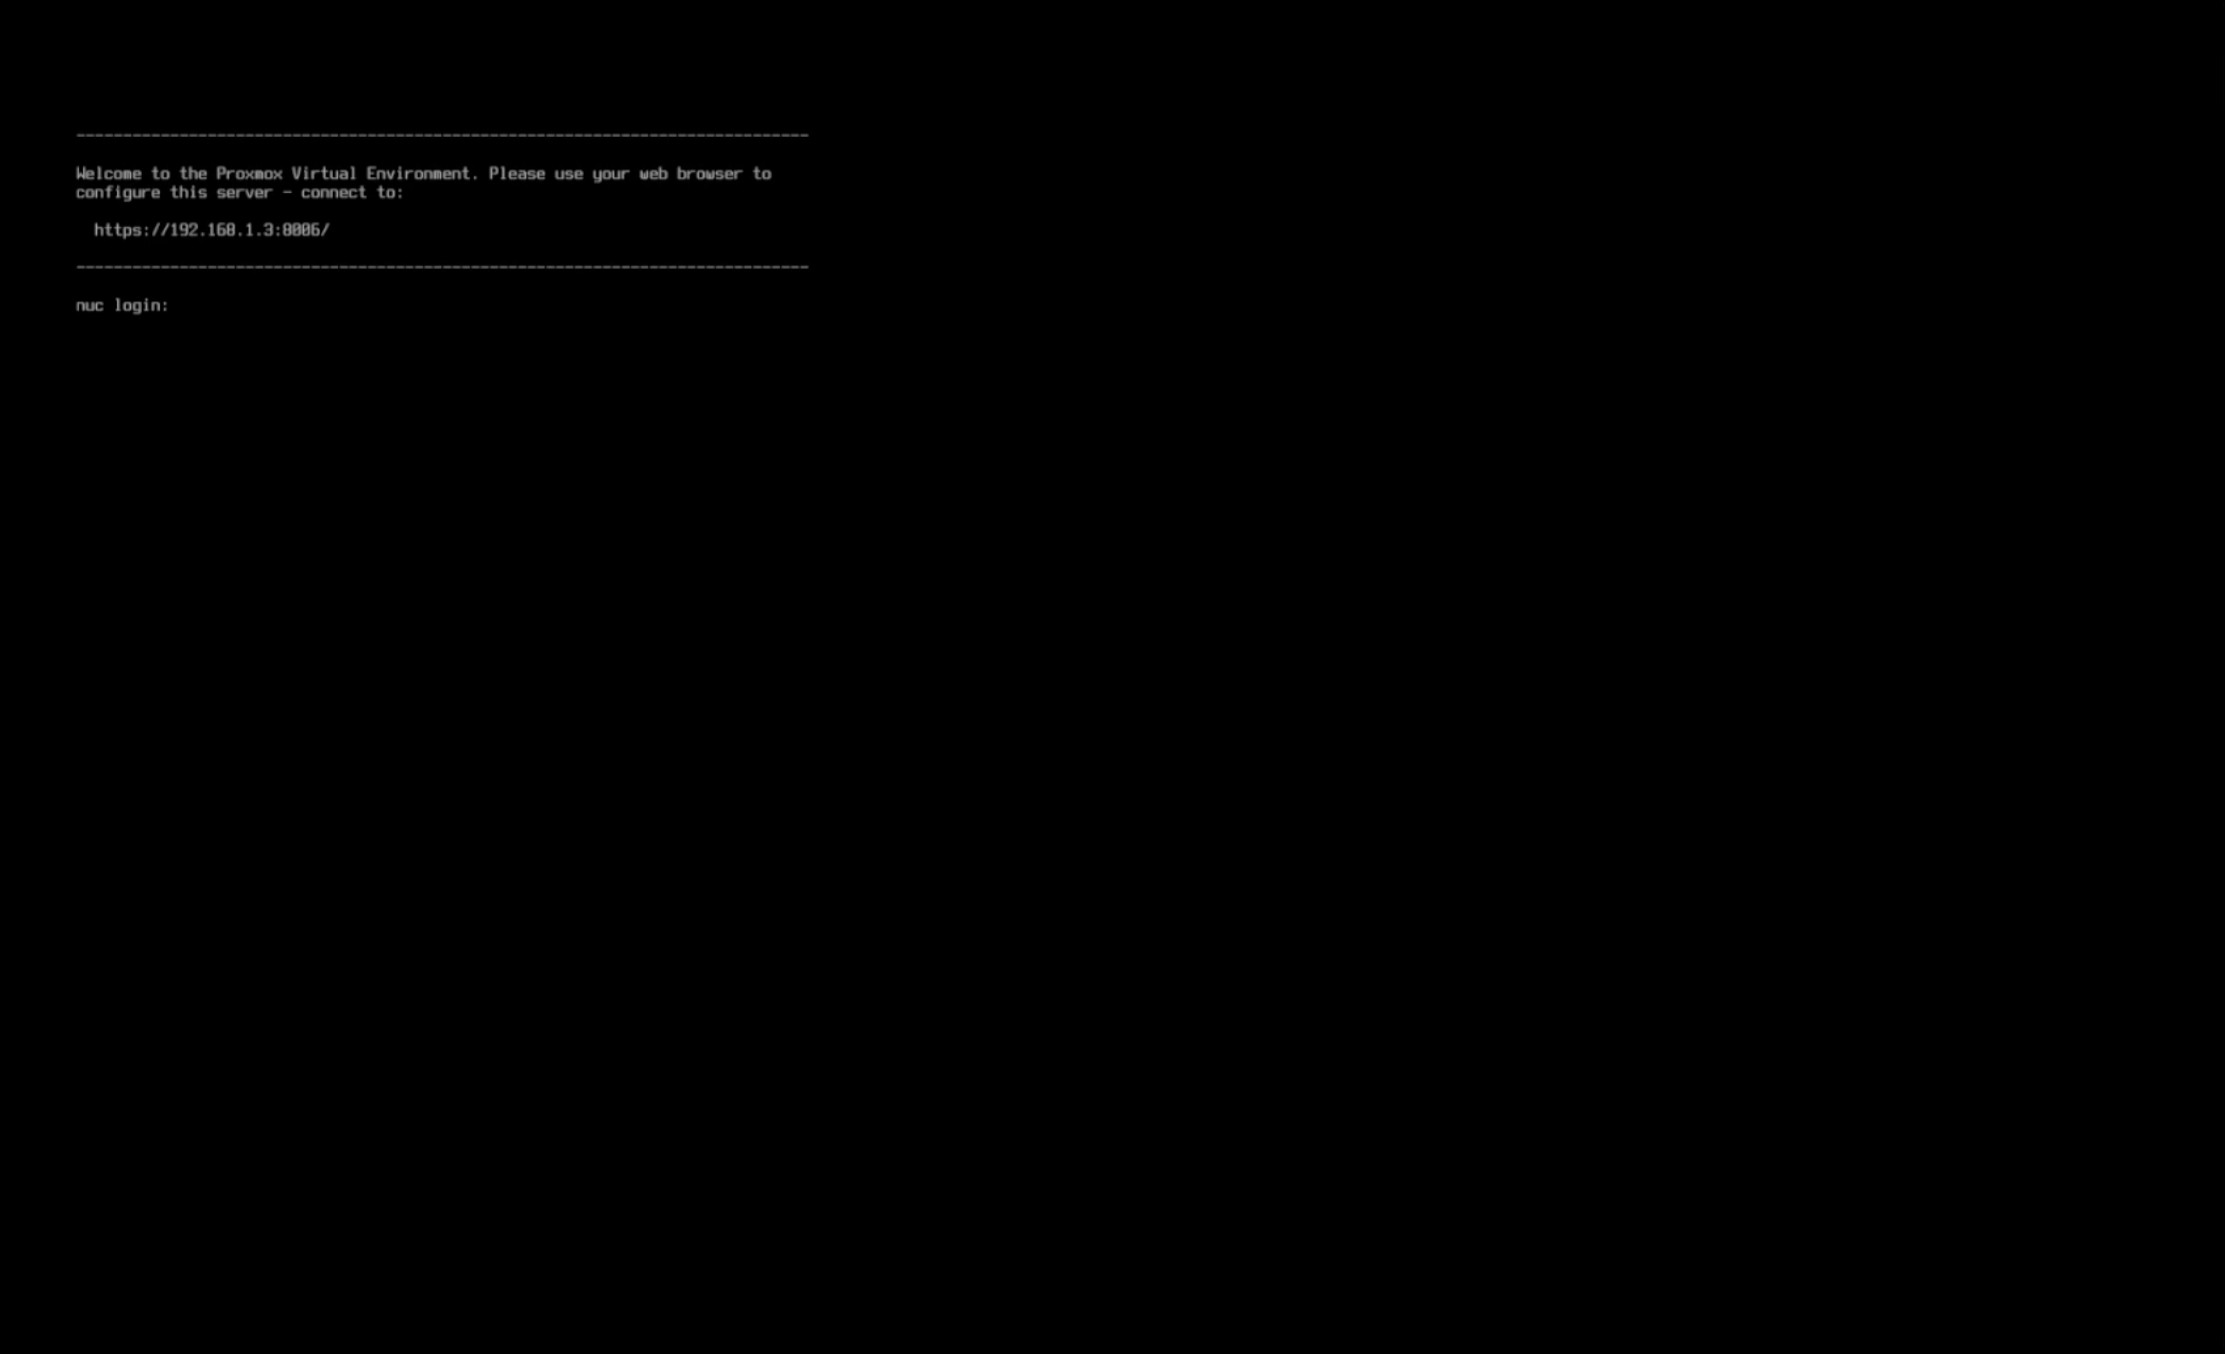 Proxmox Install GUI
1
https://your-ip:8006
Connect to your Proxmox server.
Open a browser and type in url for you promox sever shown above
 Proxmox login
Click on advanced
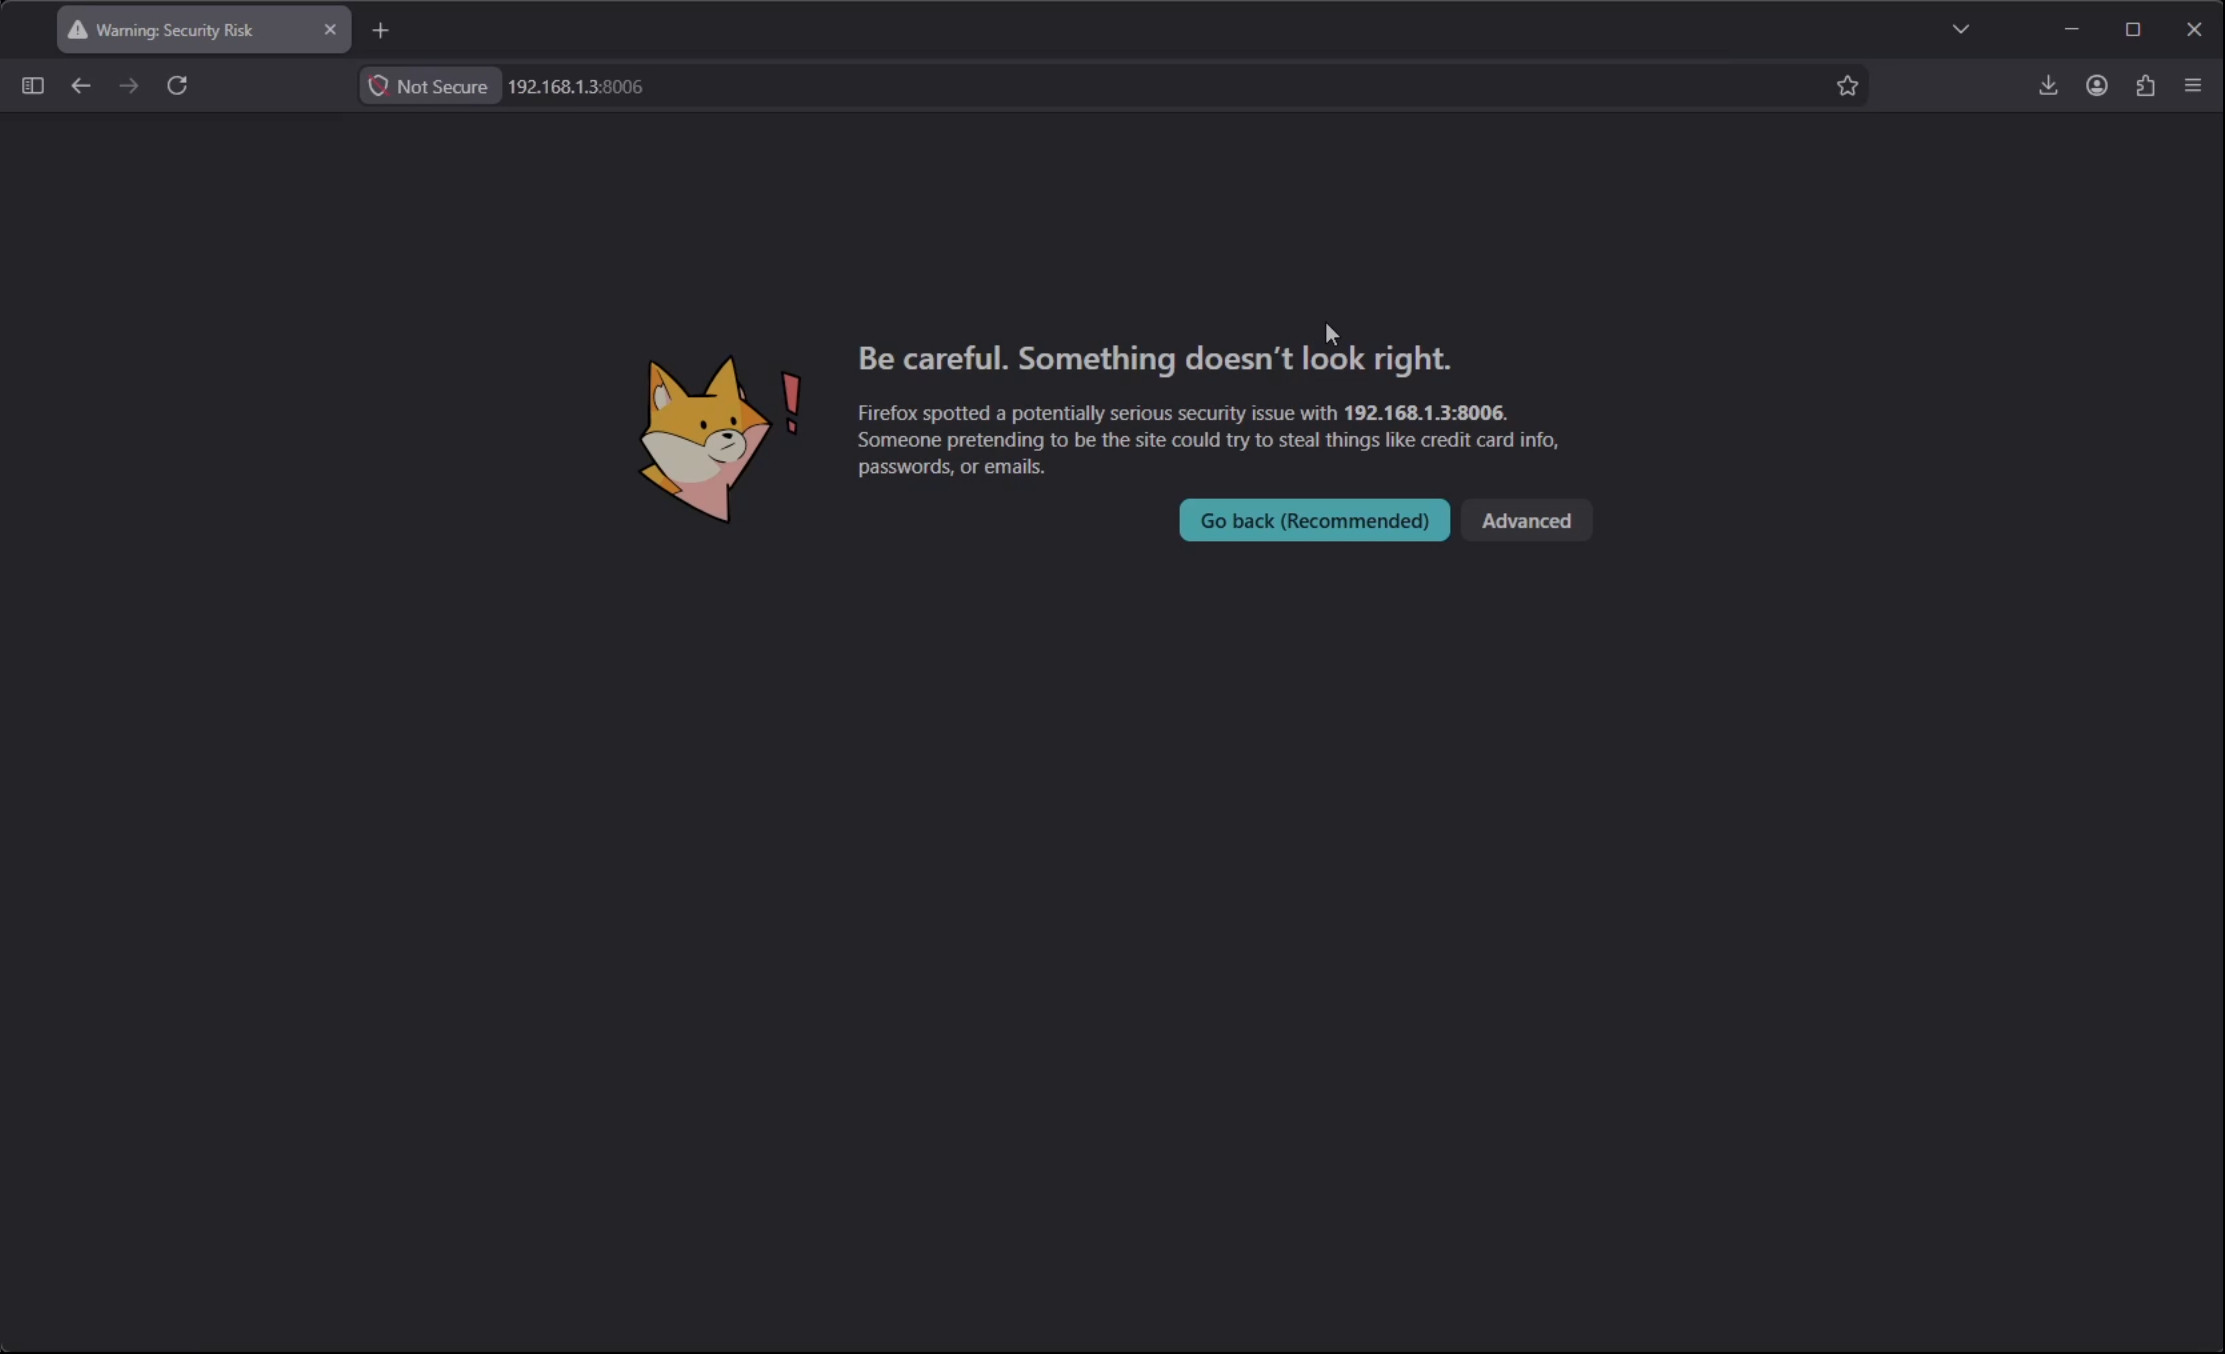 Proxmox login
Then proced
 Proxmox login
Log in with your username and password.
 Proxmox login
You’ll probably see a “No valid subscription” message — don’t worry, that’s normal. Just click OK.
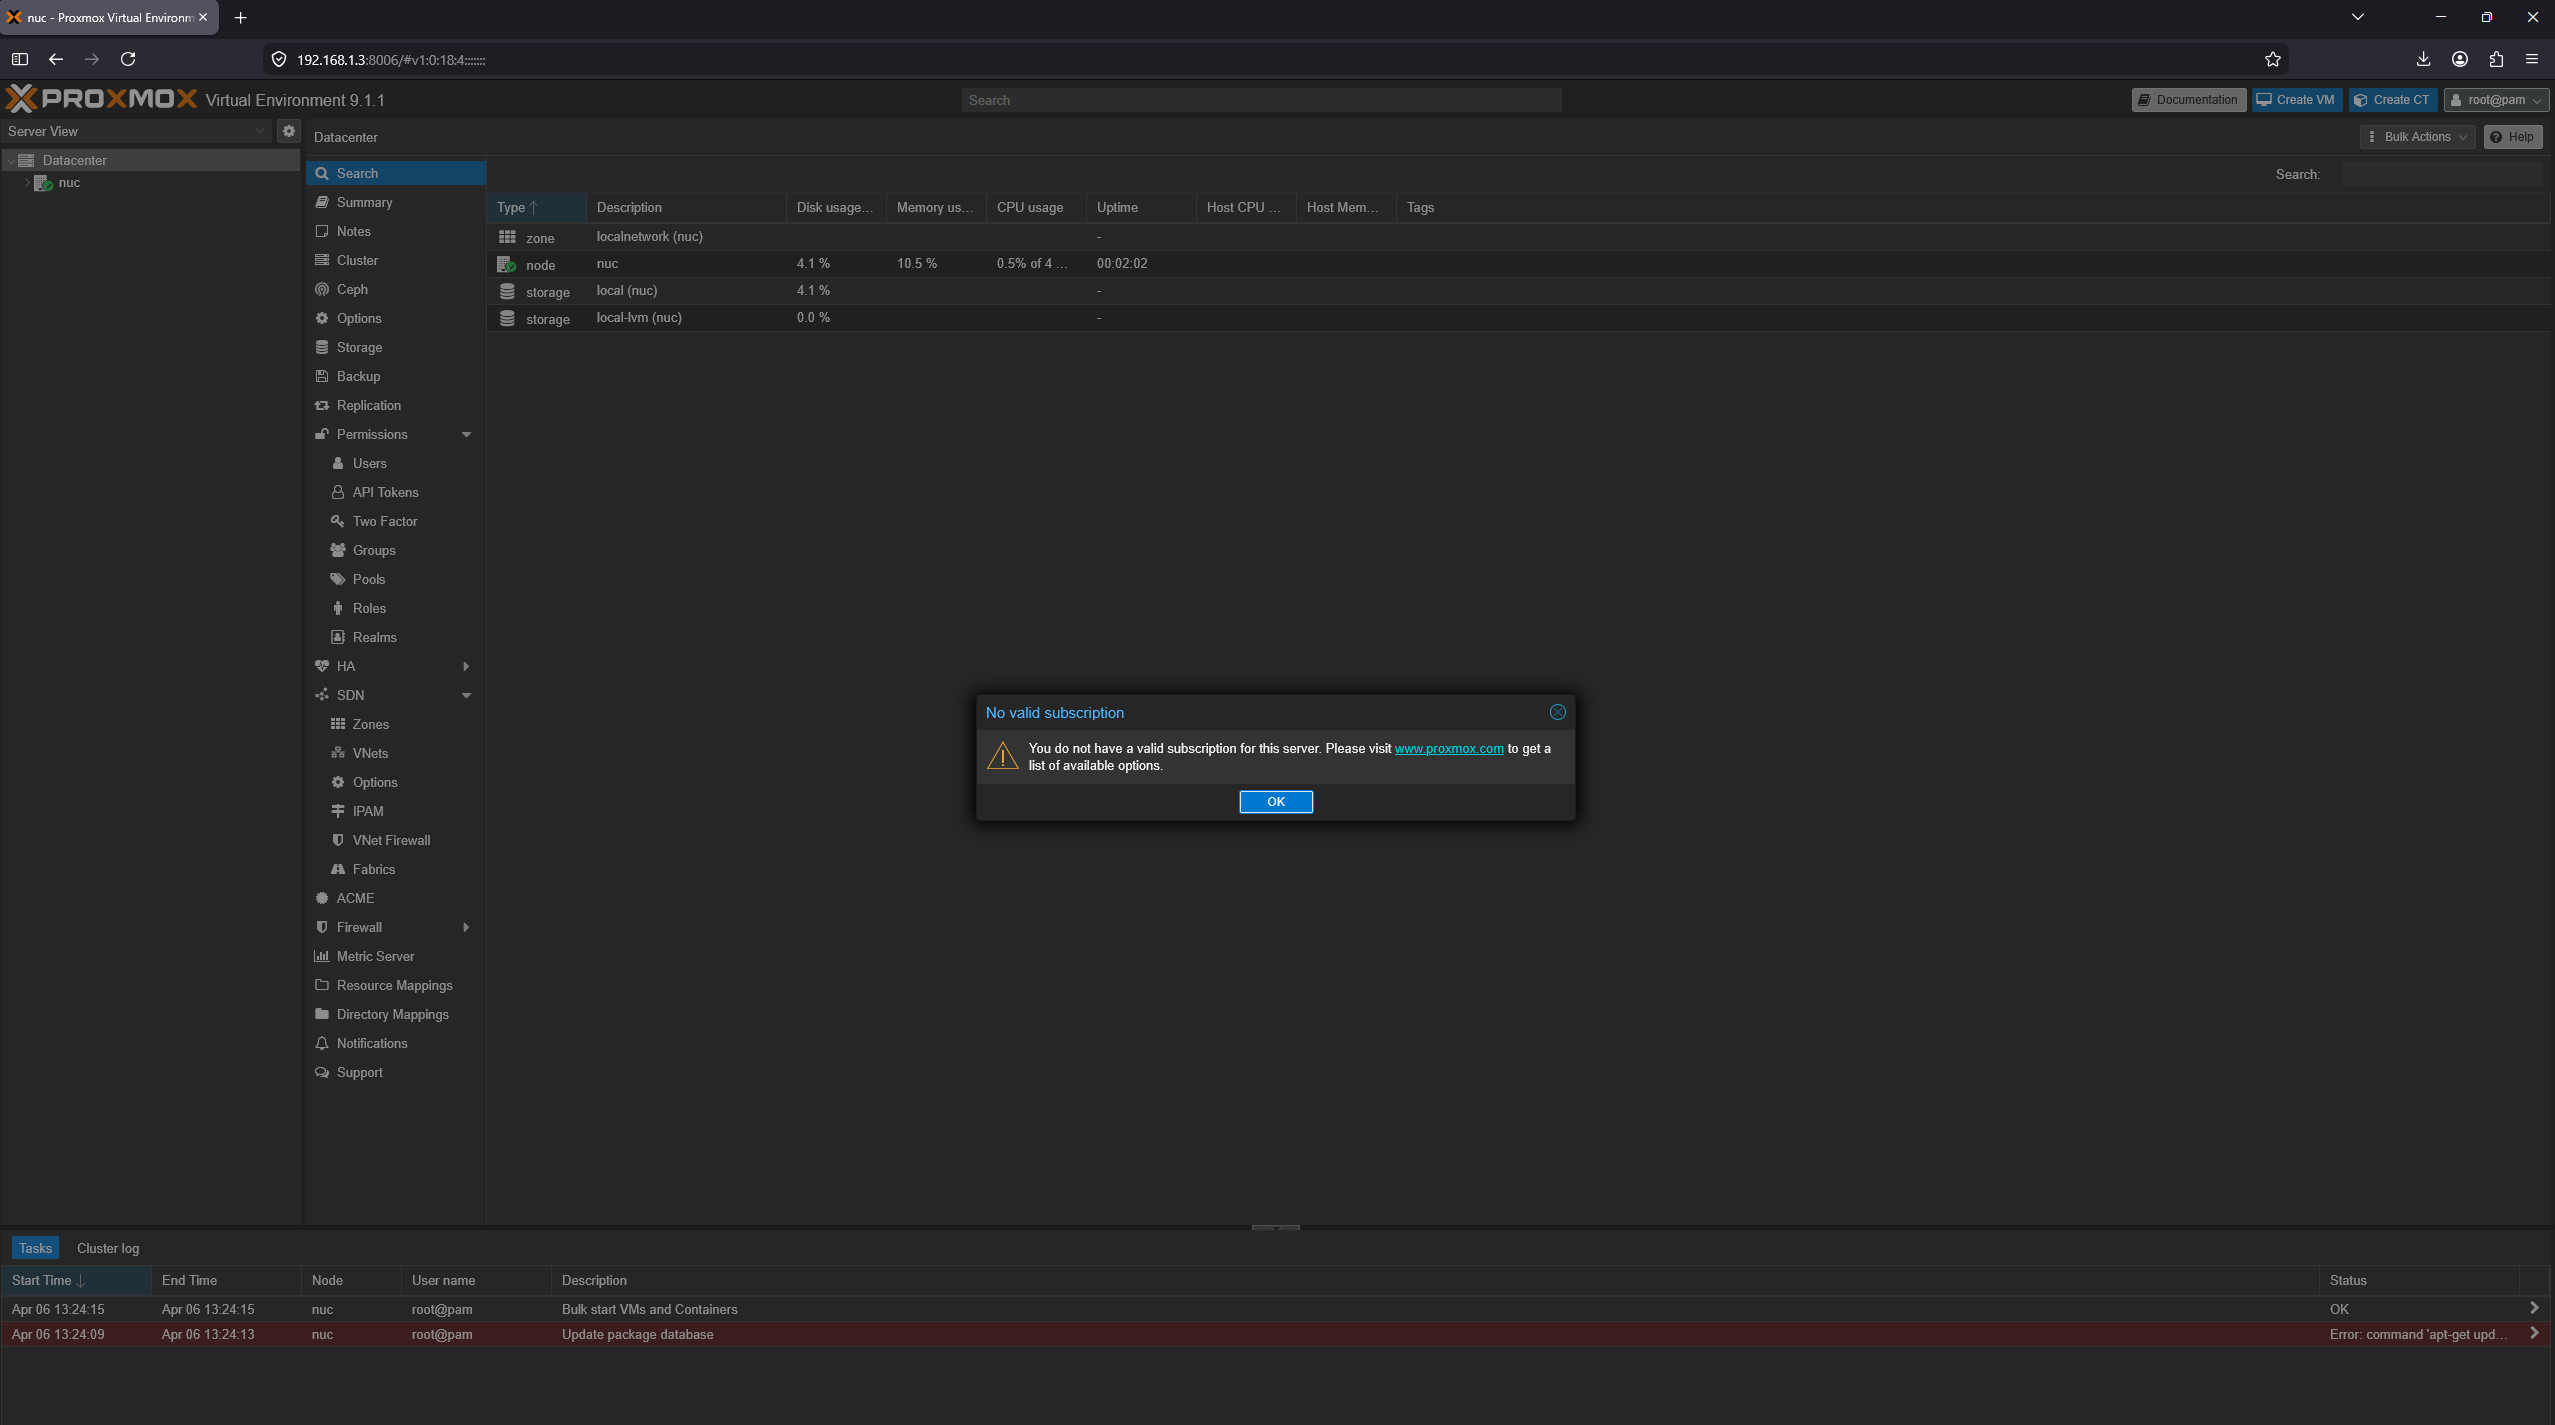 Proxmox login
Great! Your Proxmox server is now up and running
Community scripts that can help with setup and management.
One popular option is the Proxmox VE Post-Install script.
1
bash -c "$(curl -fsSL https://raw.githubusercontent.com/community-scripts/ProxmoxVE/main/tools/pve/post-pve-install.sh)"
Look the top right corner, click on shell and run the above in proxmox VE shell
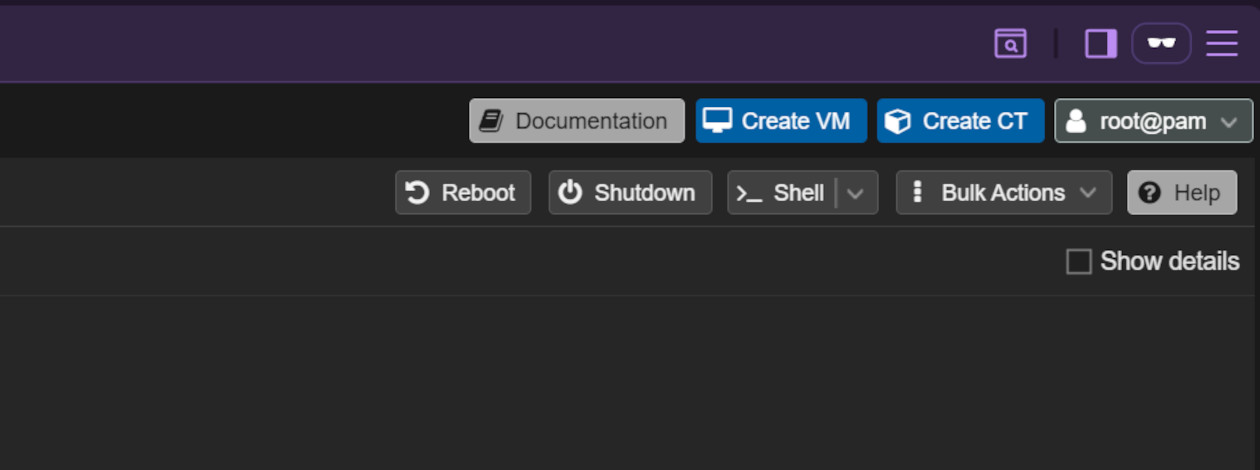 Proxmox Ve Post Install Script
Paste the curl from above and start the Proxmox Ve Post Install Script
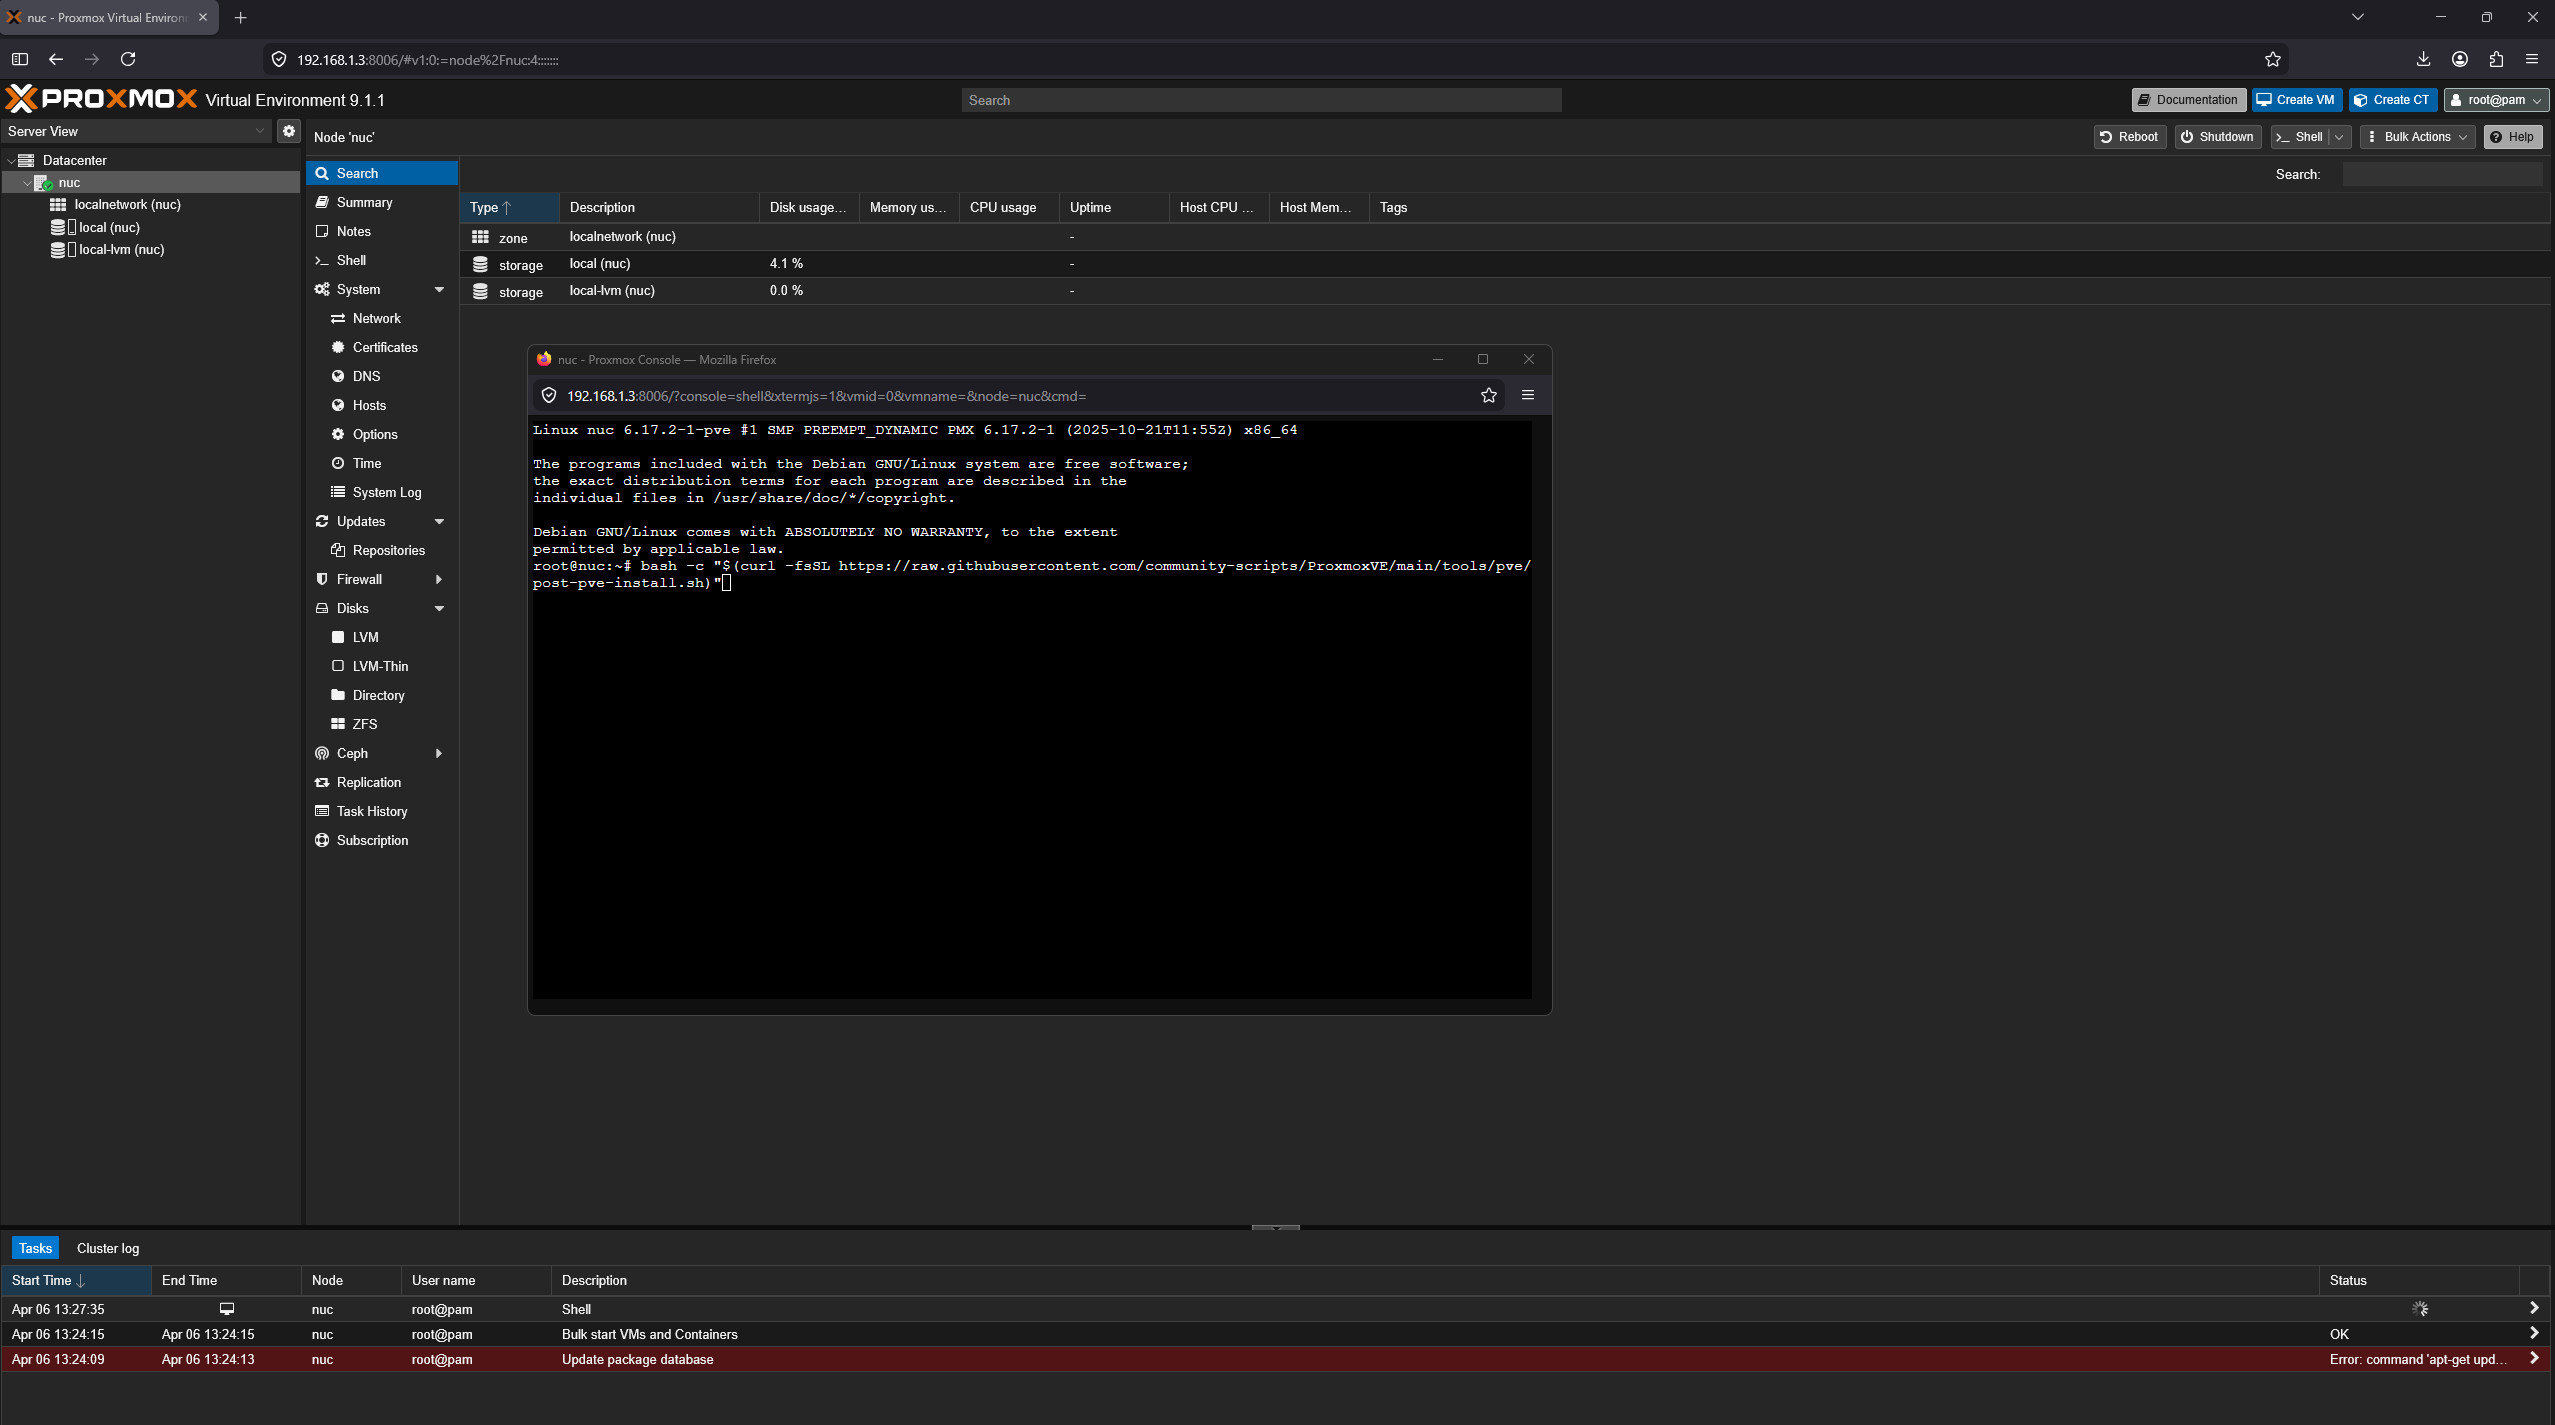 Proxmox Ve Post Install Script
Type y (for yes)
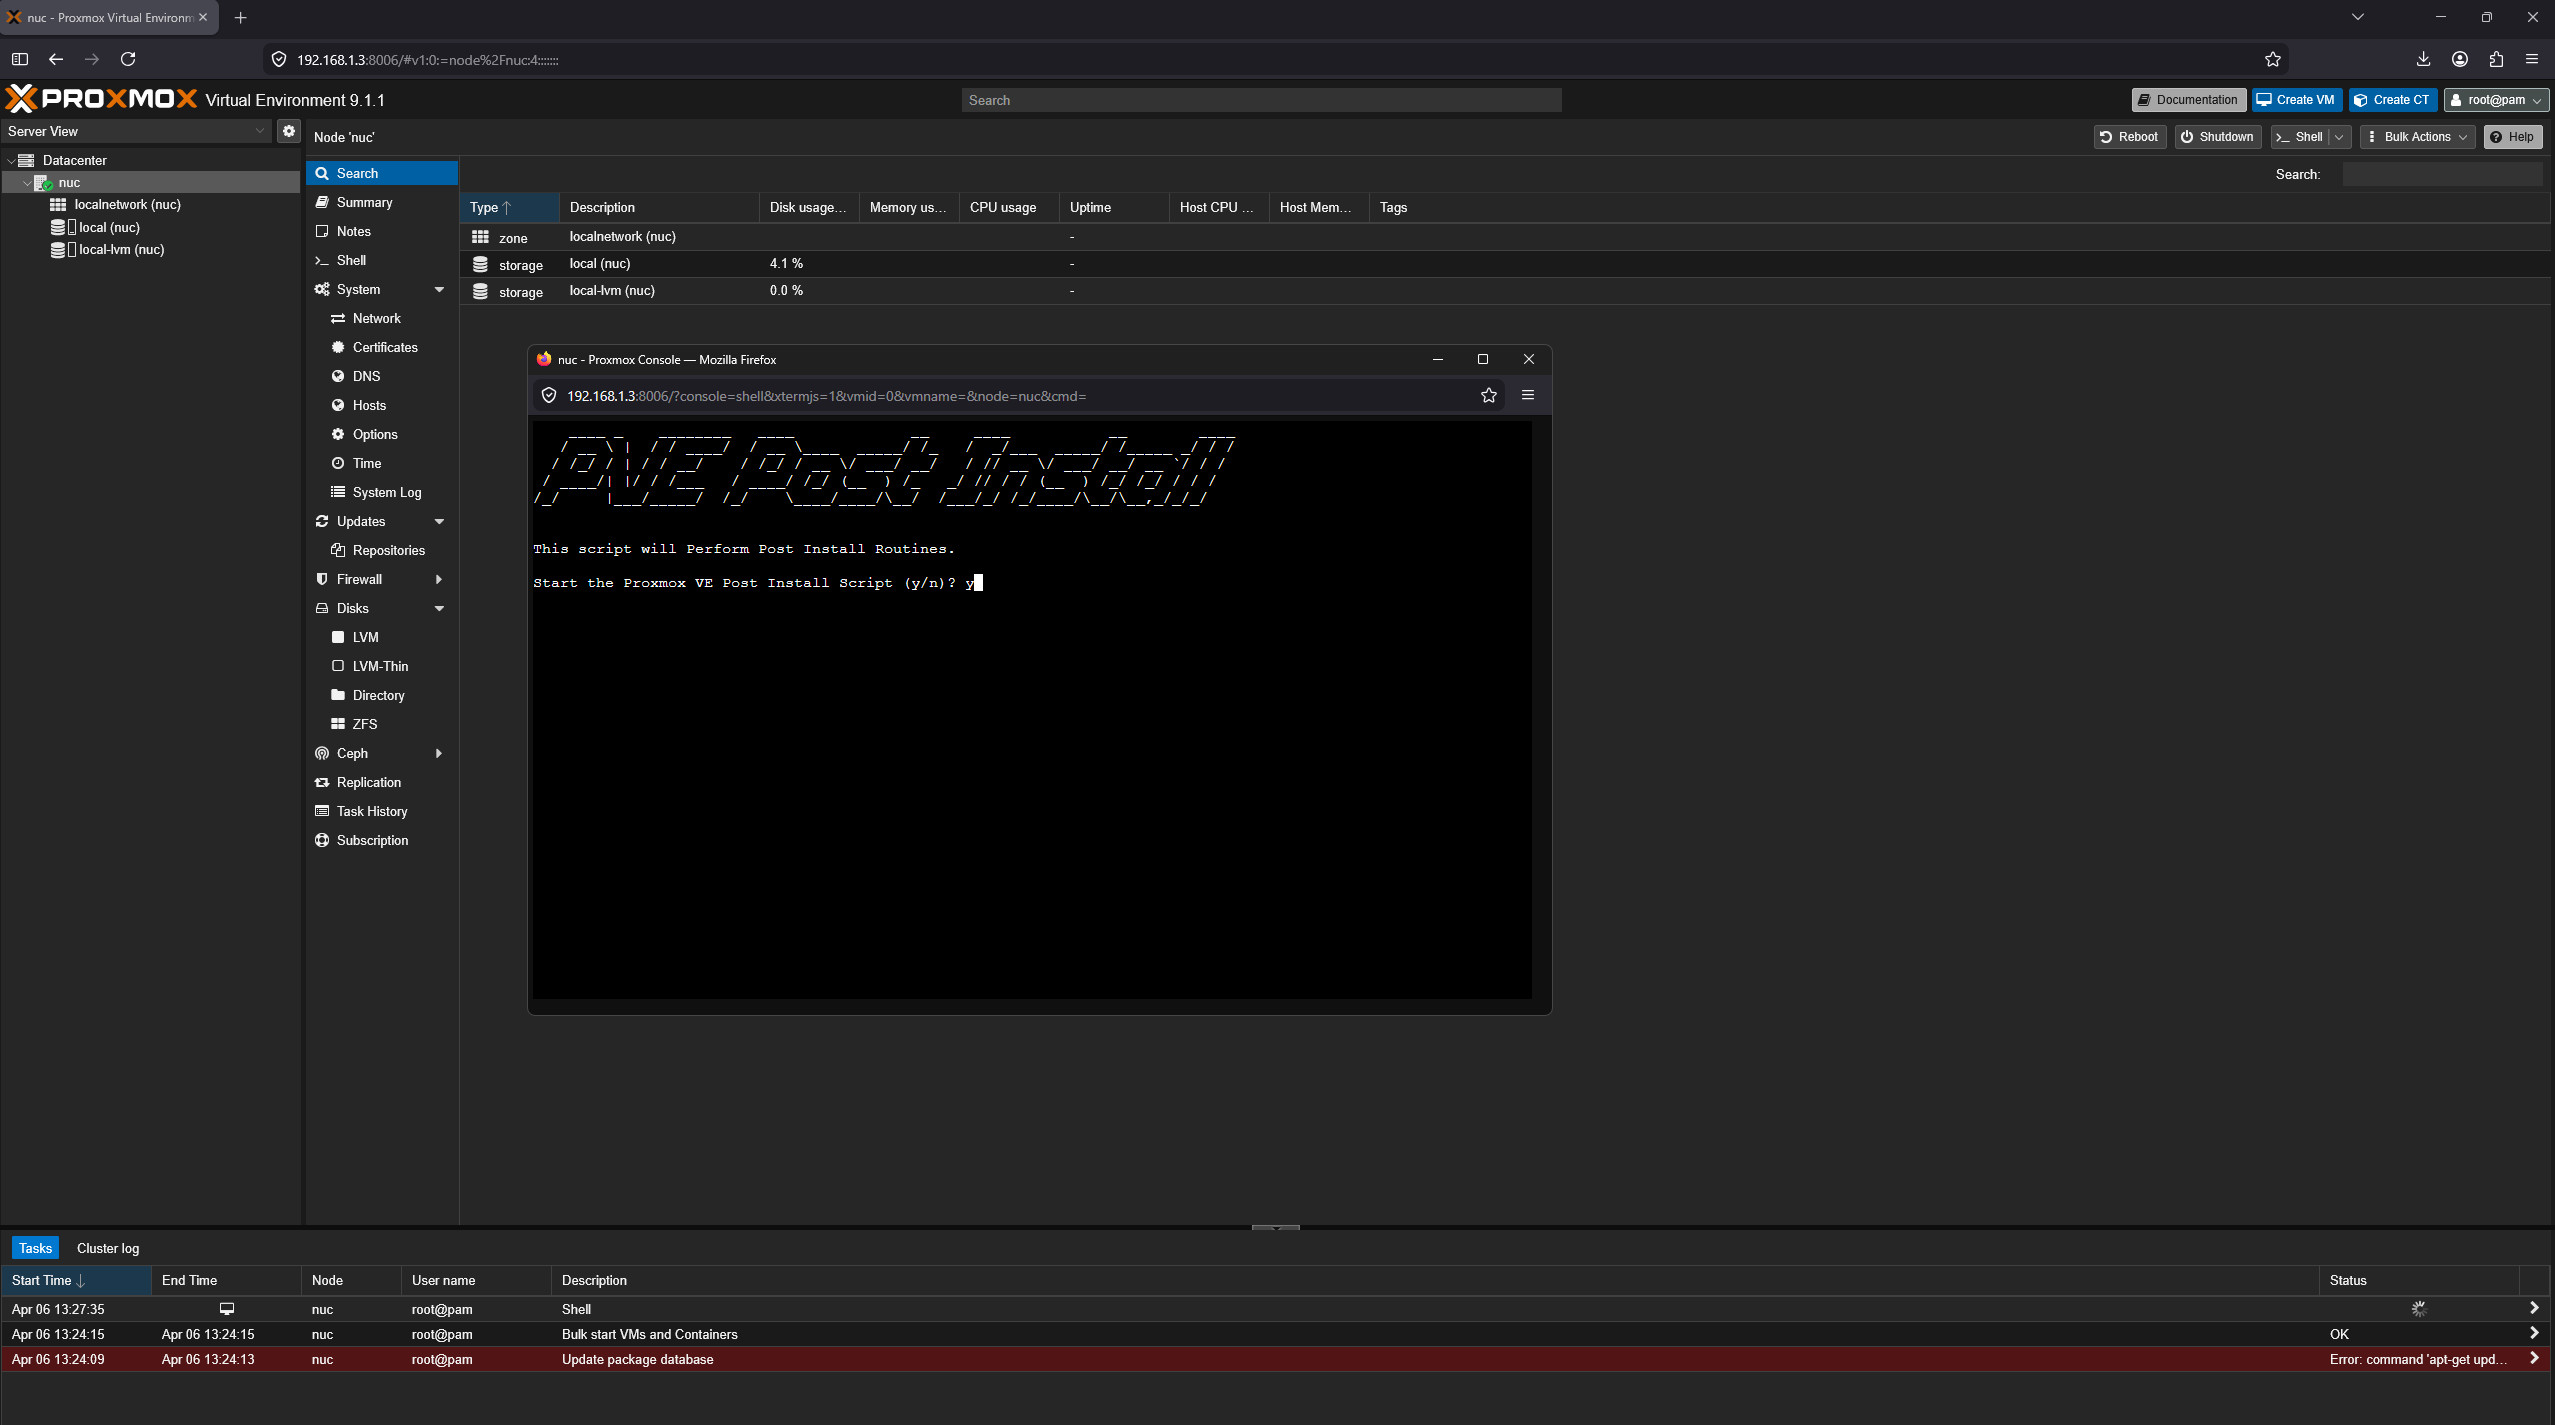 Proxmox Ve Post Install Script
Modeeern deb822 sources - No changes to sources format required -> Ok
 Proxmox Ve Post Install Script
‘pve-enterprise’ repository allready exists ? -> Select disable comment out and tab to ok
 Proxmox Ve Post Install Script
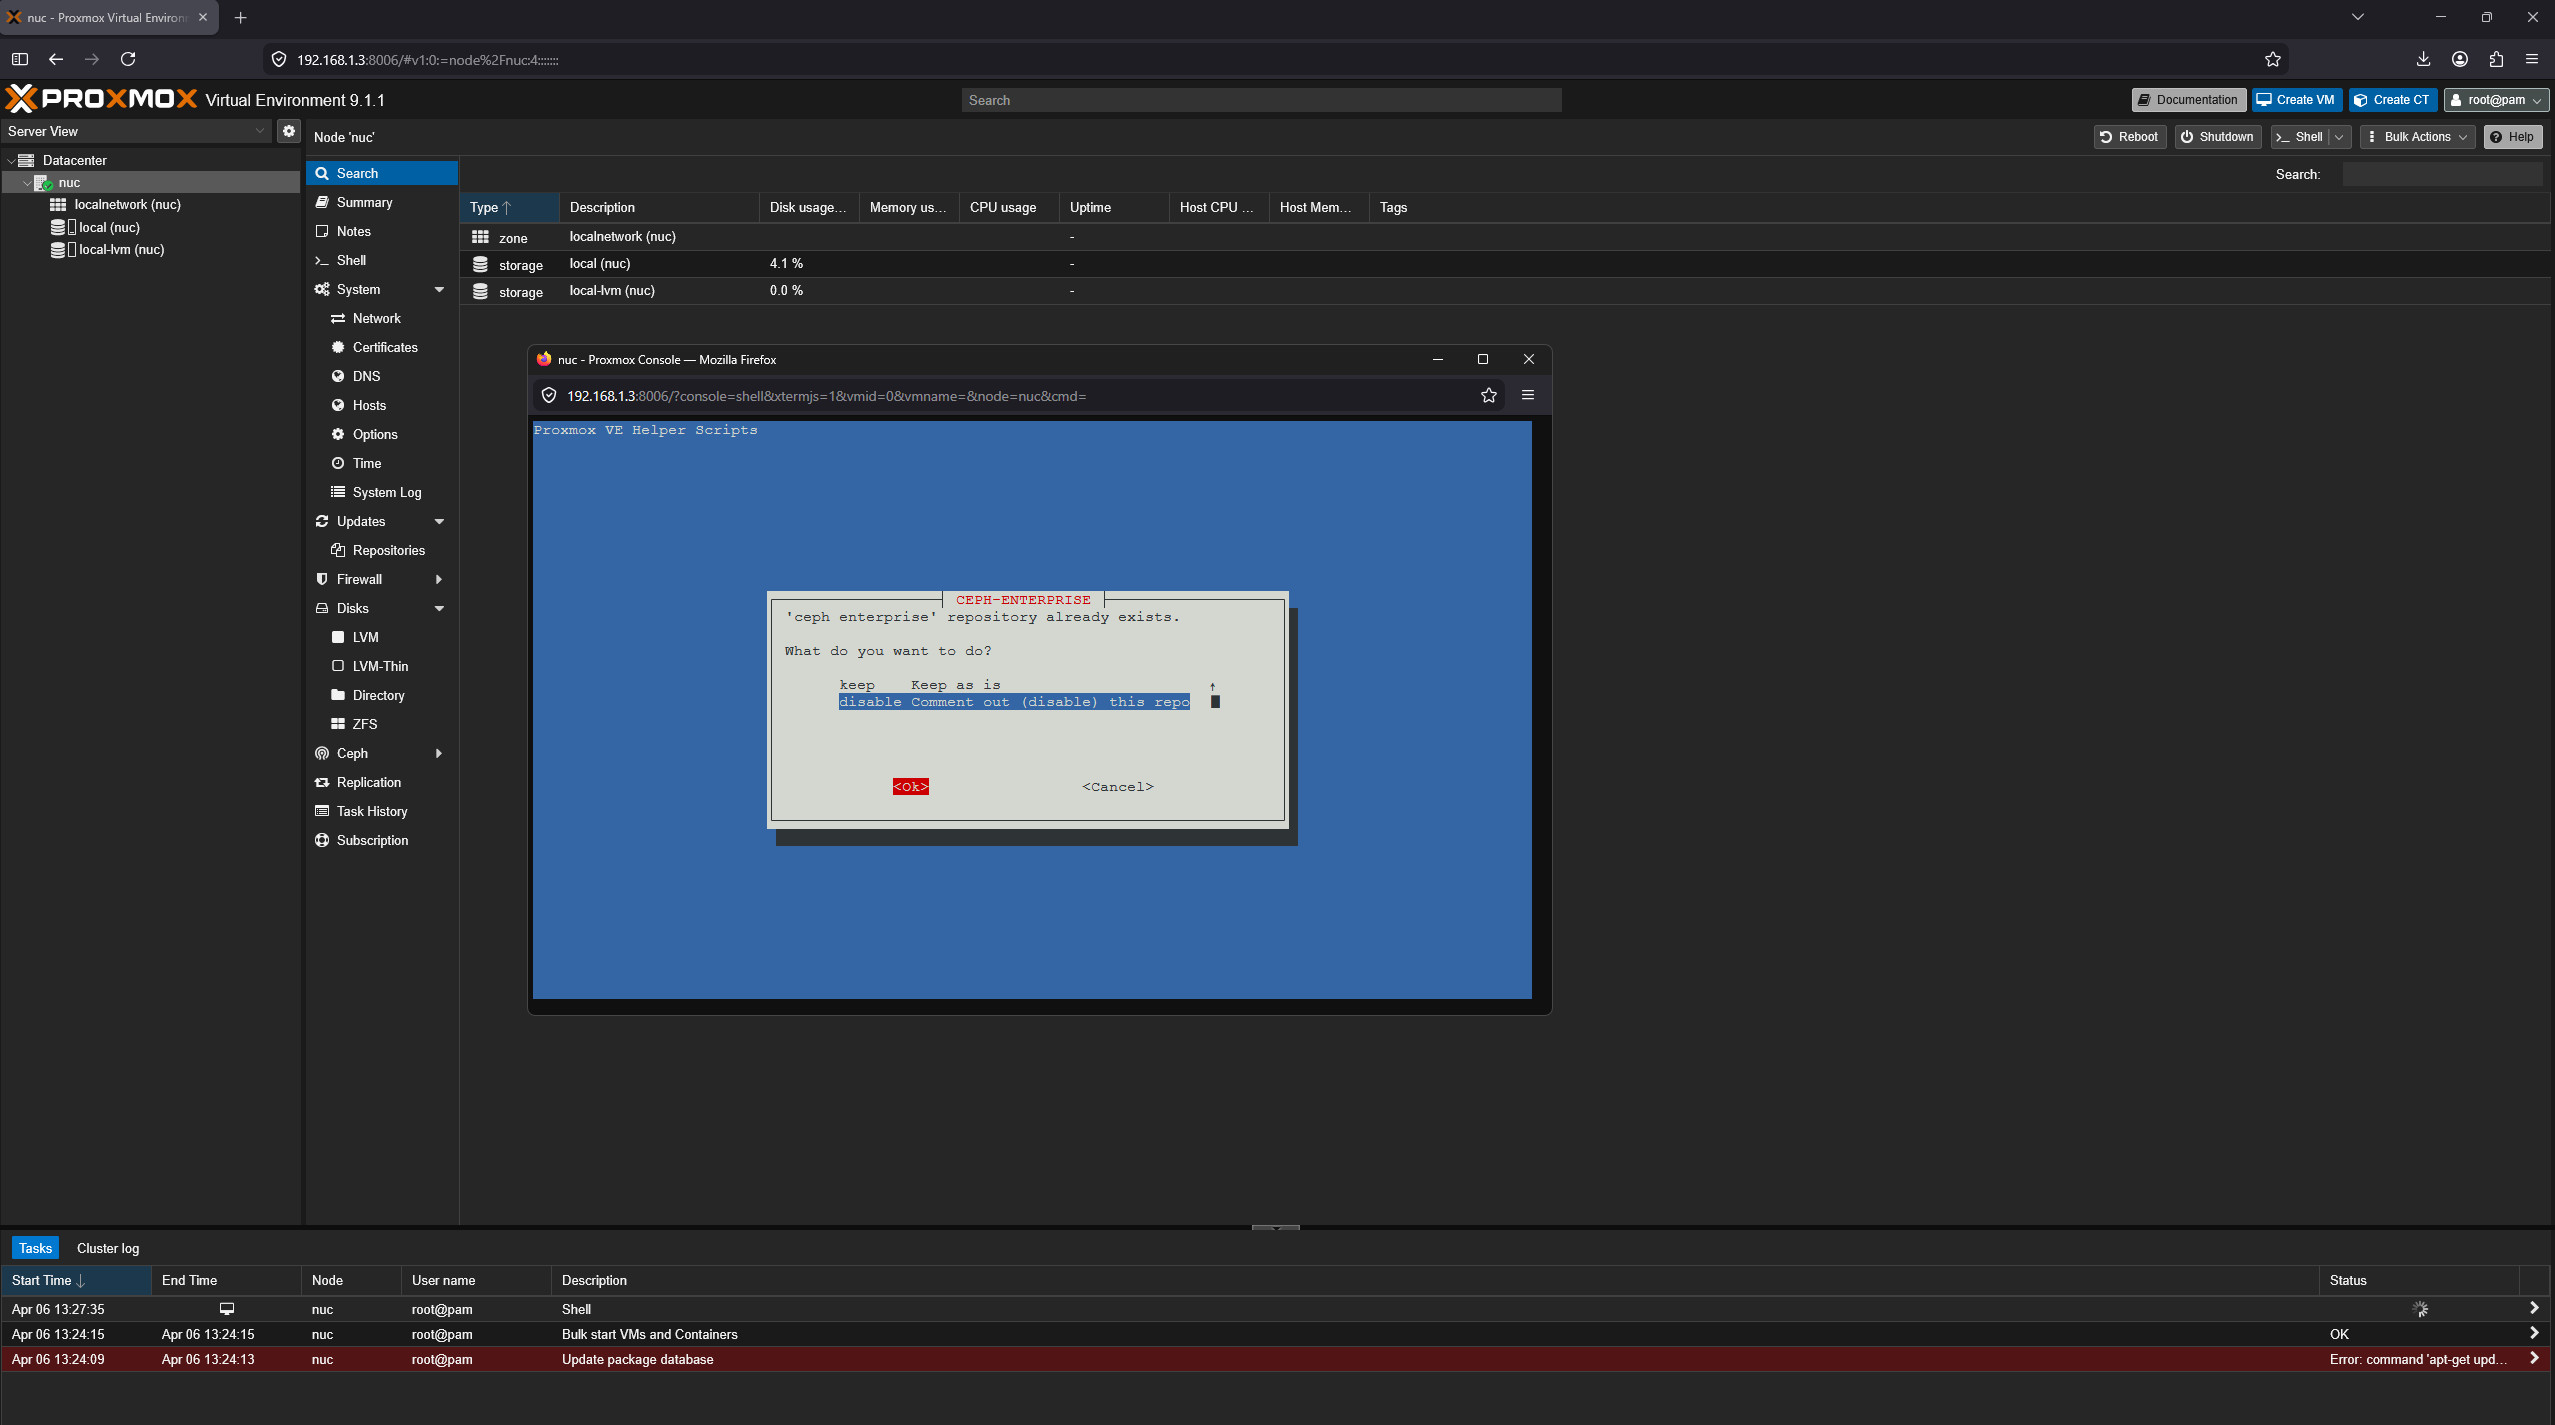
‘ceph enterprise’ repository already exists ? -> select disable (even i dont use it) and tab to ok
 Proxmox Ve Post Install Script
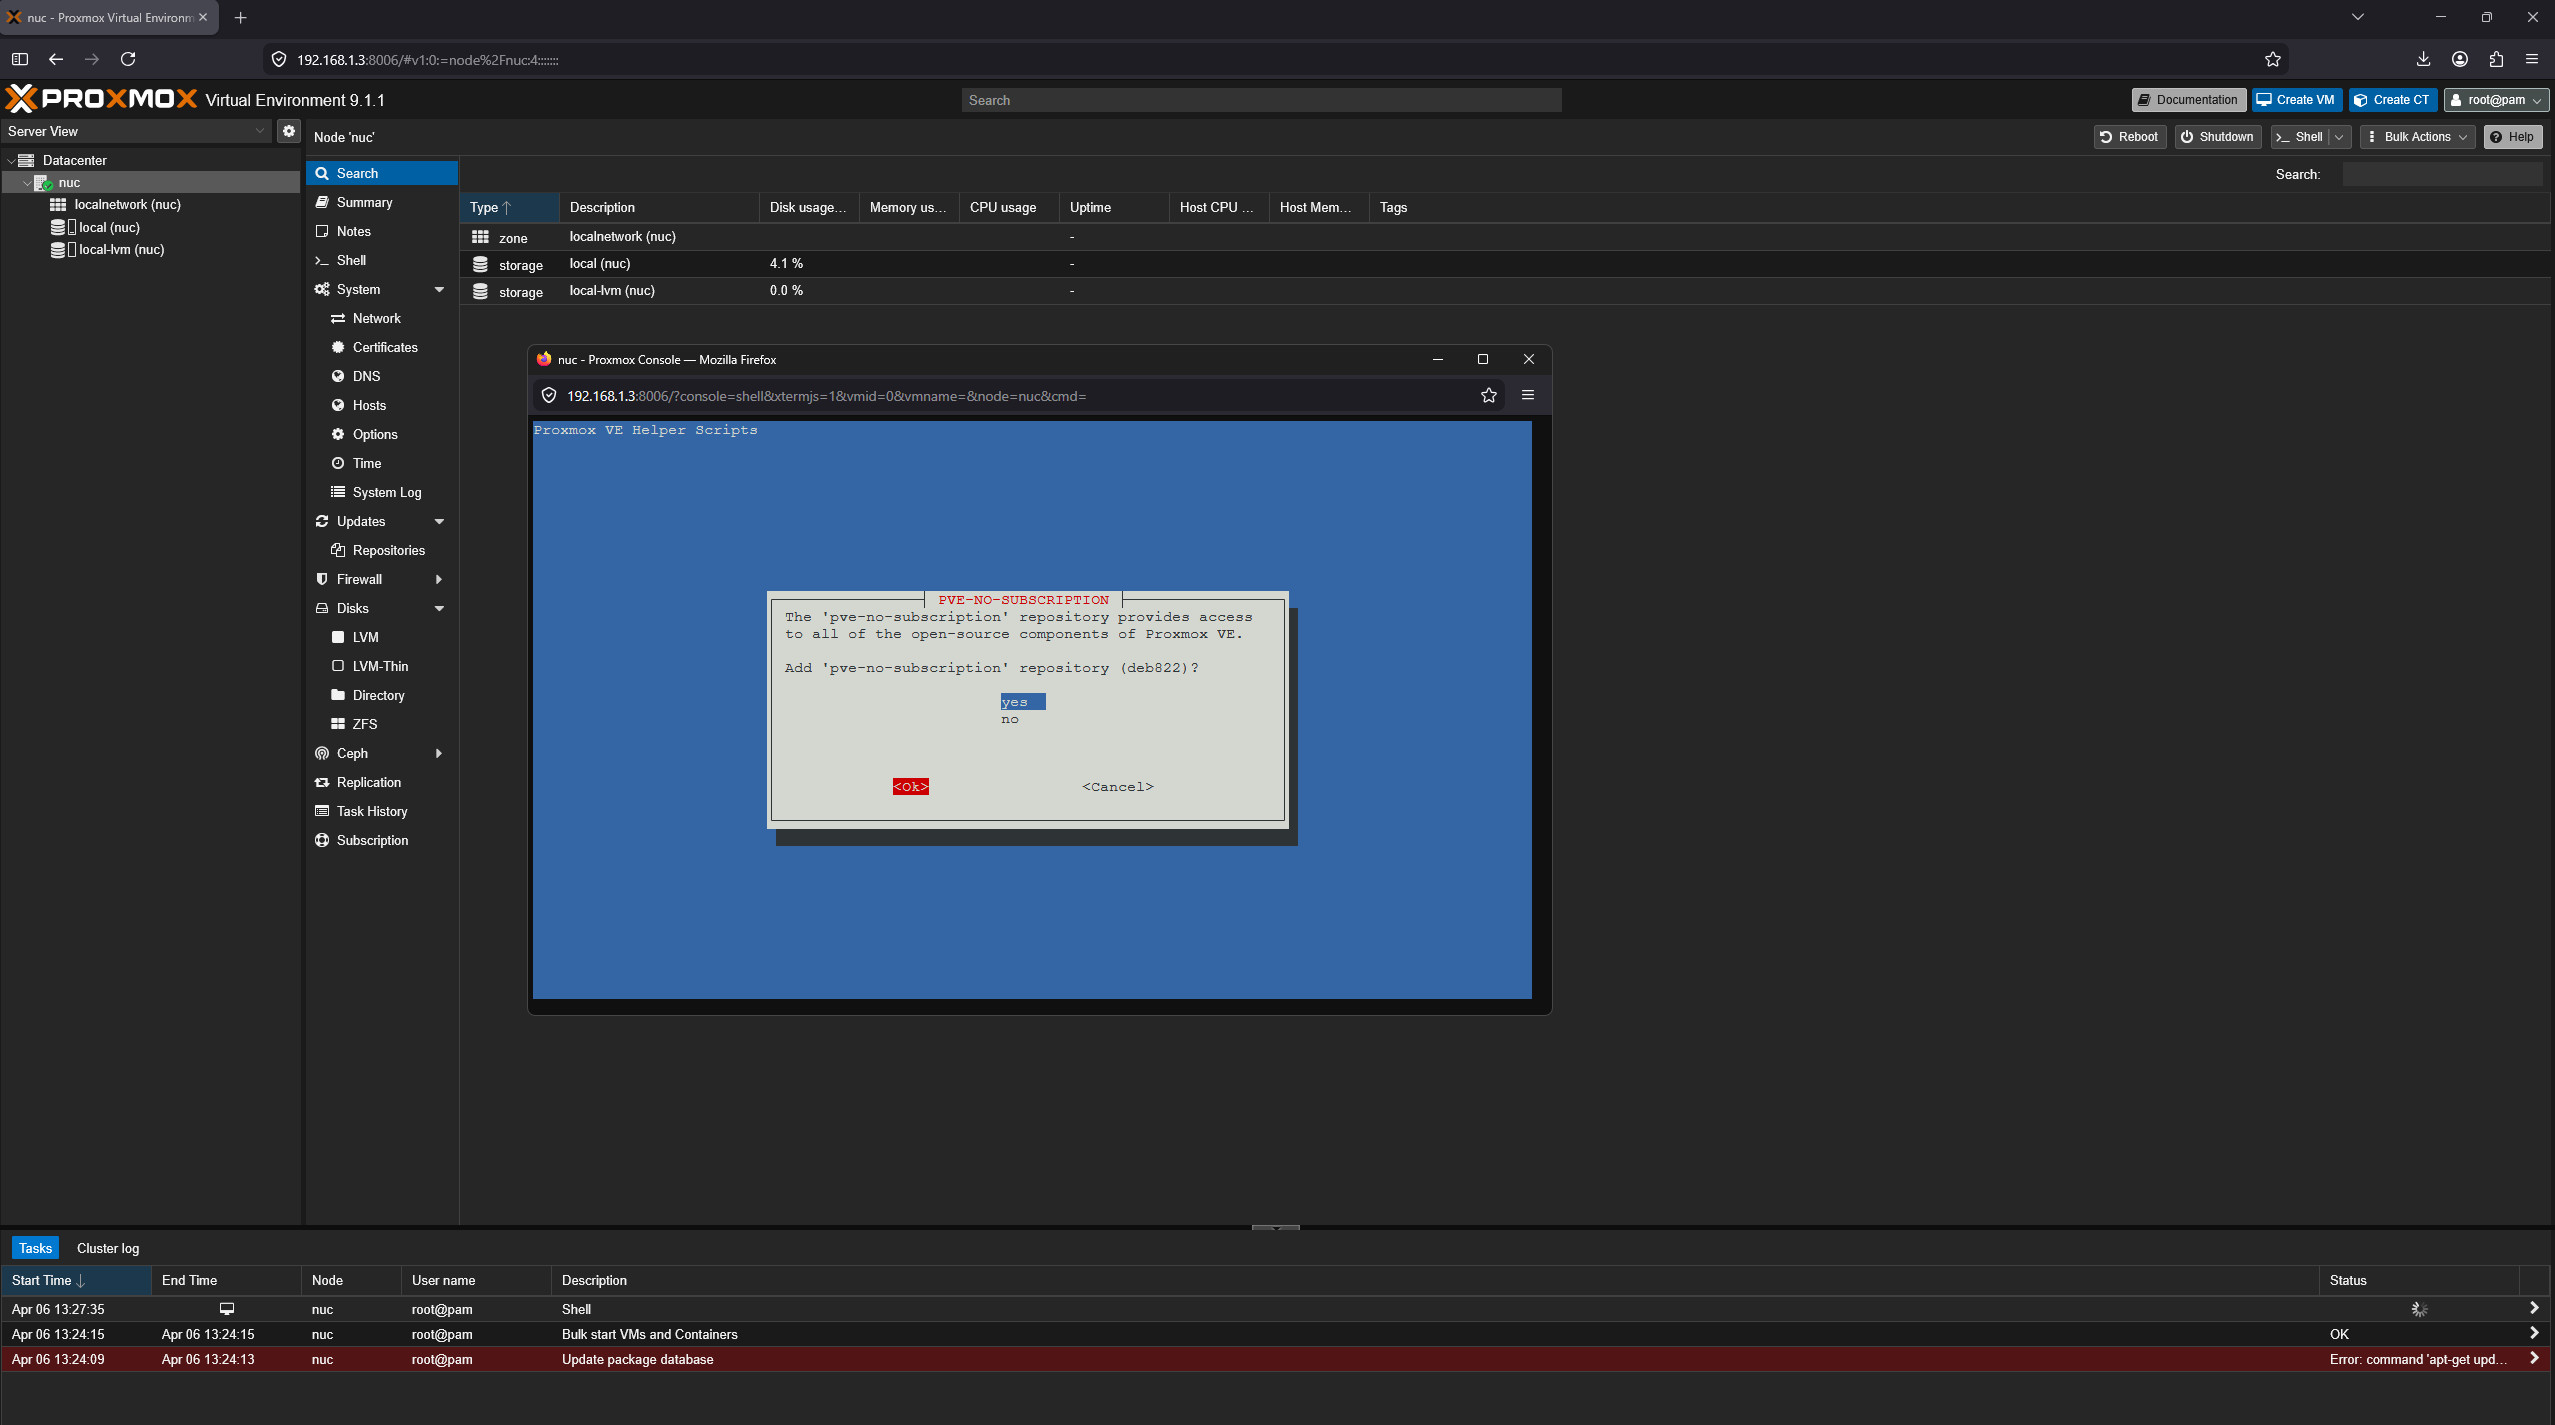
Add ‘pve-no-subscription’ repository ? -> Yes and tab to ok
 Proxmox Ve Post Install Script
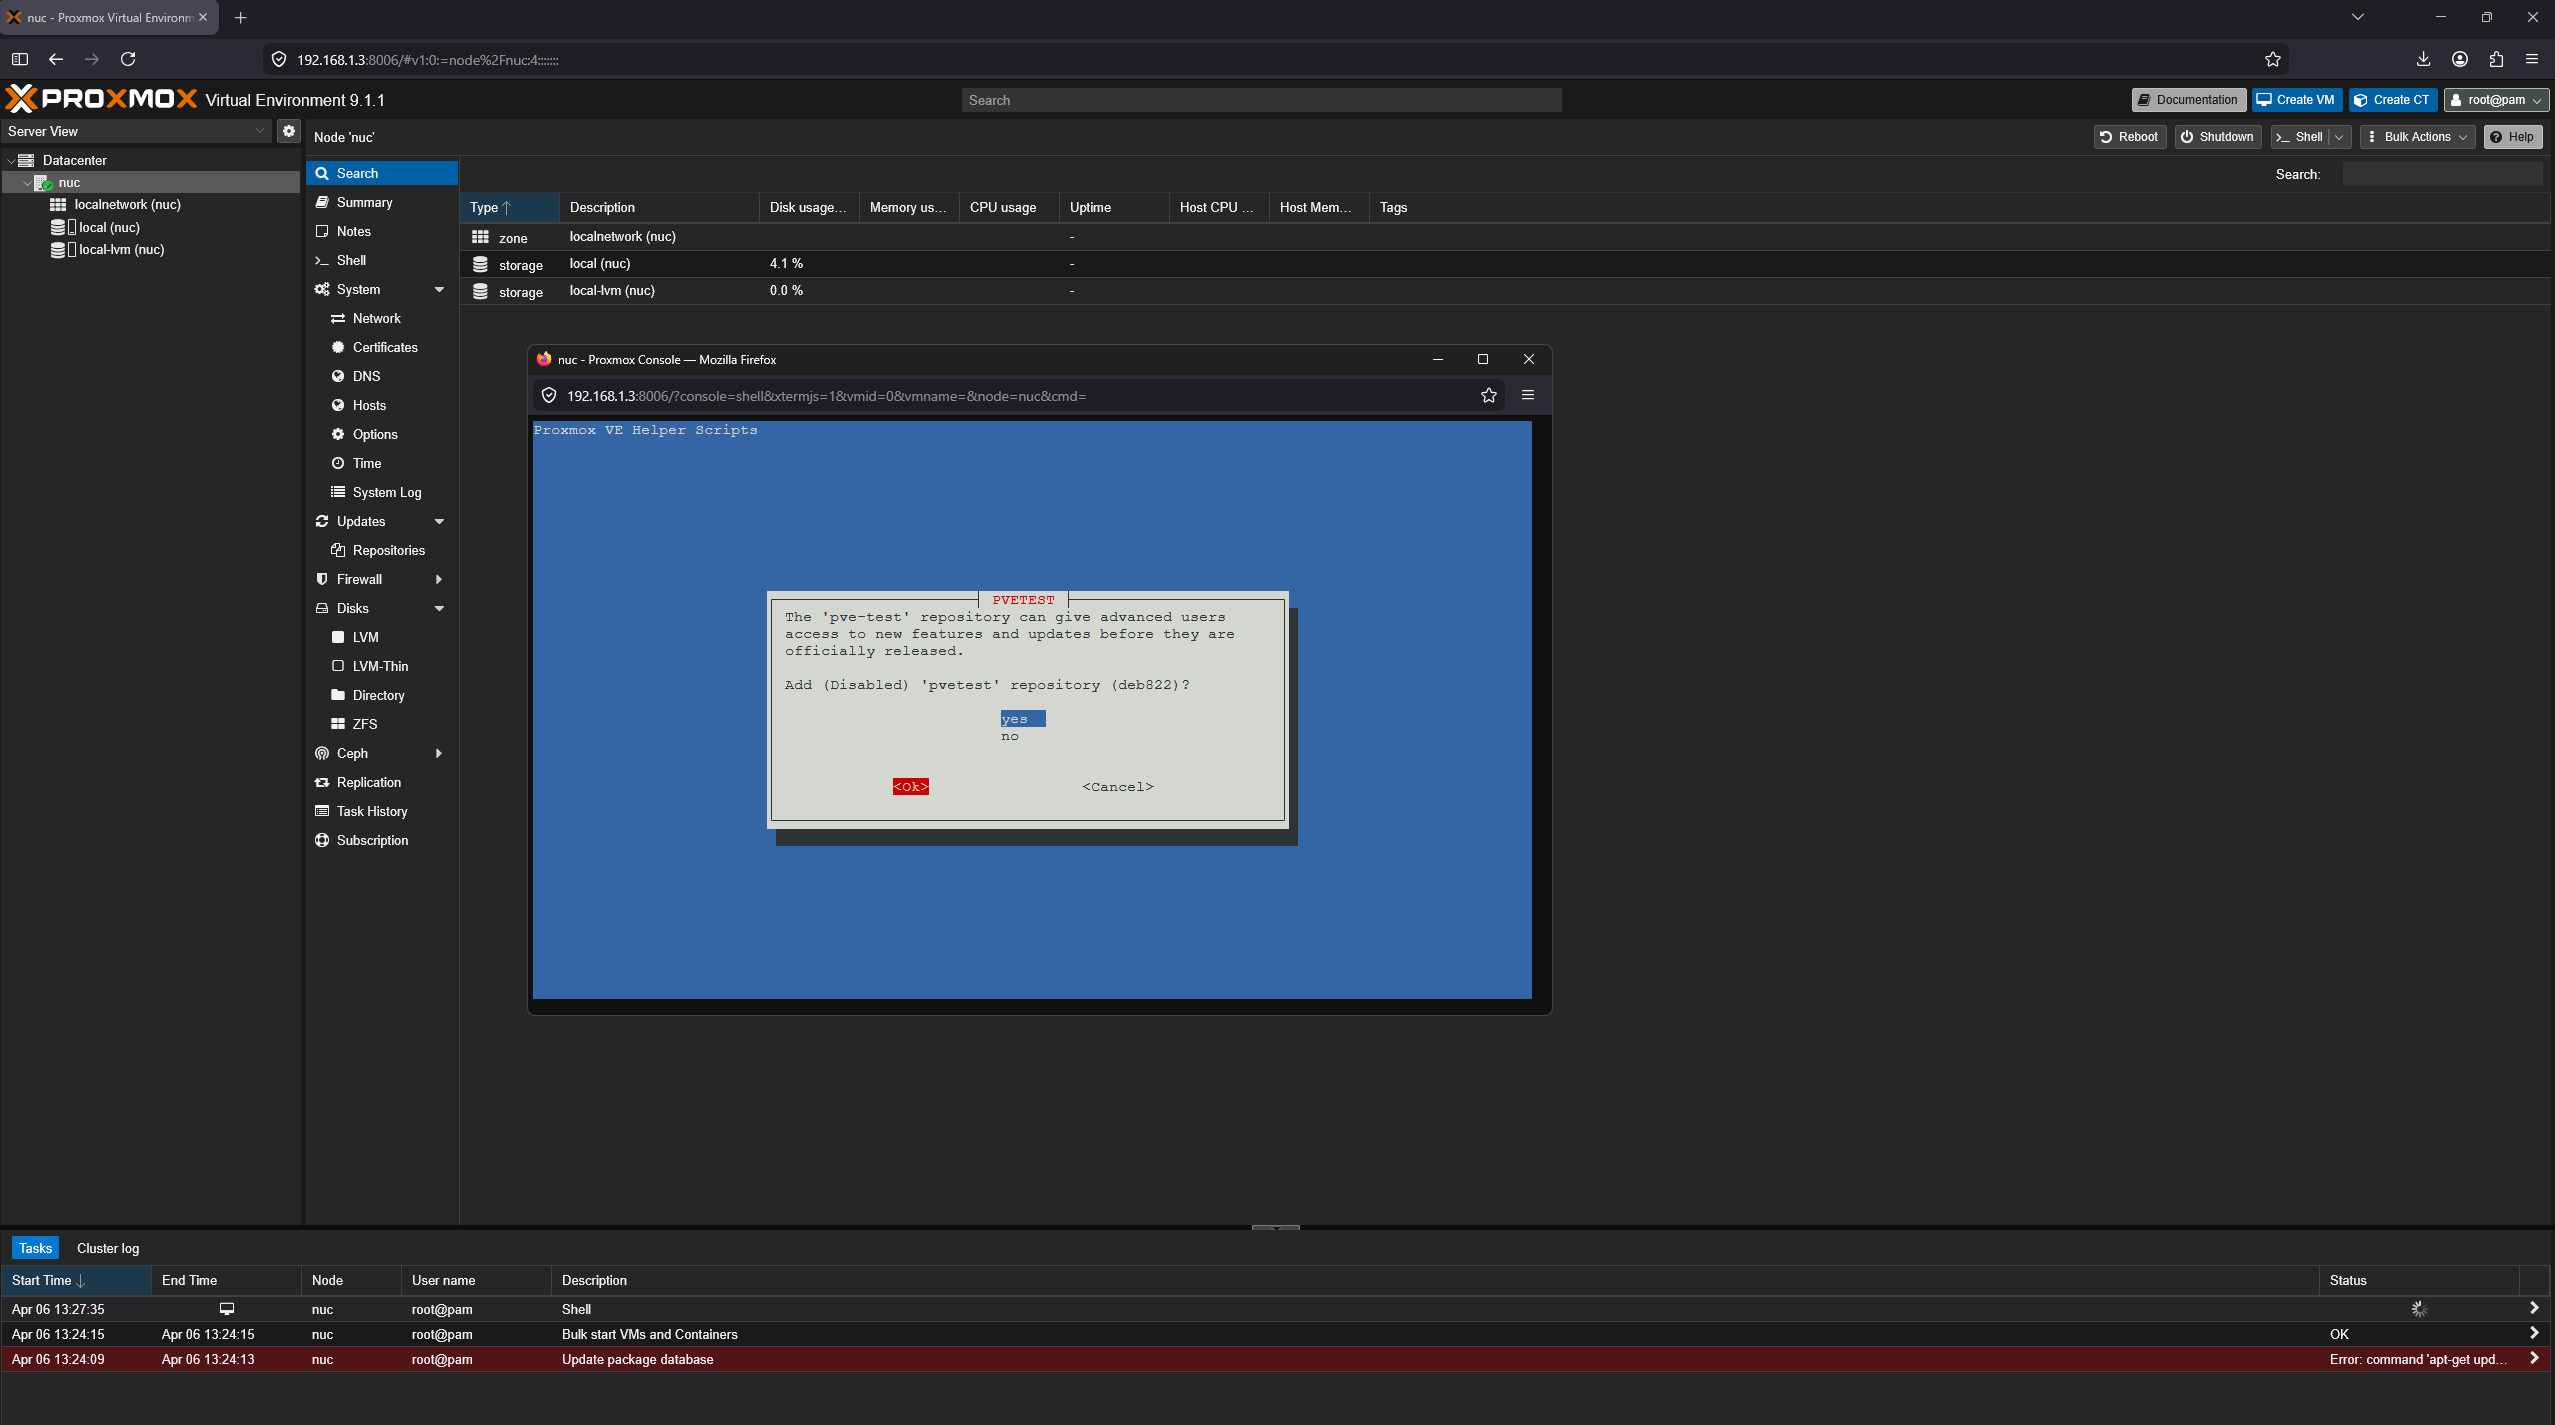
Add disabled ‘pve-test’ repository ? -> Yes and tab to ok
 Proxmox Ve Post Install Script
Disable subscription nag -> Yes and tab to ok
 Proxmox Ve Post Install Script
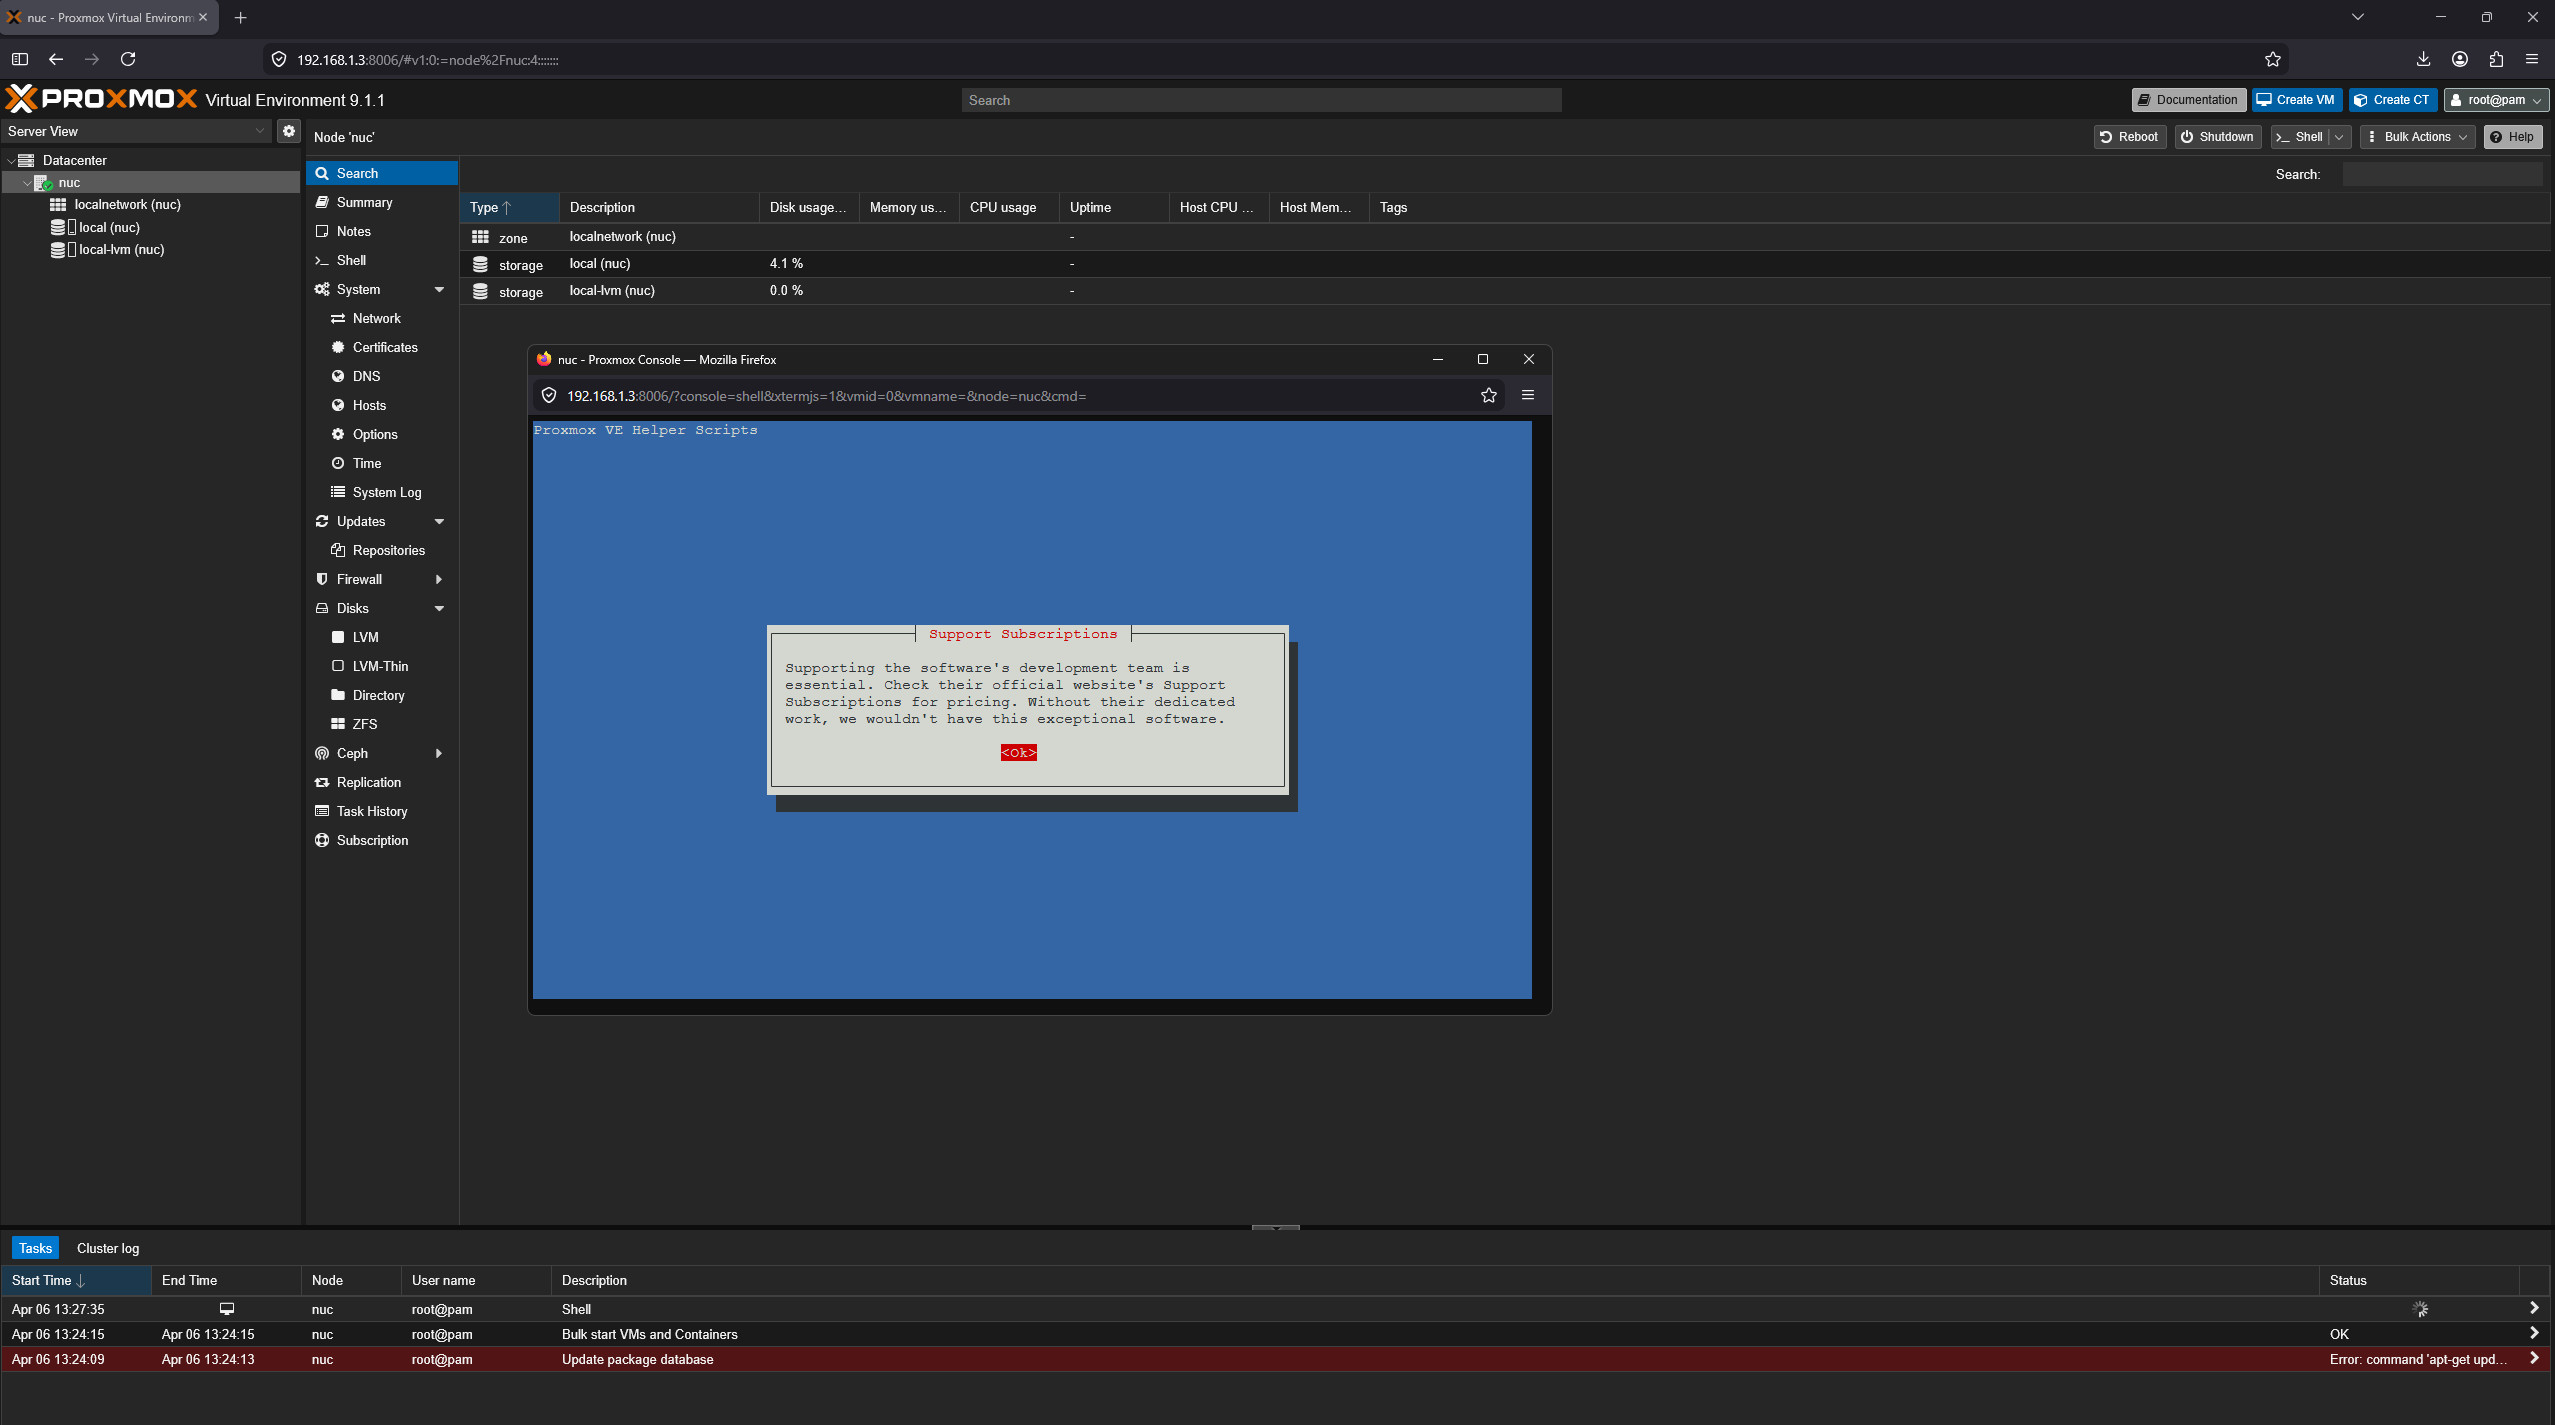
Support Subscriptions -> ok
 Proxmox Ve Post Install Script
Disable high availability -> Yes and tab to ok
 Proxmox Ve Post Install Script
Disable Corosync -> Yes and tab to ok
 Proxmox Ve Post Install Script
Update proxmox VE now ? -> Yes and tab to ok
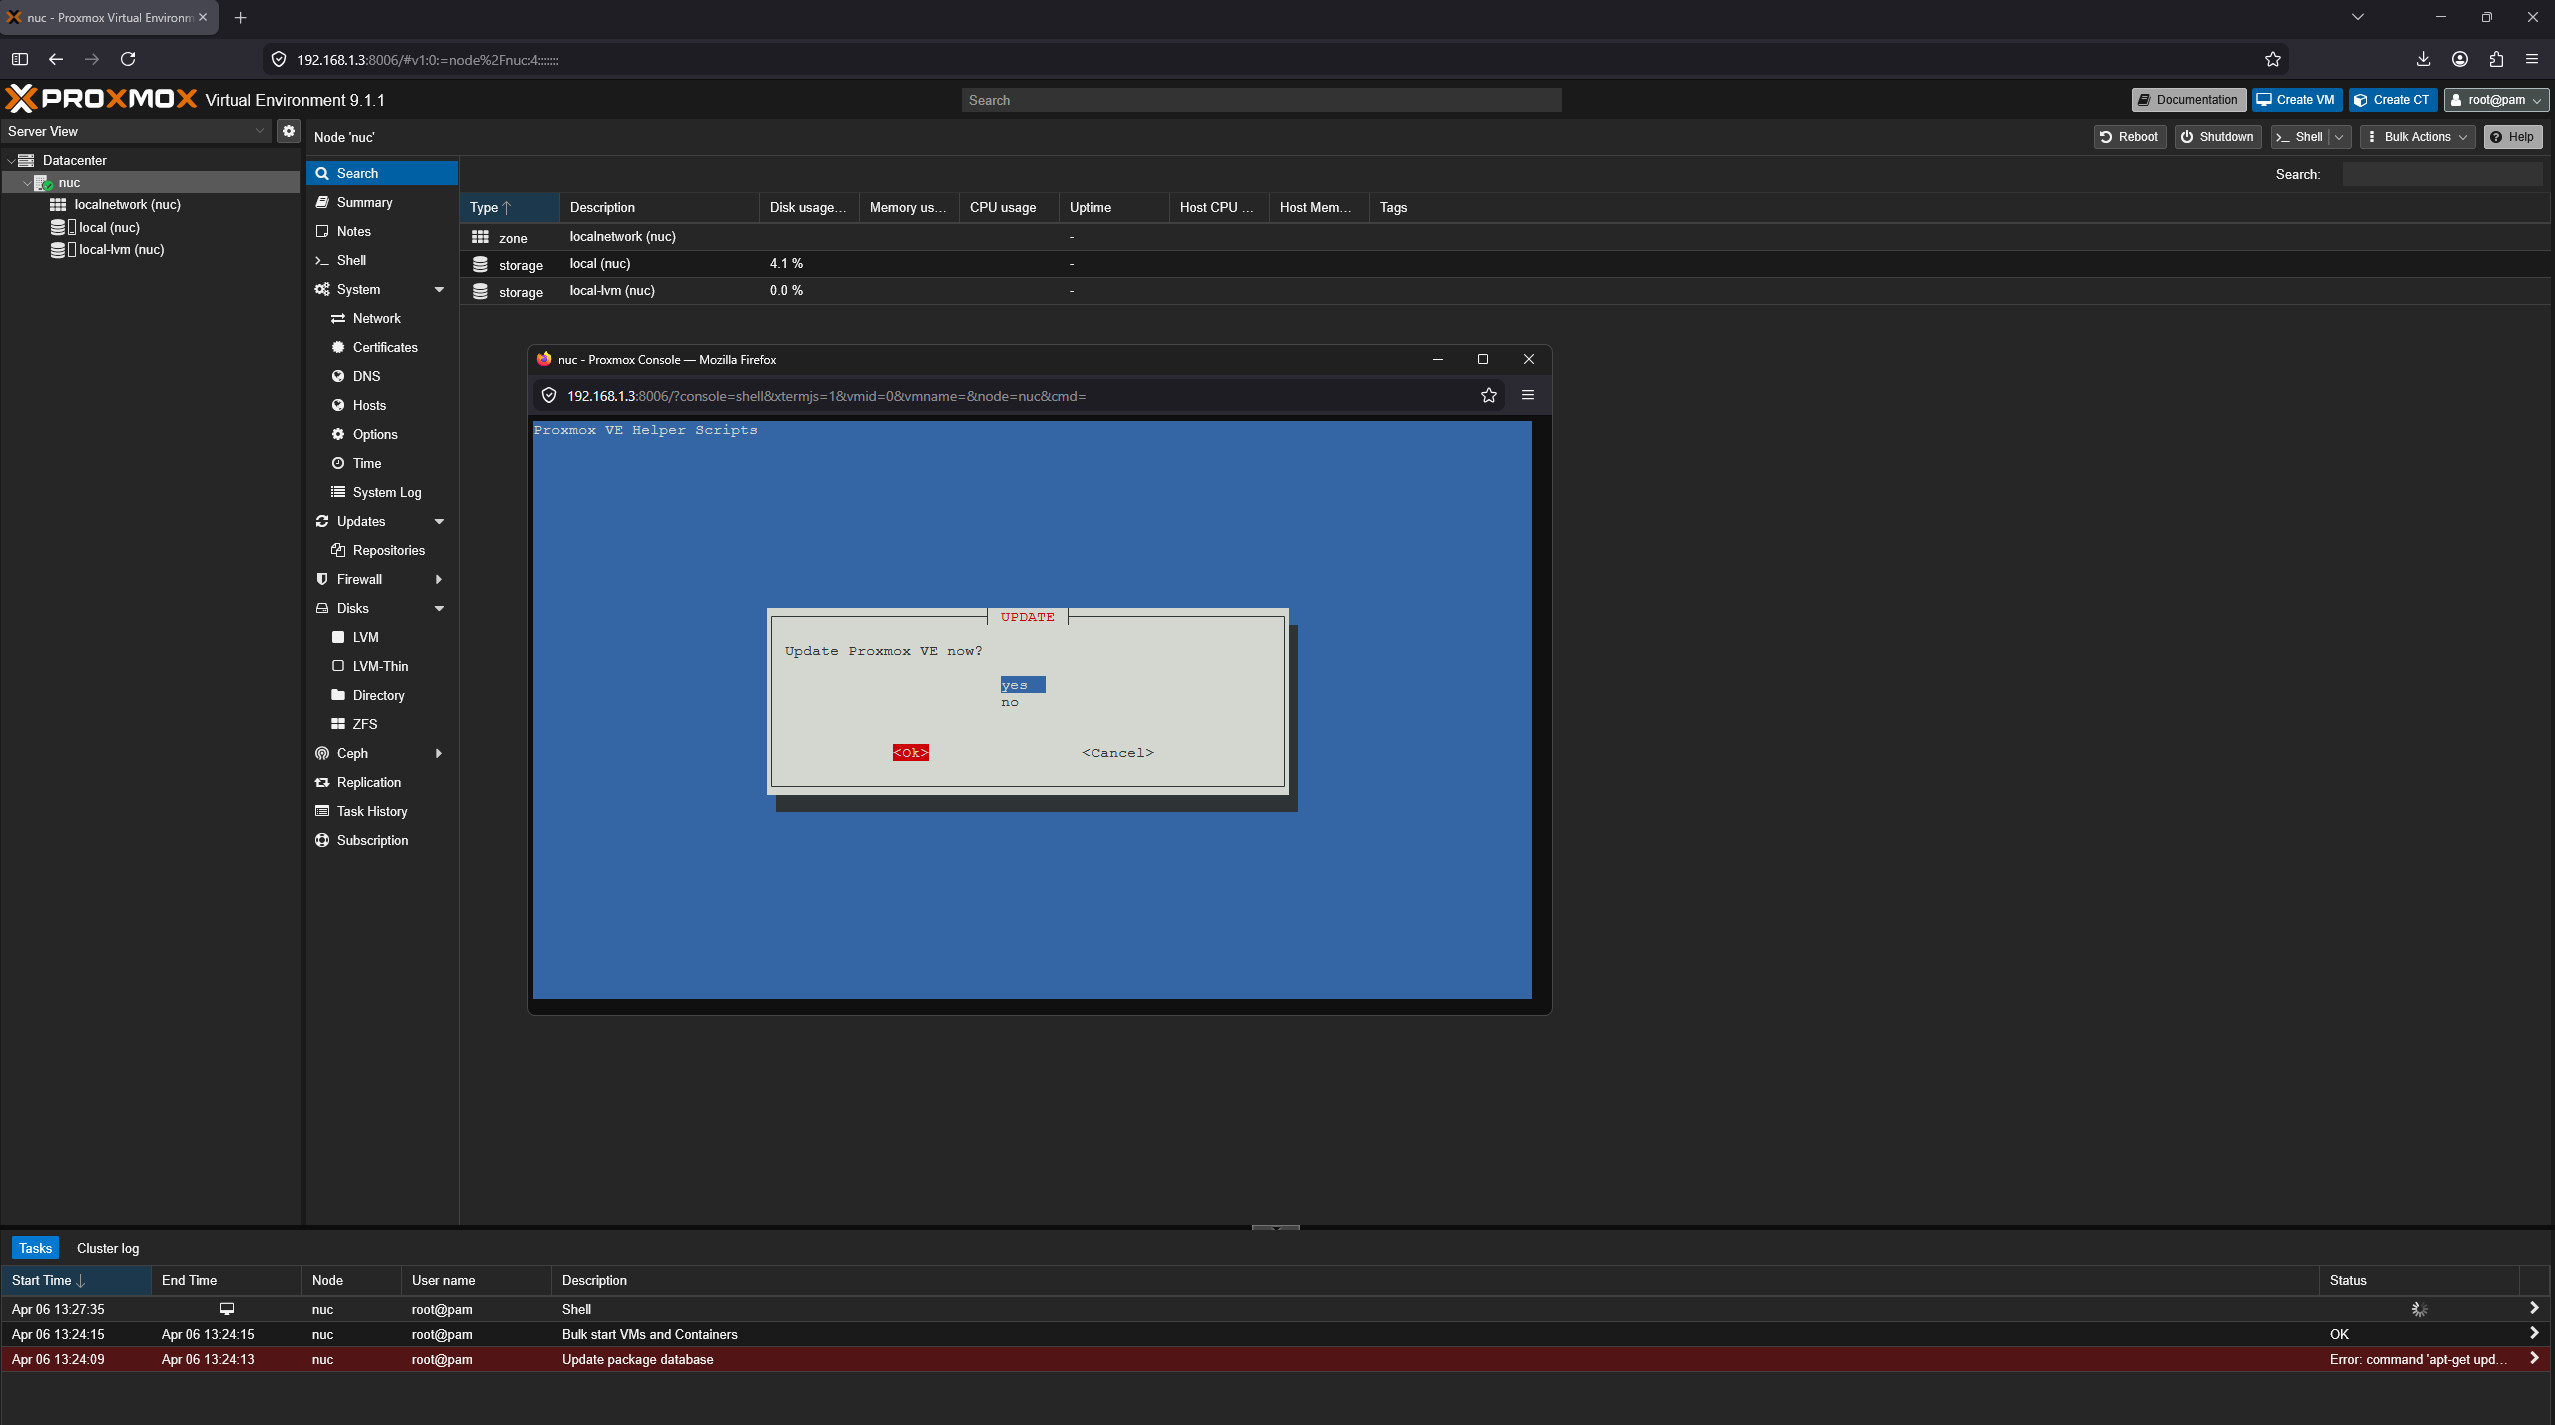 Proxmox Ve Post Install Script
Post-Install reminder -> ok (Remeber to a hardrest of the browser ctrl+shift+r)
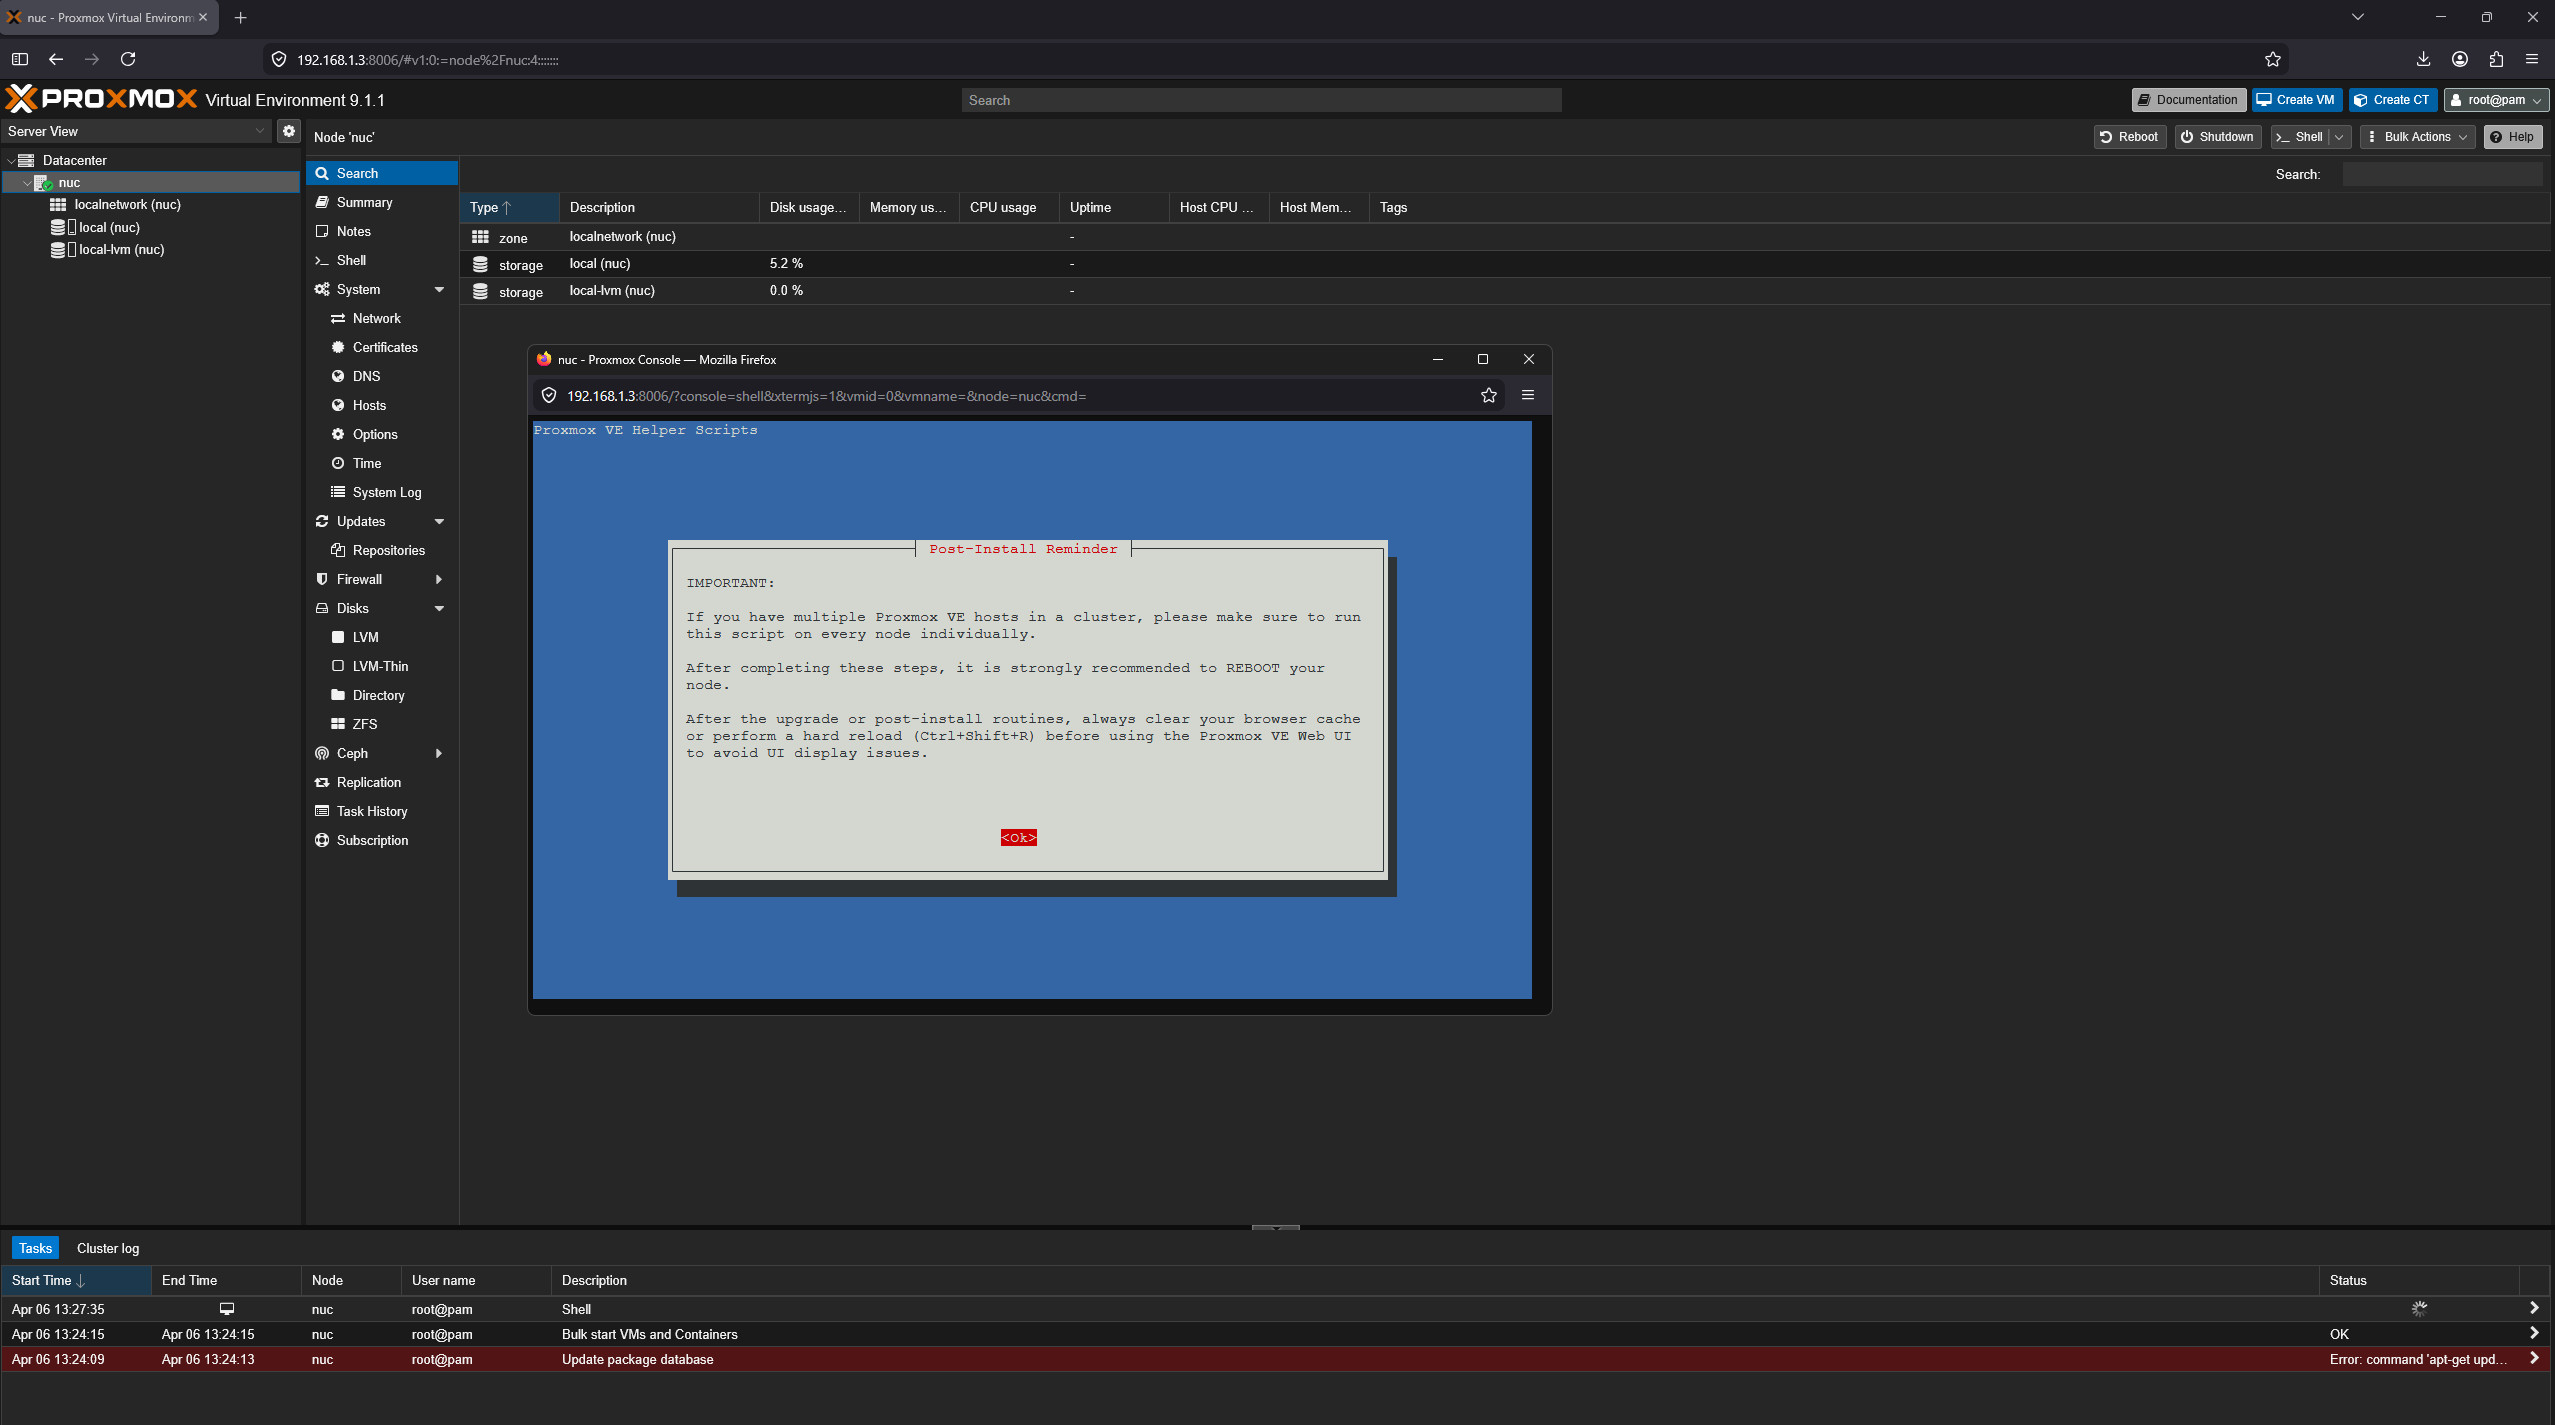 Proxmox Ve Post Install Script
Reboot now
 Proxmox Ve Updates
Now we are done setting up the proxmox server if you go to the host and summary you can see a green check mark in Proxmox VE updates. Note that we changes from 9.1.1 to 9.1.7
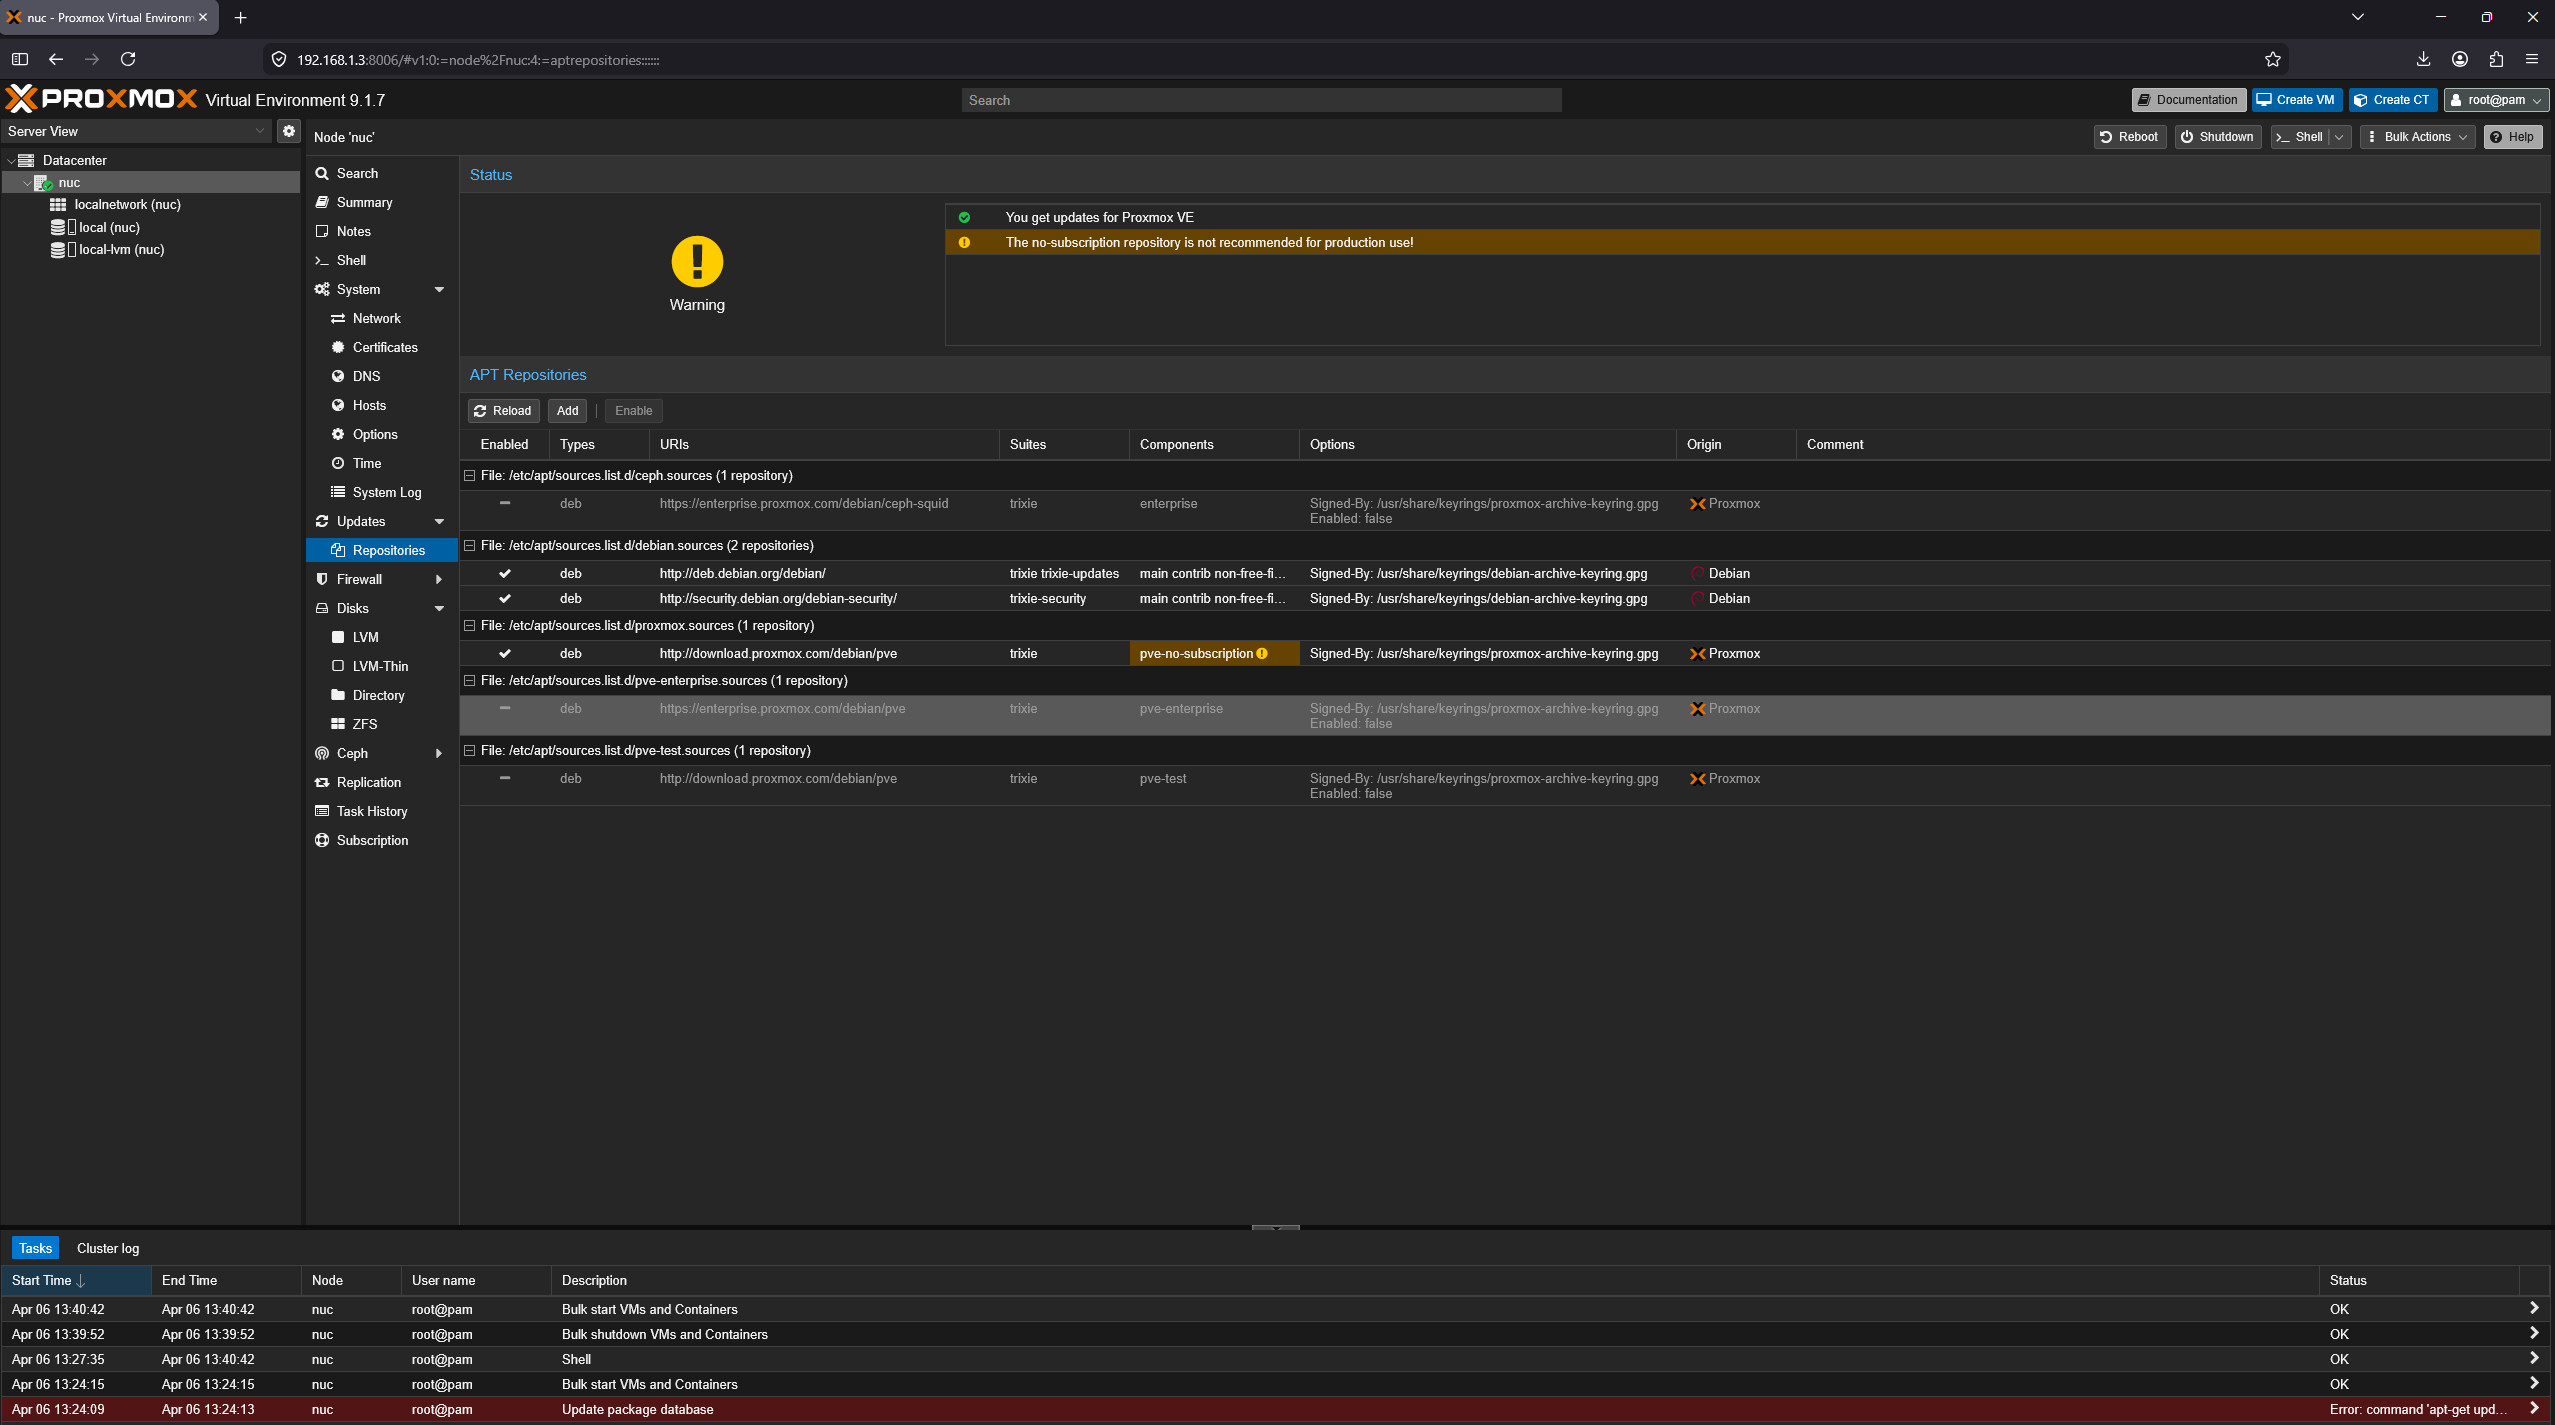 Proxmox Ve Updates
How to set up a Virtual Machine.
Before we can make a WM we need a ISO file to install. Go to local and select ISO images and upload
 Proxmox Ve Updates
Upload ISO file
In the top right corner hit Create VM
 Proxmox Ve Updates
Pick a VM ID, type in a name for your VM, and then click Next.
 Sever name and ID
Select ISO
 ISO file
Now pick the machine type. I go with Q35 instead of i440FX because it handles PCIe passthrough and newer hardware better. And set a check mark in Qemu-agent
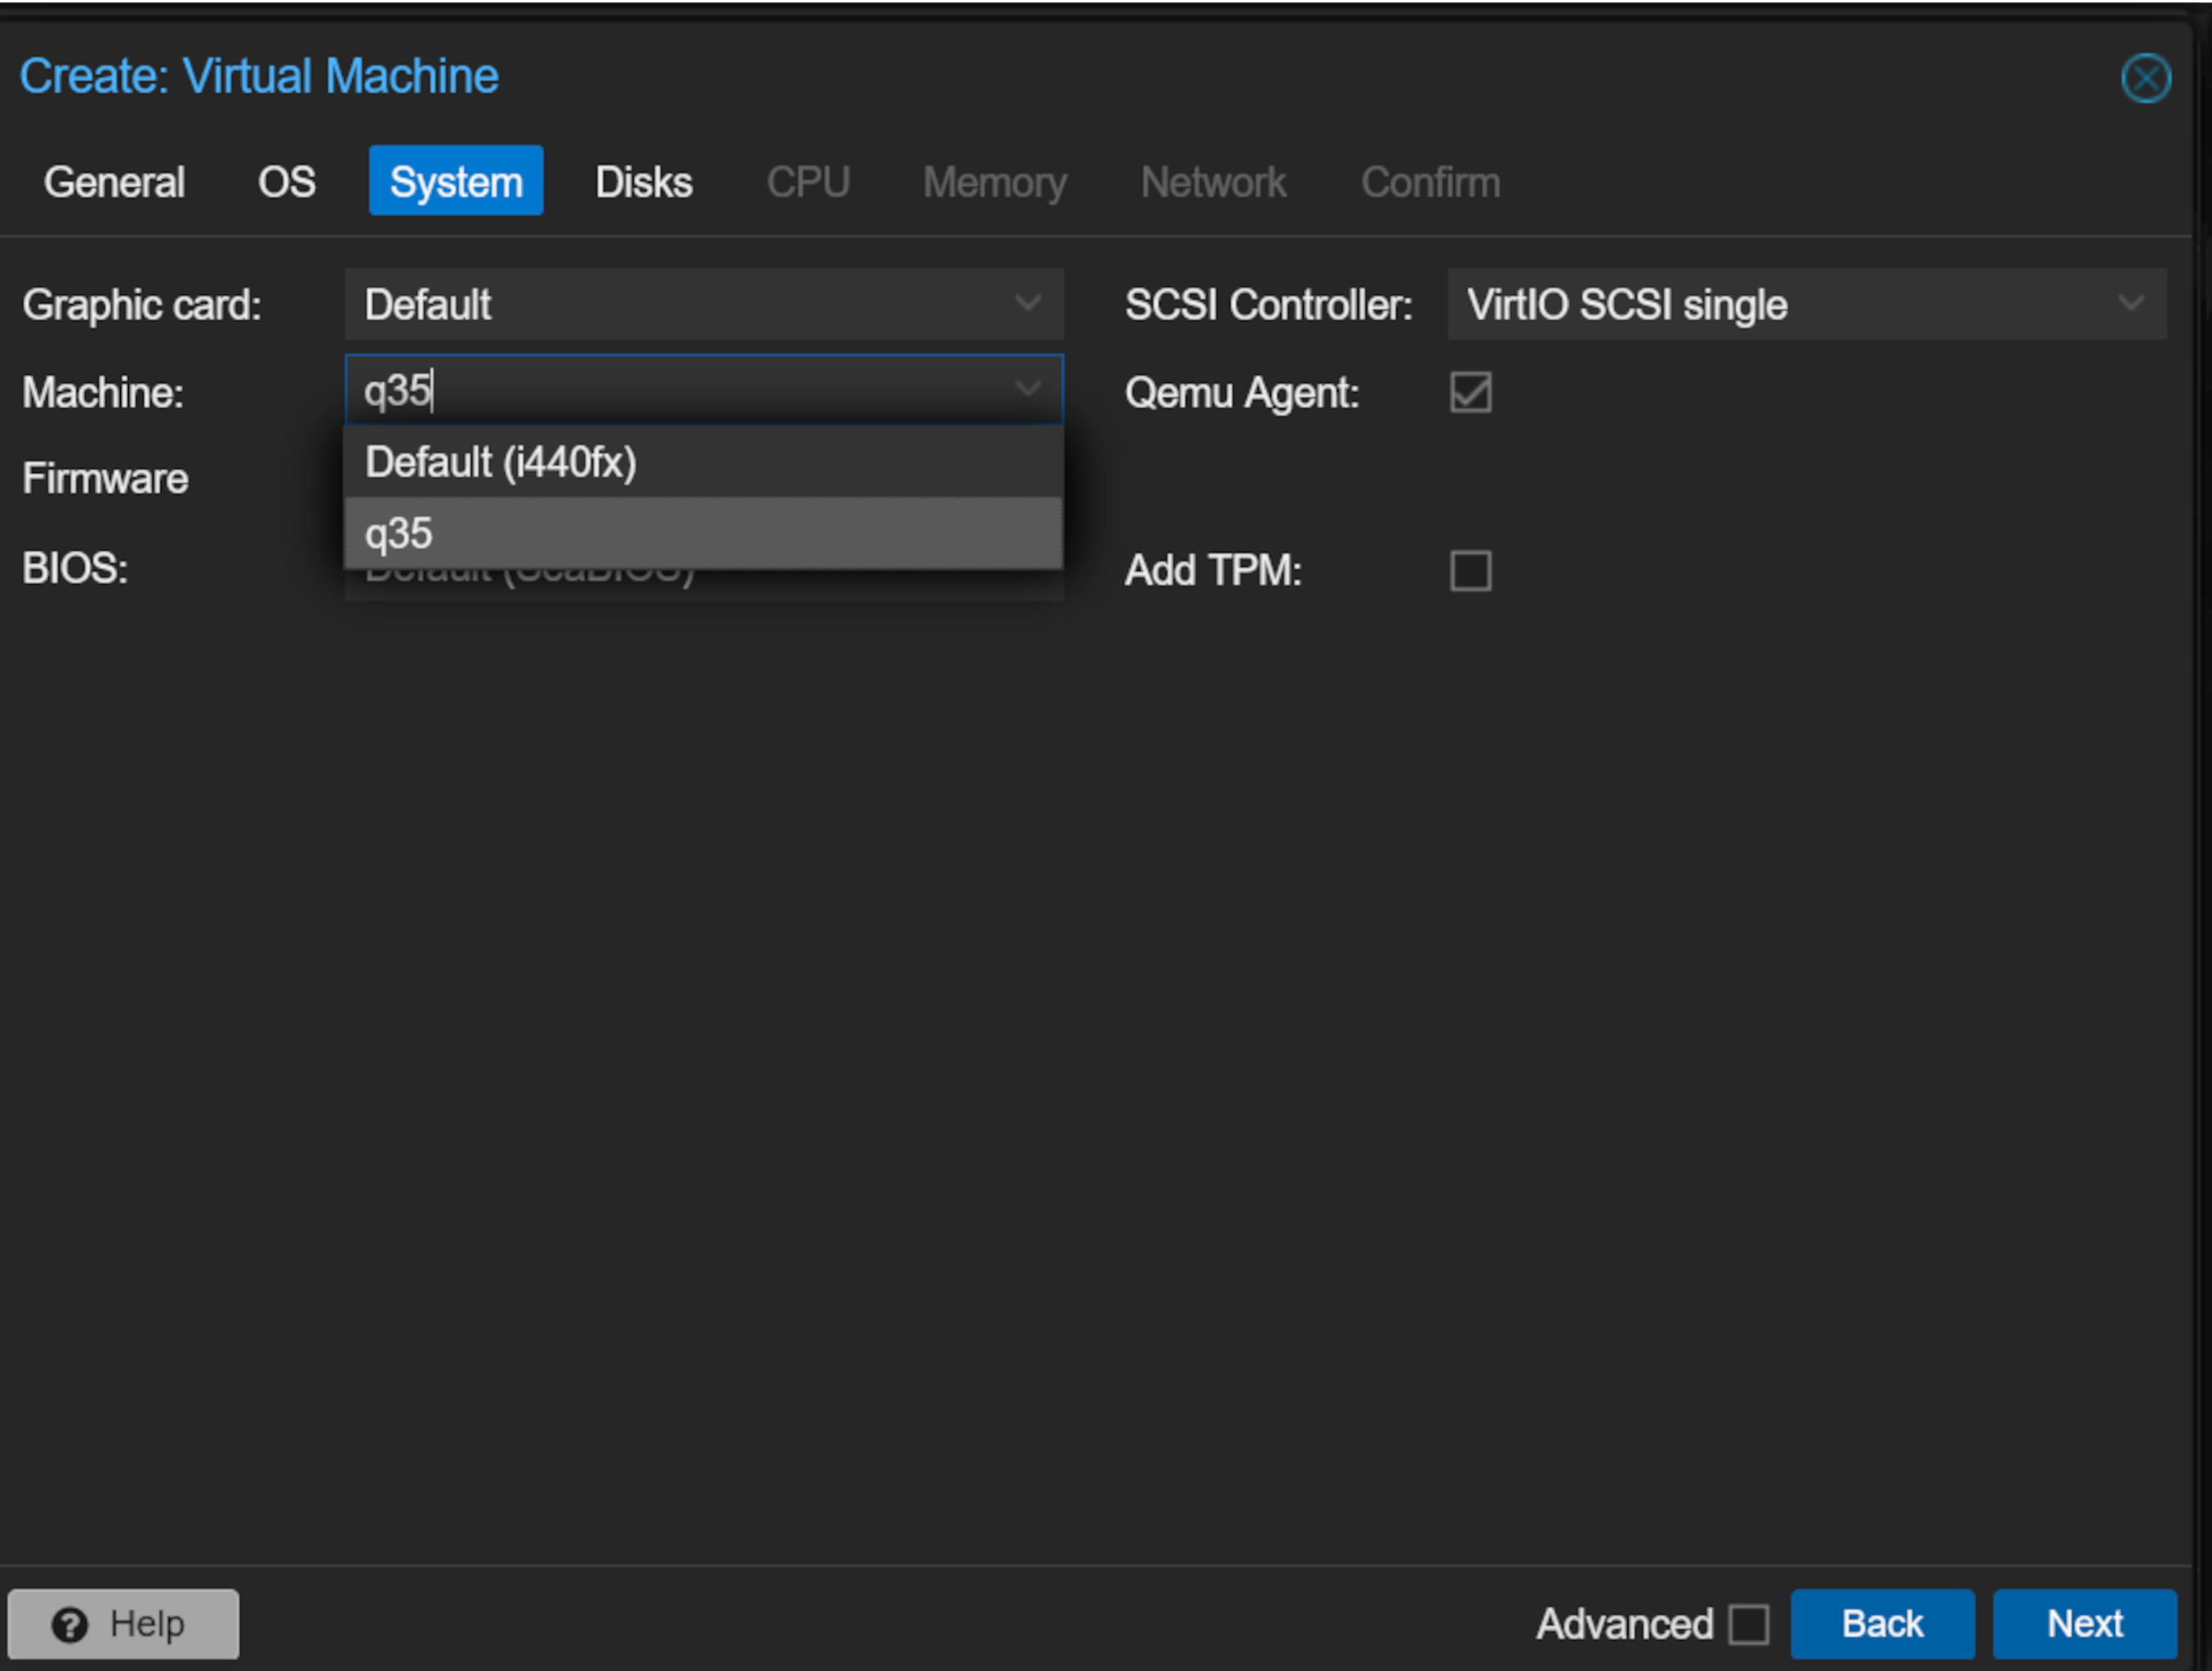 storage
Pick the storage you want to use and Size.
 Machine type
Set how many cores to use
 HDD size
Set memory size
 CPU Cores
Set the network
 Proxmox Ve Updates
Uncheck start after created and comfirm.
 Proxmox Ve Updates
All done now Promox is up and running with a VM.
Follow this guide to setup a Virtuel Machine.